Resources are becoming more and more precious, as newer, bigger, more fantastical plug-ins make bigger sounds, but take a bigger chunk of your CPU usage. Ableton is no exception to the rule when it comes to being a playground for power hungry plug-ins. But, if you're smart, and you're aware of the tools at your disposal, and how you fill in your arrangements, you can come out ahead of the resource game while still using those big, thick, amazing plug-ins.
In this tutorial, I'd like to show you one feature in Ableton that really will keep you moving fast, while helping to keep your CPU usage low.
There's More Than Just Freeze...
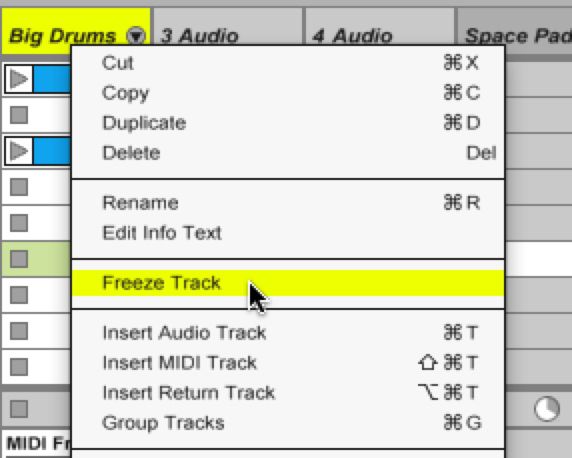
Of course, you're probably already quite familiar with the Freeze function. And, if you're not, let me explain. When you right-click on a track in the Session or Arrangement view and select 'Freeze', Ableton will lock the settings of your current VST, or AU, or audio track with plug-ins on it, and then create an audio file version of it. The settings are locked so that if you decide that you need to tweak a setting, later, all you have to do is un-freeze the track. Once you un-freeze, the original plug-ins are all set to active again, and the source of the audio is once again made active, be it an audio file, or a virtual instrument, of some sort.
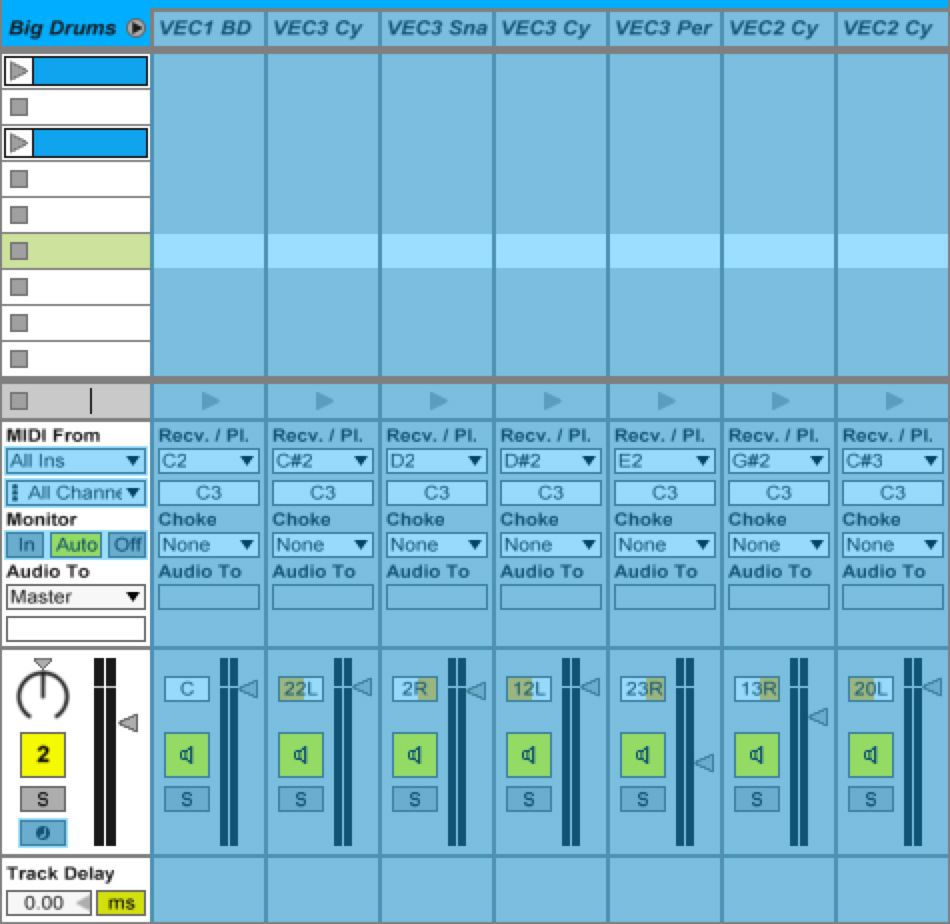
Gee, that's a lot of crap on the screen...
Freezing is cool, but let's face it, there are more times than not that that you'd prefer not to see all of those frozen tracks. You could use the Shift-Command-R command to render the audio parts out. But, that takes a few extra steps, and means that you're spending more time on computer-'ish', organization work, and less on music.
Why Not Flatten?
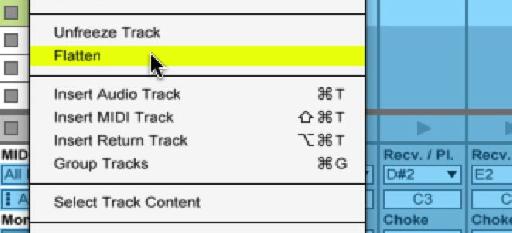
This is where the Flatten command can come in really handy. When you've got a frozen track in play, and you just want to quickly convert it to audio, try this out.
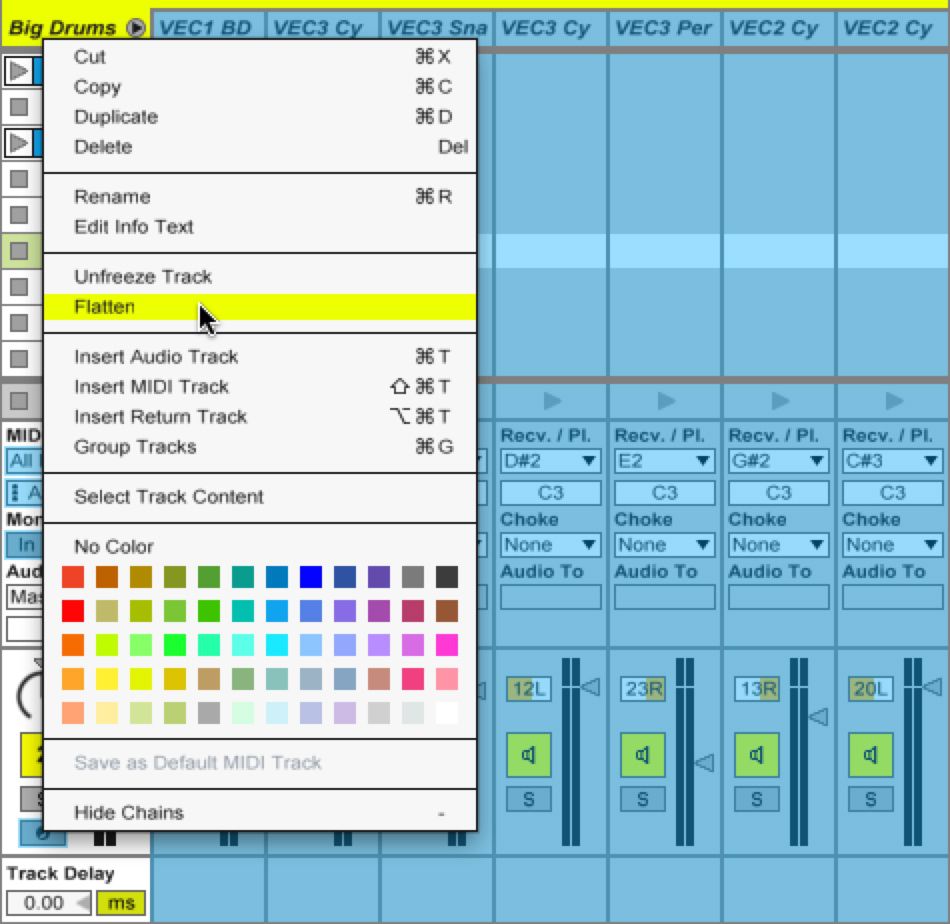
Right-click on the track title and select 'Flatten'.
Instantly, Live will convert your Frozen track to a regular, old audio track. Screen real estate is freed up, and you're good to go!

Things to know about Flatten
There's one thing that I should warn you about with Flatten. If you Flatten a Frozen, virtual instrument track, the MIDI does go away. So, you want to make sure you're not going to need the MIDI again, after you do this. You do have access to Undo left from the Edit window. But, that goes away, after you close out the Live Session.
Closing
Flatten isn't necessarily a life changing feature. But, in the right context, Freeze, and Flatten become real life savers, for their ease of use. They save you from having to go through the various steps of Export Audio/Video so that the creative session keeps moving. Bottom line is: If you're like me, and are running an old, trusty, but faithful relic, of a MacBook Pro, resources are very important! Know the tricks at your disposal and use them!


 © 2024 Ask.Audio
A NonLinear Educating Company
Discussion
Want to join the discussion?
Create an account or login to get started!