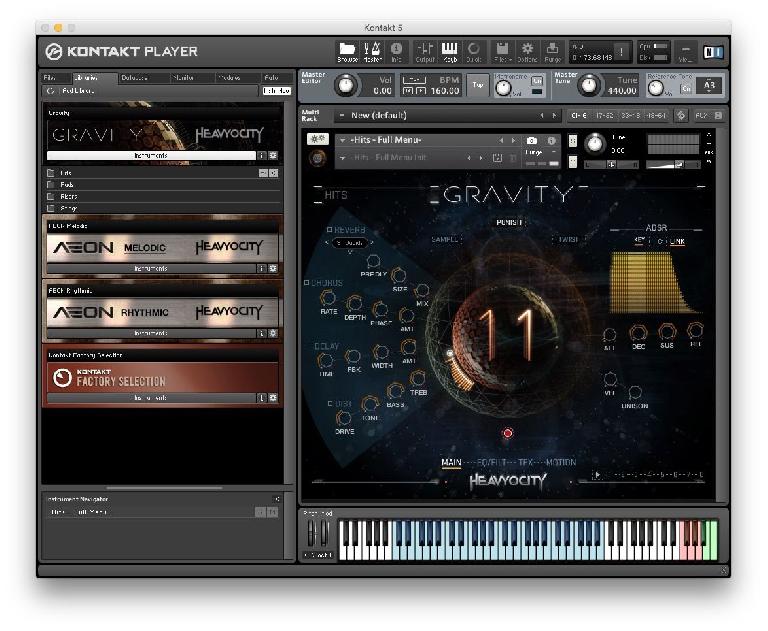
Heavyocity’s Gravity is a collection of sounds that provides a tremendous variety of Hits (build-ups, impacts, and tails), Pads (playable/melodic sounds), Risers (bigger build-ups), and Stings (accents), making it a great tool for scoring and sound design for film, trailers, or games, as well as for music production.
Gravity offers not only a large number of dense, layered presets, which can be used right out of the box to great effect, but also a comprehensive set of programming tools to tweak and customize those sounds and samples to perfection. Here are a few suggestions for getting the most out of those sounds and tools.
1. Get real
While many of Gravity’s sounds have plenty of movement on their own—Hits and Risers feature big build-ups, and sometimes lengthy tails—Gravity also offers a number of ways for you to play the sounds in real time. Besides playing melodies and chords with the Pads, you can dial in effects and additional rhythms with the trigger keys at the top of the (real or virtual) keyboard.
The five pink keys each call up one of the five TFX (Trigger FX), which are designed to be triggered in real time, as an independent adjunct to the four Global Effects on the MAIN Page (which are static—On or Off). Not only can each T-Effect be made to jump or fade in and out (controlled by Attack and Release knobs for each), but twin sequencers—independently programmable for each of the five effects—can be triggered from these keys as well, allowing for a lot of creative real-time interaction with sounds and patches. The MOTION triple-sequencer can also be triggered in real time, from its own three (green) keys, to inject a little extra rhythm on the fly. And don’t forget, almost every control in Gravity can be quickly and easily assigned to an external MIDI controller, extending real-time control to just about any parameter you want.
Audio Example 1 A few TFX being triggered in realtime from the keyboard:
2. Be a master of time
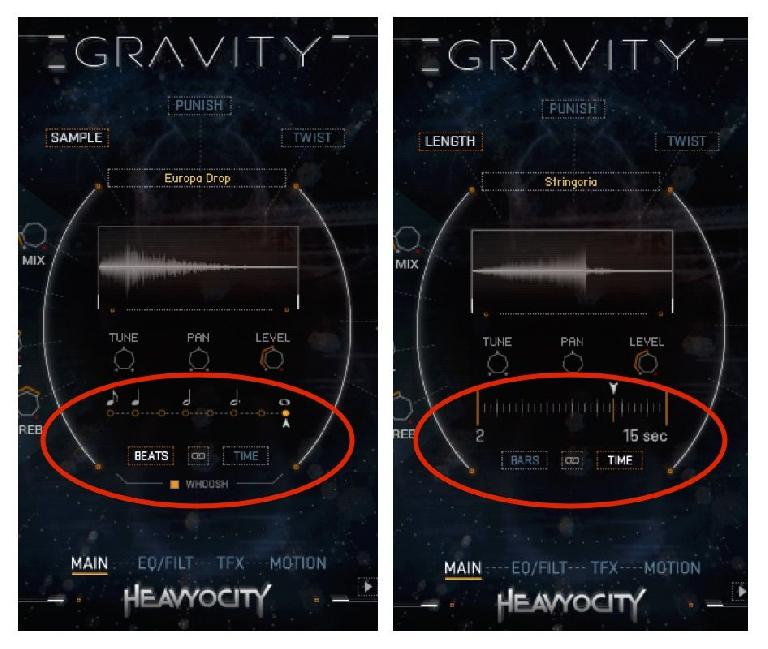
Gravity’s Hits and Risers both feature build-ups—for the Hits, a short build (around a bar) leads into an Impact, followed by a Tail, while the Risers are just builds, available in 15- or 30-second versions. But you don’t have to stick to that timing—both have controls that let you set the length of the build (up to its maximum), measured in either increments of Time (seconds) or Bars/Beats. And the build-up component of Hits—labelled Whoosh—can even be disabled, so you can trigger the Impact immediately, maybe combining it with a different, longer build-up, like from a Riser.
Audio Example 2 A hit, with its Impact following its own short build (Whoosh); the same Impact, with its Whoosh disabled; the same Impact again, following a build-up from a separate Riser:
3. All for one, or one for all
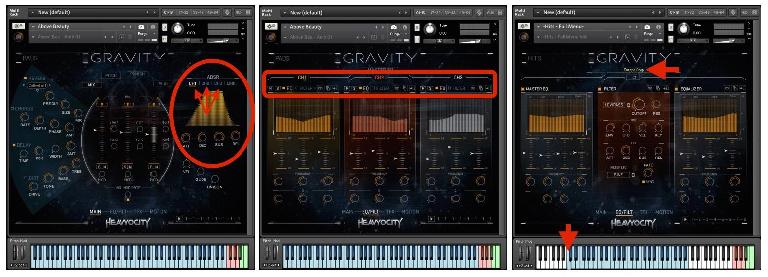
Many of Gravity’s sounds are either layered—Pads and Risers have three layers, Hits have four—or they’re presented in (transposable) Menus, with a different sample on each key. With these sounds, each layer, or each individual sample, can have its own individual settings for the ADSR, EQ, and Filter, and a couple of other parameters (like length).
This capability may not always be immediately apparent, especially with the Menus, but once you know about it, you can take advantage of it to customize individual layers and sounds, and then store your own versions as new patches. But when the need arises, you can Link these controls for all layers/samples, allowing you to quickly make global adjustments for all at once.
4. Be cruel to your sounds
Heavyocity’s signature Punish and Twist knobs (Fig 1) are front and center in most patches, and it’s easy to overlook them, leaving them at whatever preset values they were assigned for the patch. But they offer the perfect way of taking a sound to the next level. When everything is set up as you want it, but the sound needs just a little something extra, Punish, with its thick saturation and compression, and Twist, with its dense modulated swoosh, are Gravity’s way of letting you take it to “eleven”—pushing that sound over the top, when needed, in a dense or busy mix. And, of course, this can be done on the fly (see tip #1), for even more flexibility.
5. Roll your own
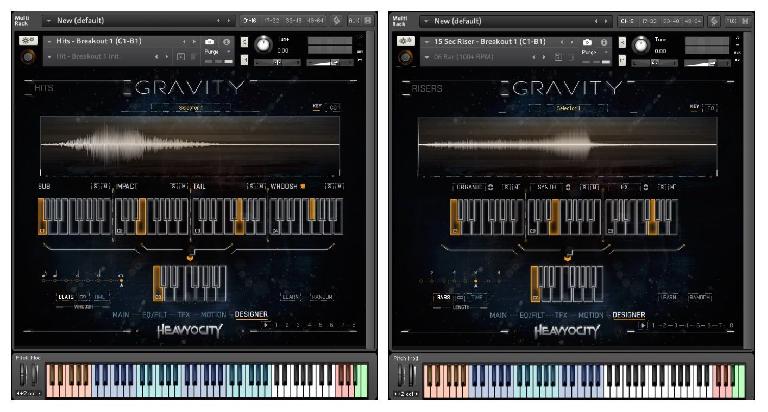
Finally, the 4-layer Hits and the 3-layer Risers all consist of factory combinations of different elements. In the case of the Hits, these are the Whoosh (build), Impact, Sub (low-frequency impact), and Tail; Risers are layered with one sound from each of three categories—Synth, Hybrid (Organic), and FX. These factory combinations were carefully set up to provide well-integrated effects, but you can still mix and match the components of each, to create your own combinations and layers. This is done on the DESIGNER Page, available for Hits and Risers. You simply choose your own mix of components, in any combination you want (even three of the same Riser type, for example), and then save your new sounds as custom Menus.
These are just a few of the things you can do with Gravity’s library to make its sounds your own, and to use them more effectively in different projects. While it’s tempting to just enjoy the presets, digging a little deeper can promote so much more creativity from this versatile tool.


 © 2024 Ask.Audio
A NonLinear Educating Company
Discussion
Want to join the discussion?
Create an account or login to get started!