
In part one of this short series we had a look at the concept of control or modifier devices in Guitar Rig 5, and how they can be used to create more interesting and dynamic effects not just for guitars and basses, but for any track. We tried modifying an existing preset but this time we're going to have a go at building a patch from scratch. It's really not all that difficult and certainly far easier than using something like Reaktor to build your own effect.
Step 1 '" Load an effect
The modifier devices need something to modify since they do not make sound by themselves, they control the parameters of other effect modules. Load up a loop or a track, create an instance of Guitar Rig and from the Components menu, drag in a delay unit.

Step 2 '" Add a modifier
Now go to the Modifiers category and drag an effect into the rack. Here, we're going to try the LFO module and when it is in the rack, pick up and drag the assignment to the Dry / Wet knob on the effect. Then, use the Rate control on the LFO module to speed up or slow down the modulation. Move it to around 9 Hz and you get a really interesting tremolo effect, especially on beats. Also try changing the LFO shape.

Step 3 '" Add a second modifier module
Now try dragging an Envelope module into the same rack. Click its Sync button so that it syncs its tempo with the project and this time, drag the assignment from this module to the Time knob on the delay effect. You should hear it introduce a sort of scratch-style effect to the beat, and you can alter the way this works by moving the envelope points around on the Envelope module. Drag them to different positions to see how you can change the way the delay effects is modified.

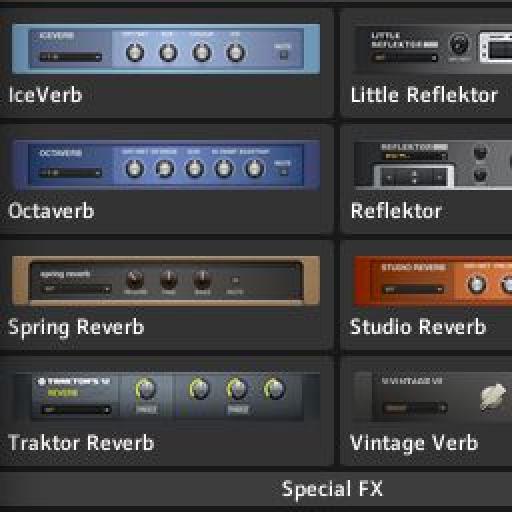
Step 4 '" try something different
Start a new patch or delete the modules you currently have loaded, making sure to save them first if you want to keep the patch. This time try adding a reverb unit and then a Step Sequencer module. Drag the Step Sequencer's assign section to the Mix control on the reverb unit. For every lit step, the reverb will switch on and for every unlit step it will go off. Play with the Resolution and ADSR controls on the sequencer to change the effect.

Step 5 '" Get creative
Right-click on the modified parameter (the reverb mix control in this case) and in the contextual menu that appears, go to the Modifiers submenu. Then change the Step Sequencer amount to -100%. You will find that this has the effect of reversing its behavior so that now, the reverb is on every time the steps are unlit (and off whenever it's lit). This is a really interesting effect, as you can hear in this example. It has a sort of chopped up, sequenced effect even though the original drumbeat is still a single unmodified audio file.

Discussion
Want to join the discussion?
Create an account or login to get started!