Making a synth bass patch is pretty straightforward and Cubase's Prologue synth is the ideal instrument to get the job done. In this article I take a look at how to take your bass patches up a notch and add some edge and dimension. We'll even look at how to emulate analog circuitry.
To follow this tutorial exactly you'll need a working version of Cubase 6 on either Mac or PC, but if you haven't got this app then you should be able to create a similar patch using another synth or DAW.
Starting From Scratch
When constructing your own synth patches it's best to start from scratch. We do this by using an initialized patch that is as simple as possible. I find that when using this approach you are much less likely to be influenced by another sound or group of settings.
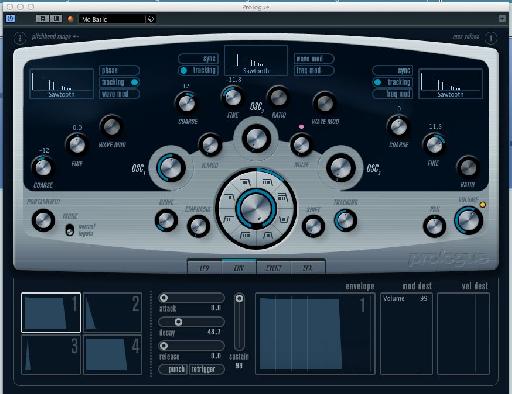
As Prologue doesn't really have a truly initialized default patch I made one of my own. You can see the settings used in the screenshot below. Basically I used a single saw wave oscillator, initialized all the filter and envelopes and finally I ensured there were no modulation mappings still active.
The initialized settings I'll be using as a starting point.
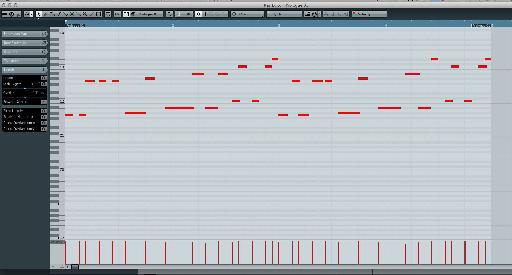
What we are left with is a very plain single oscillator patch. You can hear it being triggered by a basic pattern that I programmed below. This is actually a useable sound but in this instance we are going to make things a little more complex.
The basic pattern that we'll be using through out this tutorial.
The single saw and our basic pattern:
Tweaking The Oscillators
The first thing we need to do to make this patch a little more interesting is to add an extra oscillator. Prologue is actually capable of playing back three oscillators in total and has an extensive list of waveform types to choose from (including wavetables).
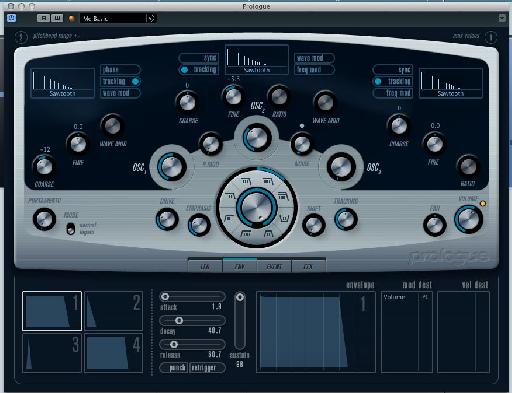
To keep things simple here and to stay as true to a classic analog synth as possible, I have used two saw wave oscillators. These are slightly detuned from each other to create a wide, fat sound. This style of detuning is often associated with vintage polyphonic synths such as the Korg Polysix or Roland Jupiter 8 and Juno 106.
The two detuned saw waves
The detuned saws in action:
At this point I also started to concentrate on the filter settings: I upped the drive setting to start introducing some saturation and extra harmonics. I also increased the resonance in preparation for the adjustments we are going to make to the filter and filter envelopes in the next stage.
At this point the patch is still very basic but is already sounding a little wider and a touch more edgy in nature. Let's use the rest of the synth engine to push things further.
Some Filter Action
The next area we need to look at is the filter. In its current state it has some resonance dialed in and we have the mode set to low-pass. But it is of course extremely static, we could automate some movement but I really want the cut off frequency to change with every note.
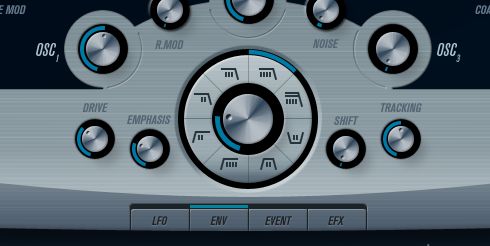
The basic filter settings
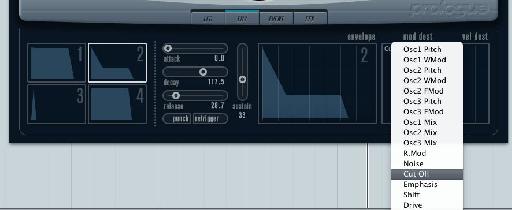
For this to happen the filter needs to be effected by one of Prologue's four envelopes. As the first envelope is already wired to the amplitude/volume (one of the few modulations I left intact), I have used the second envelope to work on the filter.
Routing the second envelope to the filter
With the second envelope selected I connected it to the filter by simply selecting filter cut-off in the drop down list to the right and typing in a value for the amount of modulation to be applied. With this basic routing complete we were now ready to input some envelope settings.
I wanted the filter effect to be nearly acidic in nature and quite percussive as well. I opted for an envelope that was decay-based. The sustain was set very low and this was coupled with a fast decay time. When applied to a filter loaded with resonance the desired effect is easily achievable.
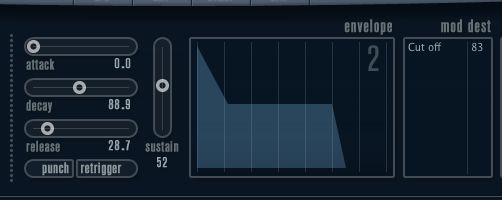
The envelope settings used
To finish off the work on the filter I added even more drive. This enhanced the percussive effect and the resonance applied. Next up I wanted to give the sound a little width and an even more edgy sound. For this I had to turn to Prologue's effects section.
The filter envelope and extra drive in action:
Effects And Analog Emulation
At this stage I wanted to do two things with the patch: Add a little space to proceedings and try to make it sound a little more analog. The first step was adding some effects. Prologue actually has three independent effects processors built right into it, so we have a pretty good scope here.
My first move was to add tube emulation, this introduces even more harmonics and saturation to our sound and when pushed will even produce mild distortion. It works well with this patch but be careful not to go too far as you can lose definition.
This was closely followed by some super short timed delay. I set the synced delay lines to 1/32nd and combined this with a very low feedback and a pretty subtle mix setting. The overall effect was a simple widening of the sound, almost like an ambience or spring reverb.
Prologue's effects section in action
Finally I wanted to make the patch a little more random by adding some irregularities. Classic analog instruments are famous for tuning imperfections and one way you can induce this effect is by using an LFO to effect the oscillator pitches.
I applied a very slow moving (non synced) LFO to both oscillator's pitches and set the intensity at a very low level for each oscillator. This induced a very subtle drift and hopefully makes the whole thing sound a little more convincing. You can try this technique when constructing any analog style synth patch.
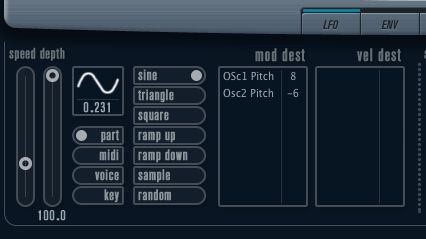
The slow moving LFO used to emulate analog style pitch drift
The effects and LFO based drift are added:
Some Final Tweaks
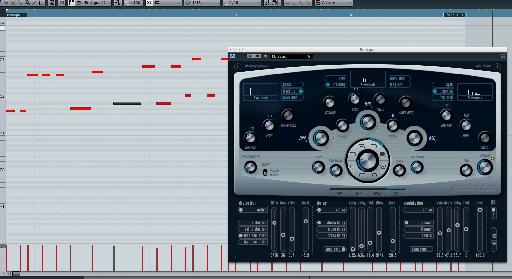
To finish the whole thing off I added some legato-based glide to the patch. This essentially meant any glide applied only happens when the notes in our sequence overlapped. Once this was turned on I went through the sequence and manually edited the notes so the glide occurred in a few choice spots.
Creating the legato-based glide by altering the pattern
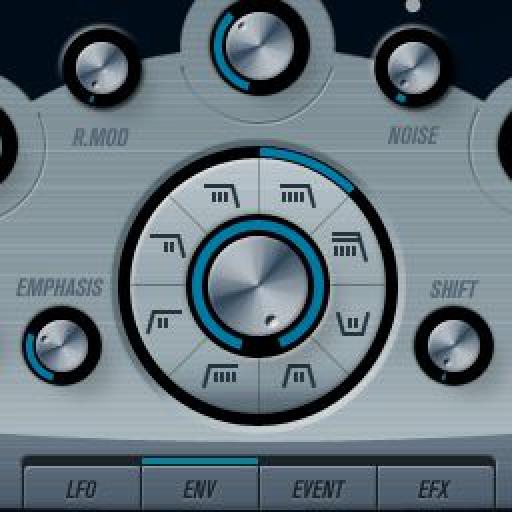
Finally I cranked up the filter-based drive circuit even more and added a very small amount of white noise to the patch. At this point I felt I was done! You could also use the same patch without the delay which would give it a little bit more of an upfront sound.
The final patch:
Adding all these processes and effects can give you a much wider and more interesting sound but you may also lose some of the direct punch a simple saw wave has. To claw some of this depth back try layering a drier more direct patch under your new effected sound. Of course this is for another tutorial and I may look at completing something on this subject in the near future!
A drier alternative without the delay applied:



 © 2024 Ask.Audio
A NonLinear Educating Company
Discussion
Want to join the discussion?
Create an account or login to get started!