

So you have just installed your shiny new version of Ableton Live and you're ready to make a dent in the music industry. Well that's great, but before you construct your Magnum Opus there are a few things to get your head around.
Joking aside, any software package can be daunting to the beginner but thankfully Ableton Live is about as user friendly as it gets. So assuming you have your Live package installed and the appropriate audio hardware hooked up, let's take a look at the first steps you can take to becoming an Ableton Live music production machine!
Step 1 - Do Your Homework
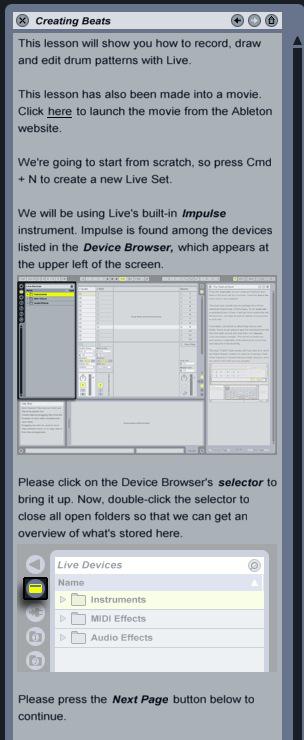
Nobody likes wading through huge manuals, or swathes of text but following interactive, graphical tutorials is never quite as bad and this is just what the Live beginner has access to. The macProVideo.com Live 8 101: Core Live 8 tutorial will also walk you through all the Ableton essentials step-by-step.
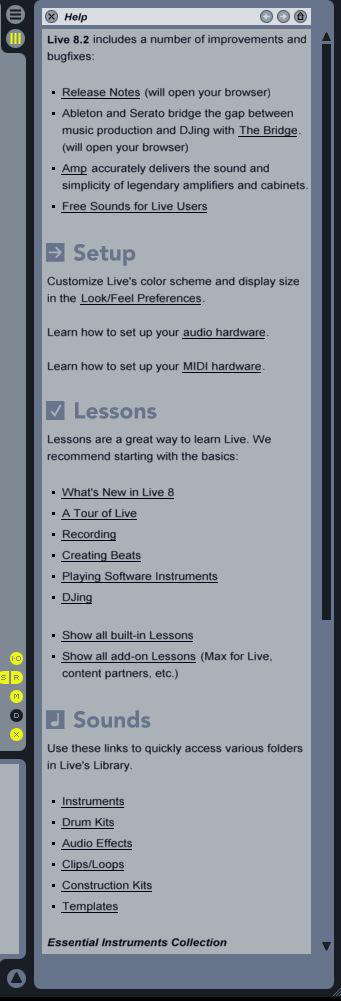
Ableton has really gone to town on its Lessons section and it's been constantly expanded since the application was born. It resides on the very right hand side of Live's main arrange view and can be exposed or hidden as you see fit. The lessons include example projects and working audio. A nice change from the traditional manual that's for sure!
Step 2 - Importing Your First Sounds
The first step to building a project in Live is importing some kind of audio into the system. The best way to get started is by using the Session view, this is the first screen that you see when Live is loaded and it probably represents the most straight forward way of using the application.
Begin by using the file browser to the left of the interface, you should see a clear representation of your computer's file structure here. Once you have your bearings locate any audio you may have stored on your drives. If you don't have a huge amount of audio material to choose from you may want to think about purchasing a few third party sample collections to get you started.
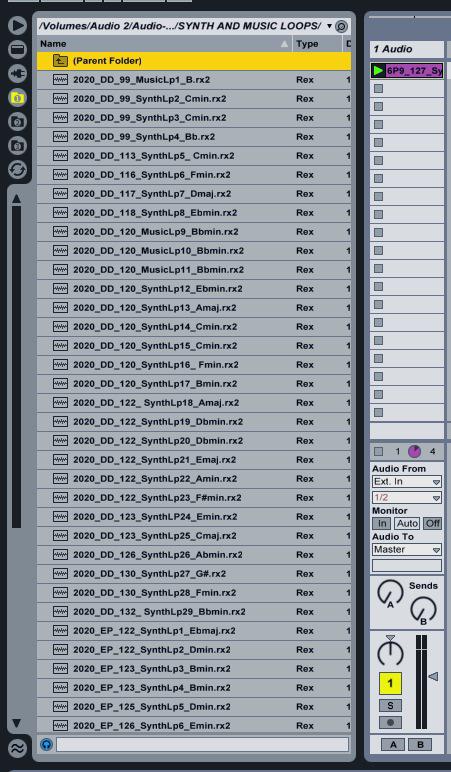
Ableton is capable of analyzing just about any rhythmical audio and creating seamless, elastic loops from it. To keep things simple here you may want to load up some previously trimmed and looped files.
Ableton will still run some basic analyses here but if you choose trimmed, percussive loops that are simple in nature you should find they loop perfectly without the need for any manual editing. This gives you the opportunity to become familiar with the basics before getting too bogged down in Ableton's more advanced editing capabilities.
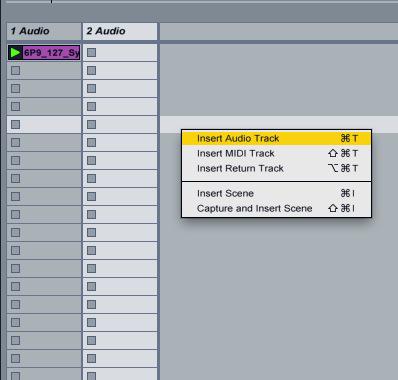
By default Live will have at least one audio track loaded and your chosen files can be simply dropped into a free 'slot' within this channel. To create more channels you have a few options, you can either drag and drop new files into the space to the right of your active channels or manually create them using the contextual menu (accessed using the right-click command).
A new sound is imported:
Your newly imported sounds (if selected correctly) should simply play in time. Each sound can be activated by hitting the play button on the clip within each channel. You can now audition the sounds one by one, or in unison. At this point you can adjust the sound's individual levels to get your first basic mix.
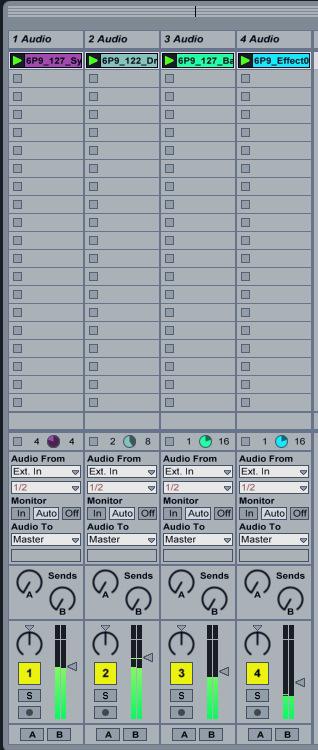
All our imported sounds in a basic mix:
Step 3 - Applying Some Basic Processing
Every good mix needs some form of processing to reach its full potential. From basic equalization to complex parallel compression setups, audio processing technique is what will give your mixes the edge.
There are literally limitless possibilities here and that's just using Live's bundled processors. To keep things simple I've just applied some basic processing to one of the sounds in our mini mix.
To use any plug-in on your audio simply drag the required processor to the strip in the lower section of Live's interface. Once the processor is in place it is immediately activated and becomes part of that channel's virtual signal chain.
To demonstrate this process I have applied some equalization, saturation and simple digital delay to the first sound in our mix. The excellent 'EQ eight' plug-in is supplying some high pass filtering, while the 'Saturator' and 'Simple delay' processors add some tone and dimension to our sound.
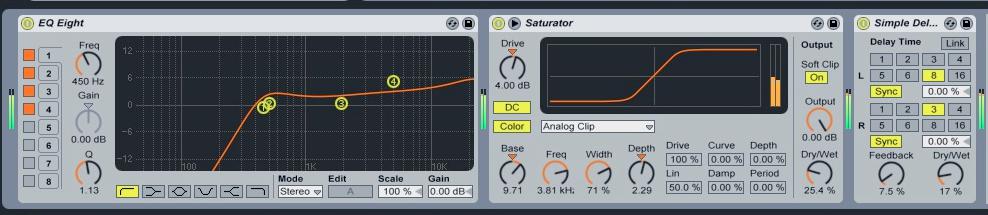
The sound with some basic processing:
You can see, from this example, that even a small amount of processing can go a long way. Take the time to look at every element in your mix and you could make a good mix great!
The newly processed sound in the mix:
Step 4 - Loading An Instrument Or Two
Finally let's take a brief look at how we load instruments in Live projects. This is a very similar process to loading audio and is achieved using Live's excellent drag and drop system.
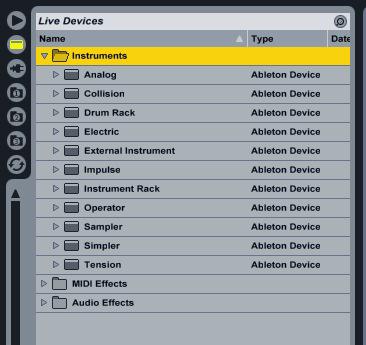
Using the browser again, locate the instrument section, this is within the included Ableton library and should be pretty easy to find. Here you will find all the instruments installed and authorized for your system. The instruments available will vary depending on the package you purchased but if you are lucky enough to have the 'Suite' edition of Live you should see all the instruments displayed.
Now grab your chosen instrument and drag it to the open space to the right of your active channels in the session view. A new instrument channel will appear and the interface for your device will now appear in the channel strip in the lower section of the interface.
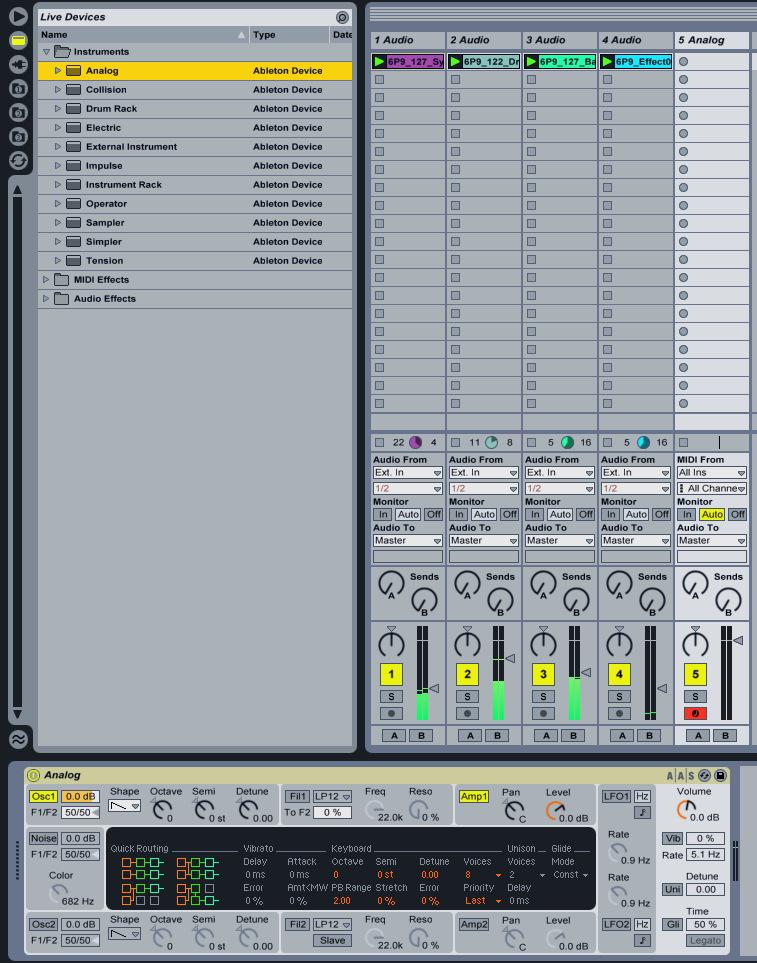
Of course, if you prefer, you can manually create your instrument tracks via the right-click (contextual) menu. Either way, with your instrument in place you are ready to start playing and recording new parts.
You can record parts directly into the clips and edit them by double-clicking them. This will give you a graphical representation of the MIDI recorded and you can move, delete, add and loop your notes.
To demonstrate the technique described I have used Live's 'Analog' synth to record a very simple top line over our simple loop based mix. We now have a simple project in the making. Next, try repeating the process using your own sounds and see if you can build your very first piece of music in Live.
Our new topline coming from 'Analog':
... And all the sounds together in the final mix:
Want to learn more on how to make music with Ableton Live? Check out Part 2 of this series coming soon & delve into this comprehensive Ableton Live 101 tutorial here.

Discussion
Want to join the discussion?
Create an account or login to get started!