Creating exciting builds, effect and transitions in your songs is an art form. And, it's an art form that should not be ignored, considering how many other songs are out there, and how short the average human attention span is, when it comes to listening to music. There are many methods for doing this. But, for this exercise, I wanted to focus on one very simple method that you've, no doubt, heard before. And, it's so easy to set up!
Step 1 - Choose your Location...
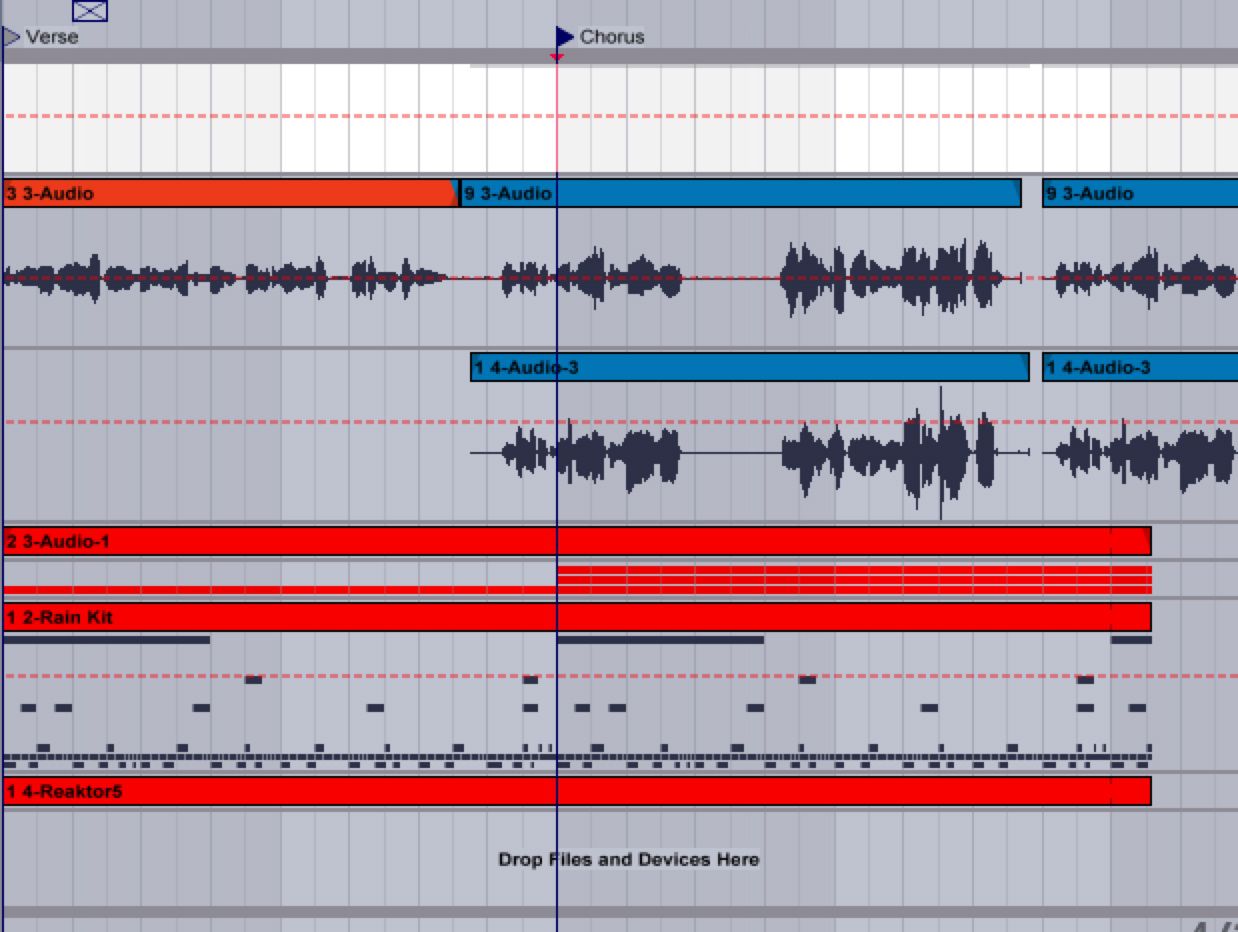
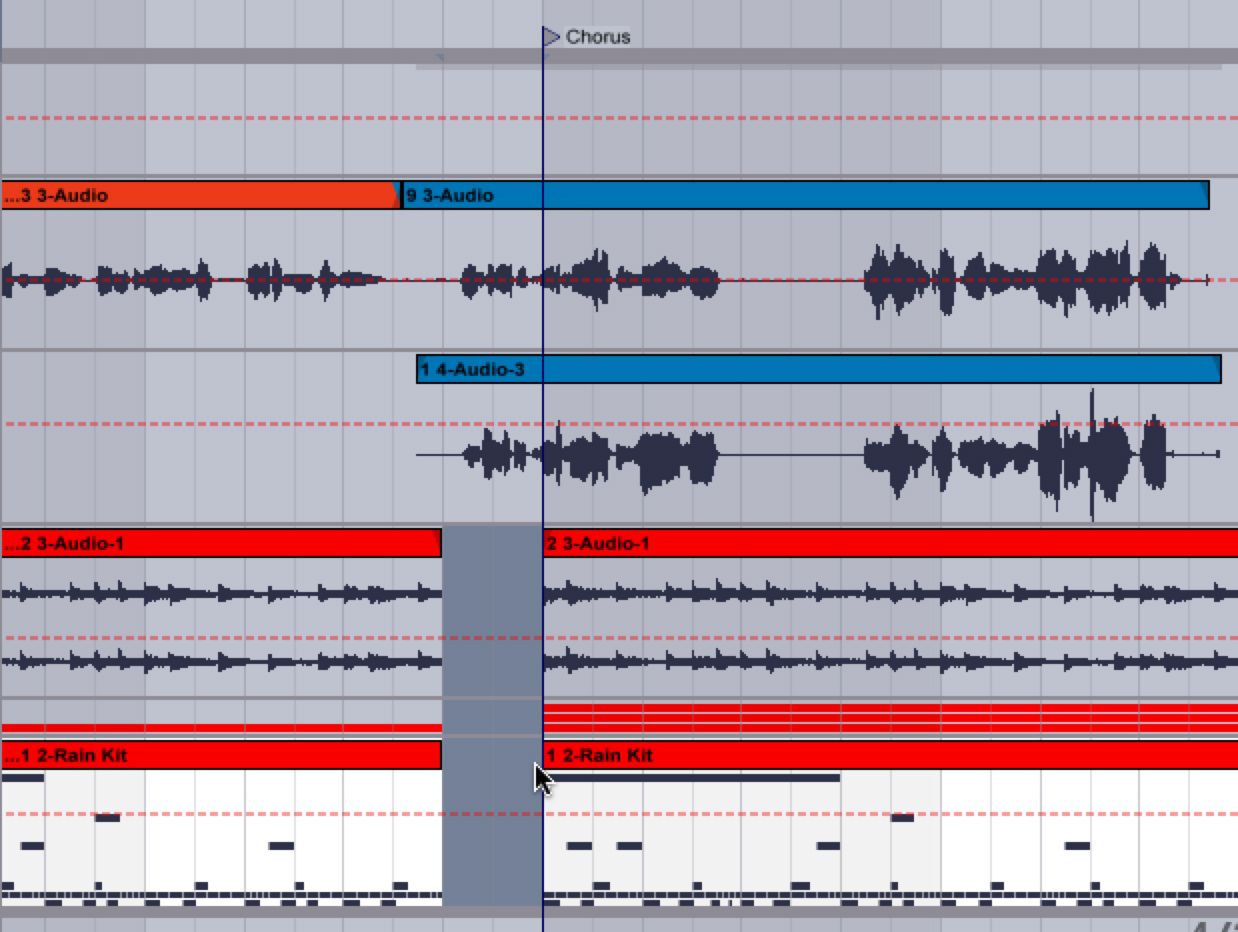
Our chosen scenario, as an example, will be going from a verse, to a chorus. A common scenario, and a situation that should never be overlooked, as it is a moment that prepares the listener for a very important part of your song. To make this an even more familiar scenario, I'll throw in the additional difficulty that the verse and the chorus are using the same melody, and bassline. This can make it a little more difficult to build, because after the transition, there won't be much payoff. We're transitioning to the same melody and structure!
After listening to the audio file above, you'll notice that the song plays right into the chorus, like many songs these days. What can we do to break it up?
Step 2 - Make Some Space...
Because something big, or something we want to be big is about to happen, it would be a good idea to pull back a bit on the drums. This creates that momentary suspension of belief that the song won't be coming back, and it gives us room for our effect. I did this by selecting the measure right before the chorus starts and using the delete key to create a hole in the instrument tracks. I'm using Ableton Live, but you can do this in any DAW!
Step 3 - Reverse Cymbal
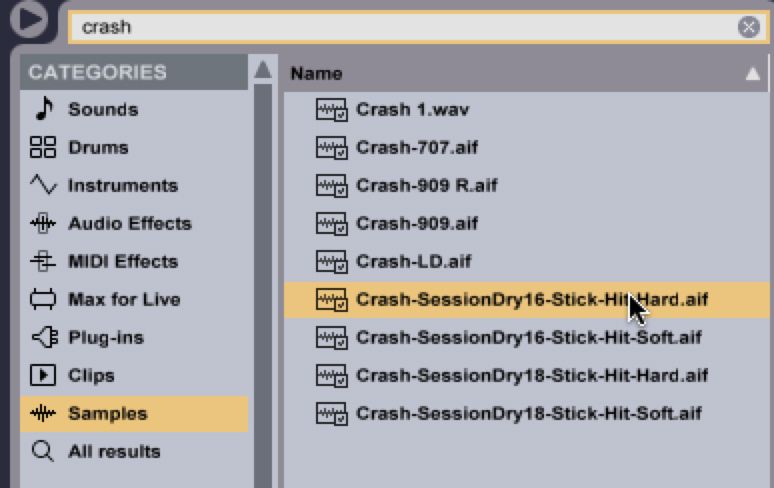
This is where things really get fun. And, by introducing dynamics such as these to your track, you begin to get some confidence. Polish takes things a long way. Now, for the purpose of this tutorial, I'll dig around in my sample library for a sample of a Cymbal Crash. Every drum machine, DAW and loop library will have one, this is in no way exclusive to Ableton. Though, using the Command-F function to search Live's library is really handy.
I locate a crash that has a nice, long decay and throw it on to its own track. I don't worry much about where it is in the timeline.
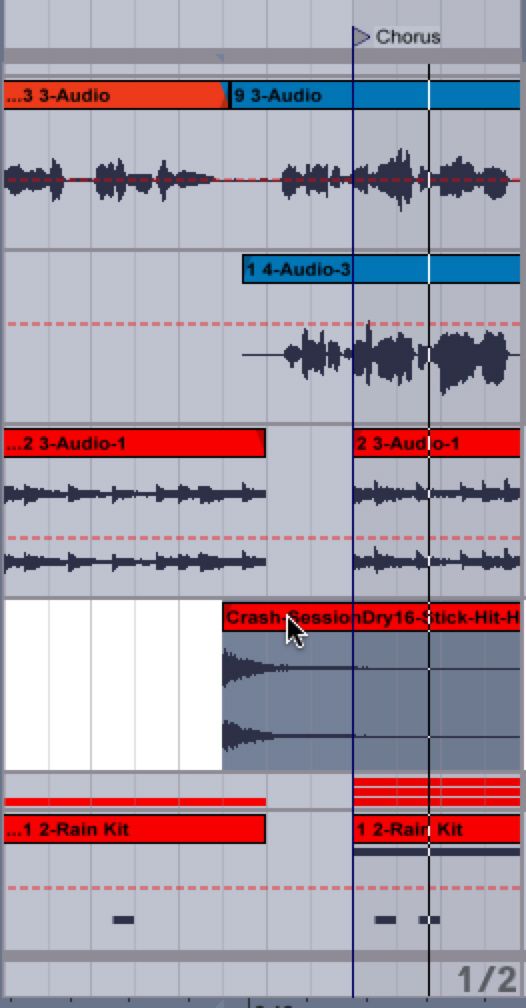
Next, I'll locate the Reverse command in Ableton. Again, this is not exclusive to Ableton, any DAW will have a reverse audio function...
Once reversed, the crash will need to be moved. Ideally, the crash will apex, and end, at the very beginning of the chorus. Make it look something like this...
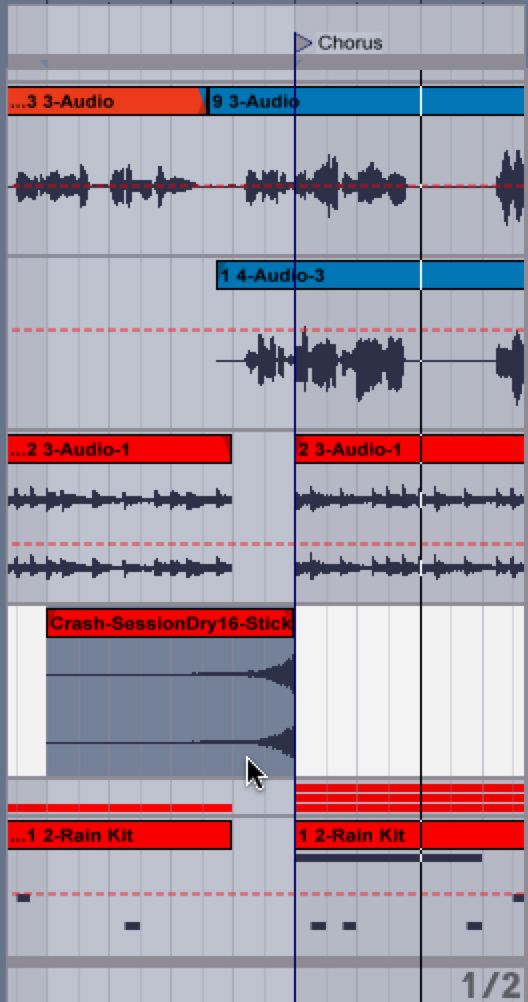
Let's take a listen...
Not bad, for a quick and easy edit! Reverse cymbals, such as crashes, rides and hi-hats can be used all over the place, and really create that dimensional 'sucking' effect that makes you feel like you're being drawn into something. By cutting, making space and reversing audio, you get some extra polish and dynamics into your tracks. Try this with dubstep, pop, trap, glitch-hop, jungle or any music that needs a little something special.



 © 2024 Ask.Audio
A NonLinear Educating Company
Discussion
Want to join the discussion?
Create an account or login to get started!