Cubase is able to help you achieve the best in every stage of the music production process, and that includes mastering. Whether you are doing a quick master for testing purposes or painstakingly fine-tuning the final version of your finished tracks before they are sent out into the world, we will show you some great tips for getting the most out of your software. You may be using dedicated mastering tools like iZotope's Ozone of course, but we will focus mostly here on tools that everyone with a copy of Cubase should be able to use without adding anything extra.
1 - Always start afresh
Although it's possible to strap some mastering processors across the stereo output buss of your project during mixdown, this isn't the best way to work. Separate the mix and mastering stages both for technical and artistic reasons. Trying to master during mixdown means you will be tweaking channel settings within the mix and expecting these changes to sit nicely in the finished master right away. It's much better to do the mixdown and concentrate on the balance of the track's elements first, then wait at least a day before coming back to master, which is a substantially different process in terms of what you're trying to achieve.
2- Top and tail your track
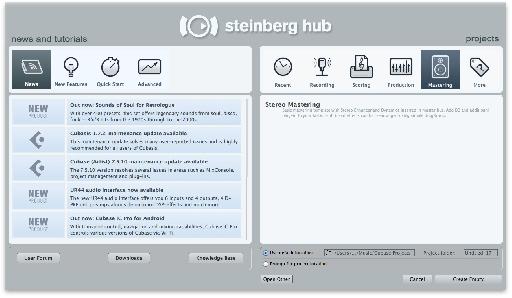
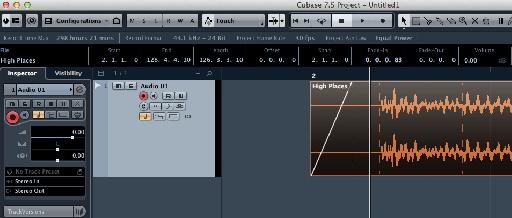
After importing your stereo mixdown into a fresh audio track in Cubase and making sure your project settings match the attributes of the imported file so no format conversion is required, place the track just away from the start of the timeline. Remember you won't need to sync anything up here so grids are not all that relevant. Zoom in and set the left and right markers around the audio event. At the very start and end of the event, drag the volume fade handles to create short, smooth fades in and out and remove any clips or clicks that may be present. This is easier than using fader automation to achieve the same thing.
3 - Use an analyser
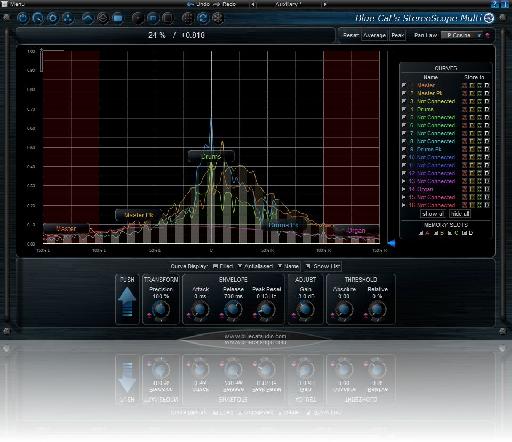
Level meters in Cubase are useful of course but to really get a handle on what's going on inside your master, consider using an analysis plug-in strapped across the stereo outs. These don't process sound and therefore don't change it, but they do analyse it for various things like stereo, phase, EQ and relative loudness. Since your speakers and listening environment might be less than 100% optimal, analyzing the signal before it's actually been broadcast into the room is a good way to really get to grips with what's happening. Some are paid but there are also some decent free versions around as well.
4 - Use Track Presets
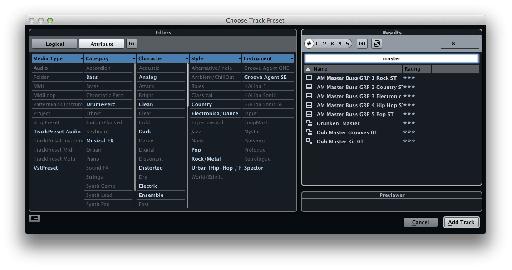
Cubase has an excellent system of Track Presets that stores all kinds of information for a track like what plug-ins are inserted and what each of their settings are. There are some bundled mastering presets, but you can of course save your own. Let's say you are mastering two versions of a track for example, one with vocals and one instrumental. Both mastering treatments are likely to be very similar so it makes sense to spend time getting one right then saving it as a preset before applying it as a starting point for the other. You can also use FX Chains in MixConsole for this purpose.
5 - Try multiple treatments
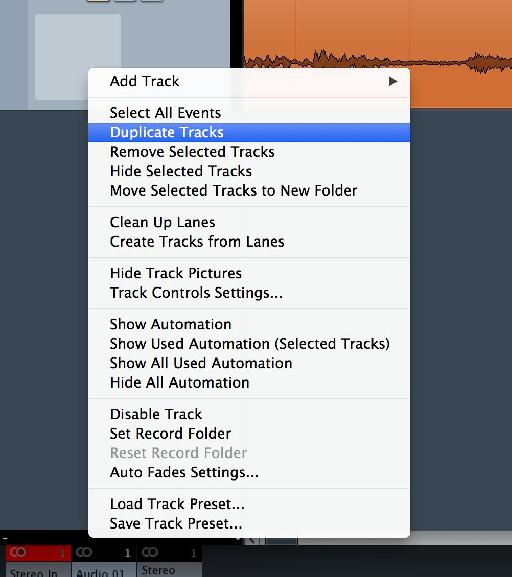
Digital technology affords us the ability to try lots of different ways of approaching mastering without using up lots of resources. Imagine you have a track with a mastering treatment applied but wanted to try something similar but a little different. Simply right-click on the track and choose Duplicate, and all the plug-ins will be copied to the new version of the track. Make changes to the treatment for this track and then use the mute and solo controls to A/B between the treatments. Keep going with three or four versions if you like.
6 - Use big EQ displays
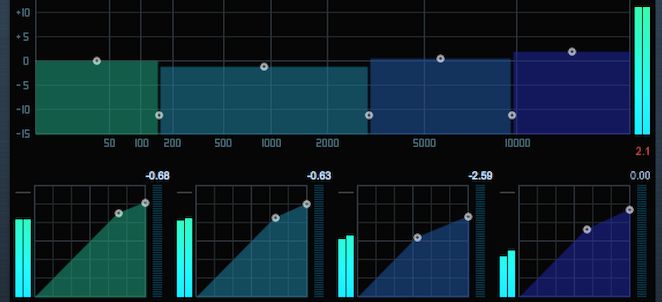
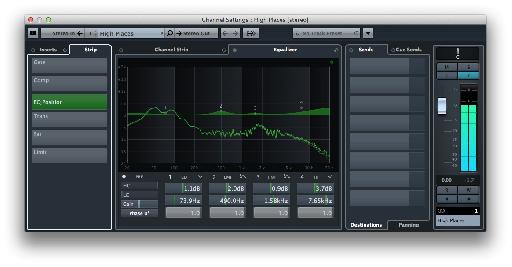
There are several different ways in which you can view the channel EQ for each track inside Cubase and the EQ points are editable in almost all of these views. However, in order to make accurate changes to EQ'"the kind you will need to be making during the mastering process'"it helps enormously to have a large display and more room in which to manipulate the points. To see this, make sure you open the Channel Settings window for the audio track and reveal the EQ control section.
7 - Mix and match
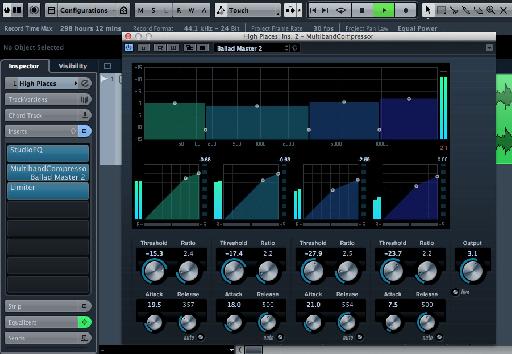
The best way to manage your plug-ins is as a chain either in the Inserts strip of the track containing the audio or in the master channel. Since there is only one track in most mastering projects, it's up to you where you put them. Use a combination of plug-ins to build your mastering chain. Cubase has EQ, compression, multiband compression and limiting in its own sonic arsenal, though you are of course free to add third-party effects as you see fit.
8 - Use Quick Controls
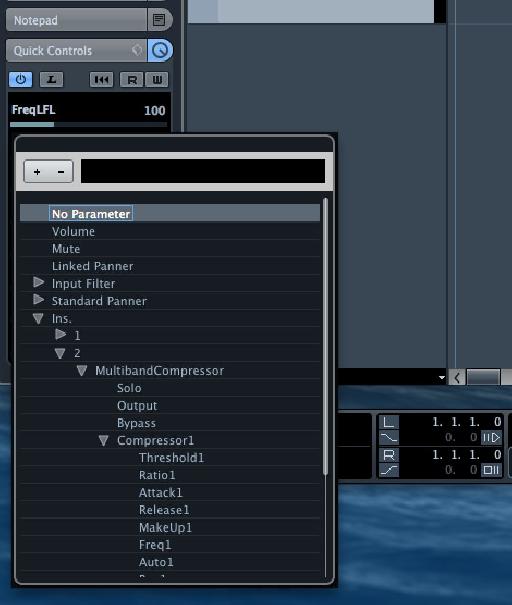
Cubase 7.5 has an incredibly powerful system of Quick Controls, accessible from the named tab in the Inspector panel for any audio track in a project. Click on a Quick Control slot and you can navigate down to get at any of the track's controls including any of the parameters contained within the plug-ins applied to the track. This makes it easy for example to assign quick controls to a compressor level, EQ bands, limiter amount or another mastering parameter that you will probably tweak a lot during the process. It avoids the need to have lots of plug-in windows open, and you can even use the Device Setup menu to link hardware controls to the Quick Control slots.
9 - Watch your export settings
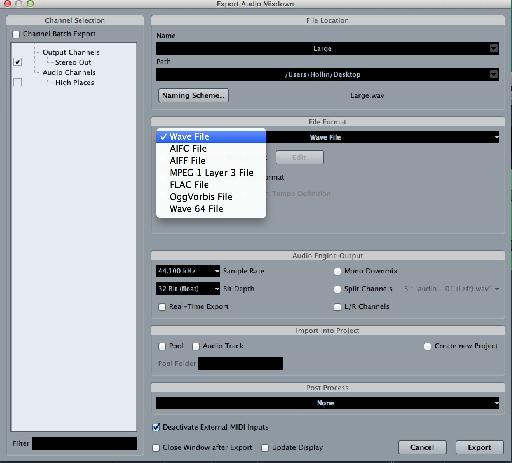
When exporting your mastered file, be sure to keep the quality and format settings as high as those of the file you imported for mastering. You can compress a version using Cubase's export dialogue box or a third-party audio compression program as well of course, but it's vital to keep at least one pristine, full quality version of the file as your original master. Any compressed versions will lose some audio quality.


 © 2024 Ask.Audio
A NonLinear Educating Company
Discussion
Question: no one, except hopefully YOU when you've read my query has ever explained in any sort of manner what Inserts 7-and 8 are best used for. (As regards Cubase 8.5
I place my Mastering tools in the audio track I working on, as opposed to the Master buss. This way, each song in a project is treated appropriately. HOWEVER..when it comes to the mastering Limiter (in my case usually Fab Filter Pro L) I've heard conflicting views on whether it should go in Insert 6, or in 7 (post stereo "track" fader?). I always have my level for CD at -.2db, and for iTunes +, -1.0, as prescribed by Apple.
I guess it's also about where the dithering should take place, as it's included on both my mastering Limiter plug ins.
What is your recommendation? Thanks much, sir.
Rob
Want to join the discussion?
Create an account or login to get started!