
Ableton’s new Wavetable synth is incredible. Not only does it have plenty of eye candy but it also has a ton of raw sound power! In this tutorial, I’d like to show you how to cash in on the power of Wavetable by building some monster basses.
Step 1. Everything Starts Out Little
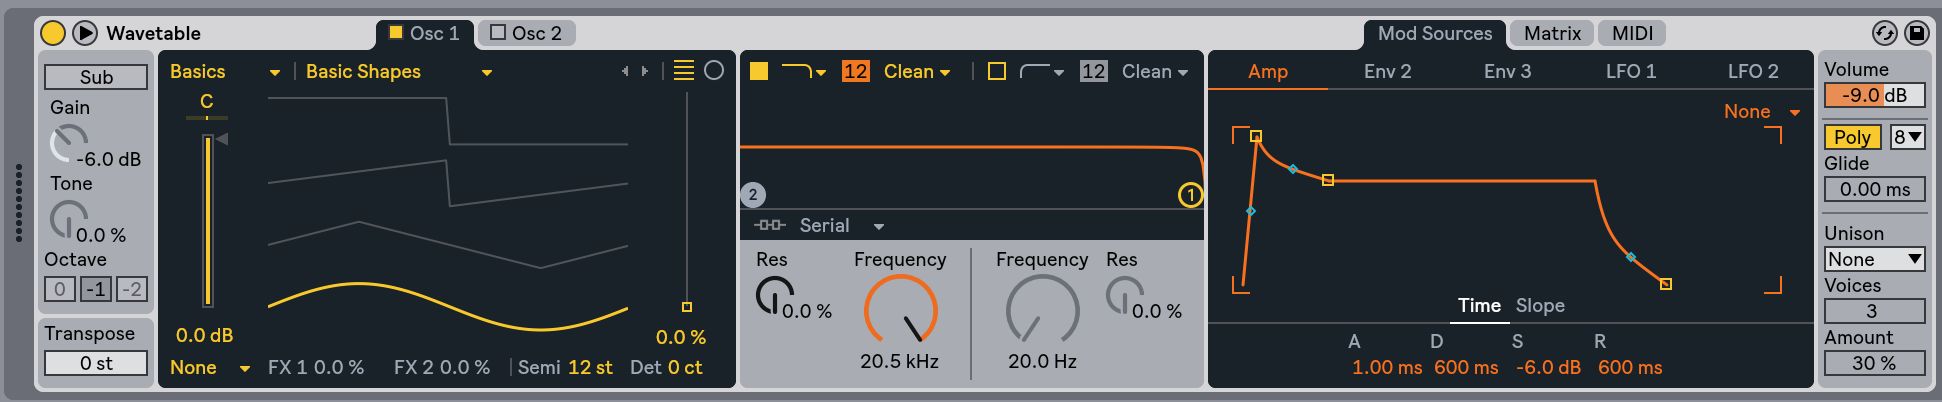
A quick jam session with the initialized patch for Wavetable might send you running for the hills, as it sounds like a happy little bell sound that won’t do a whole lot for us, unless we play it in the low octaves and use it for a sub bass. We could just select one of the basic waveforms available by default but because there are so many more complex and elaborate wave shapes laying in wait, it seems a shame not to go for something more interesting.
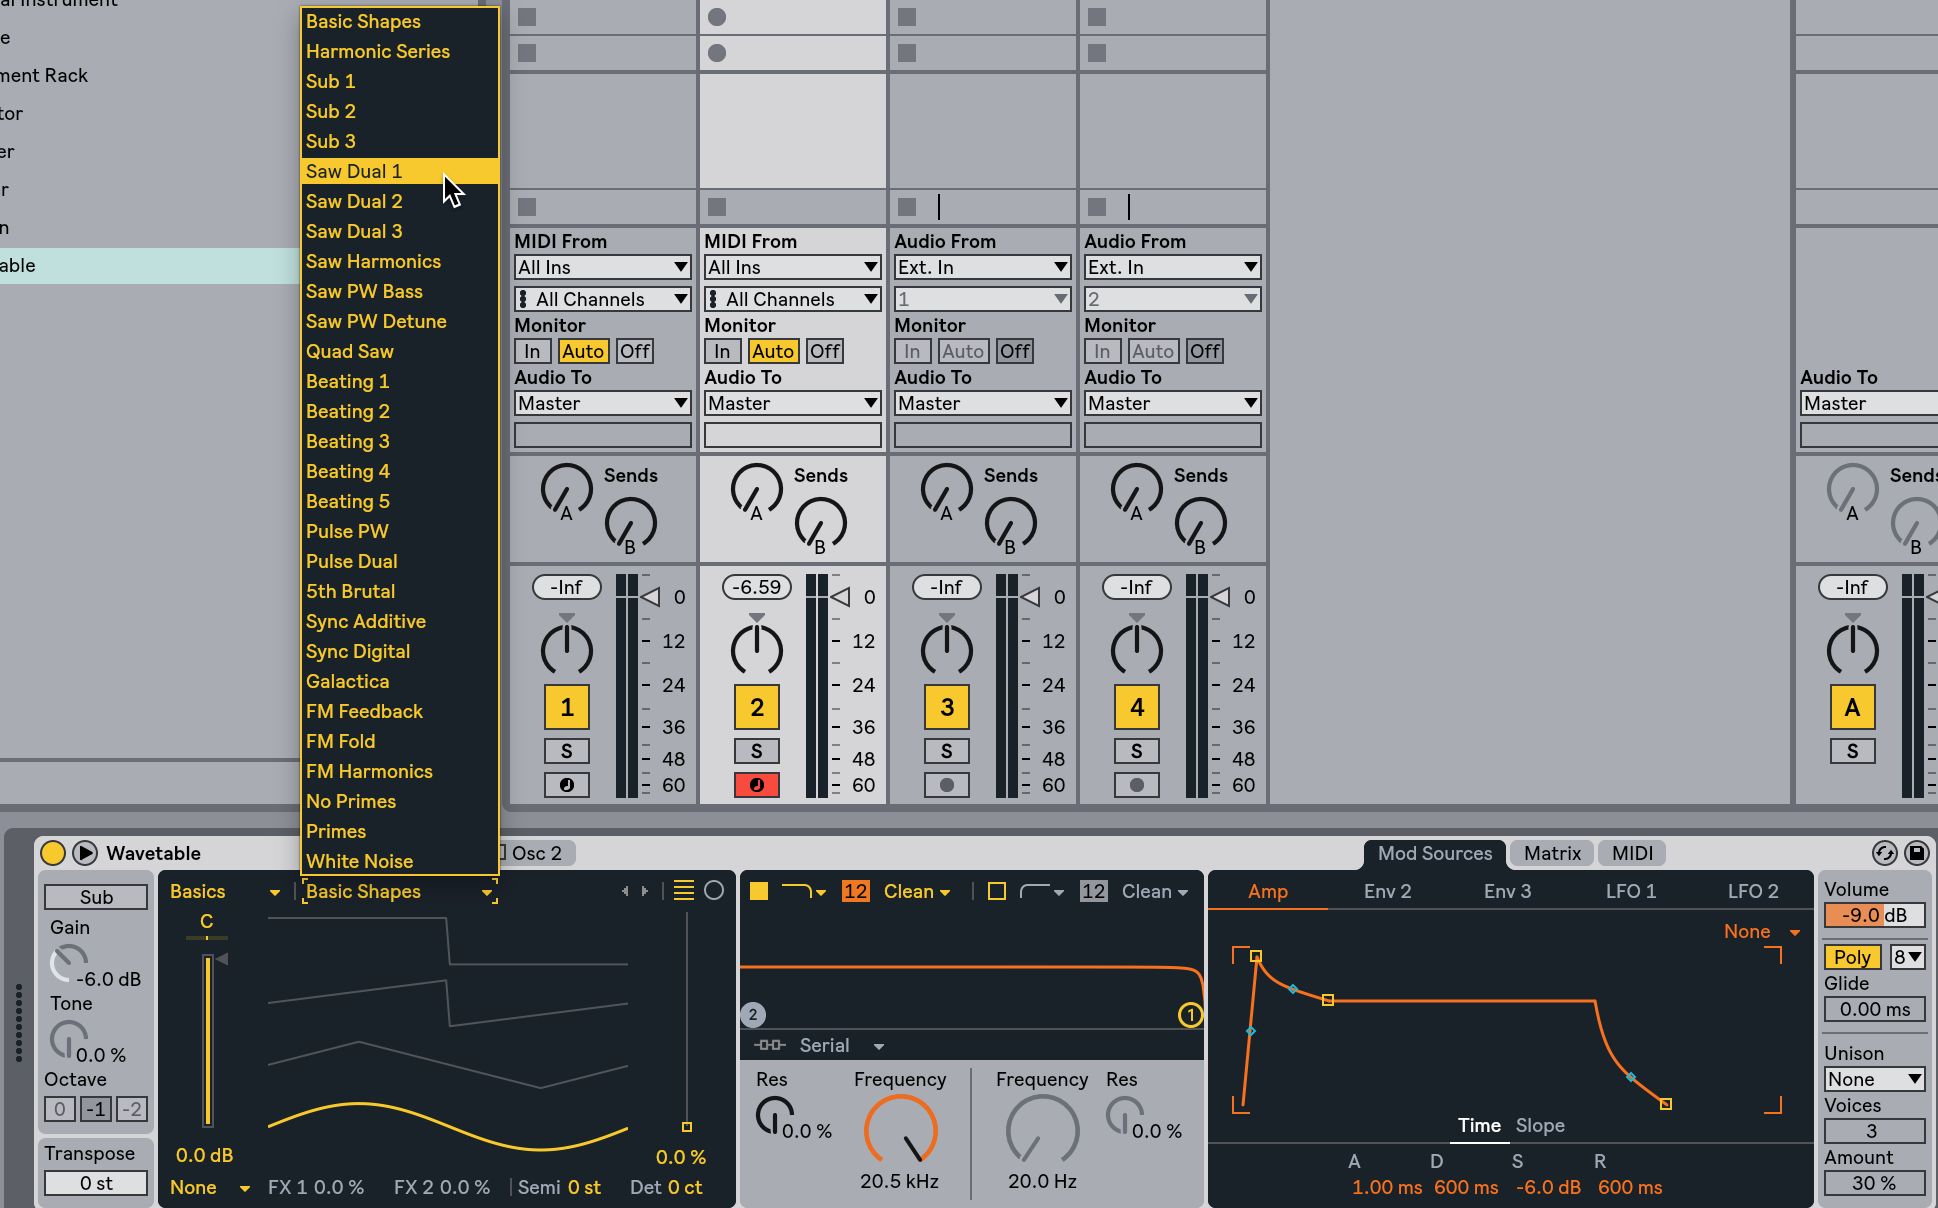
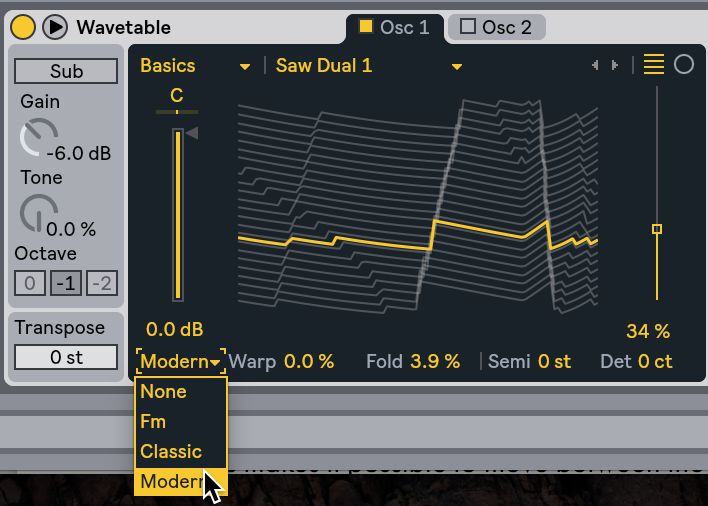
From the Basic Shapes drop-down menu, I’ll select the Saw Dual 1 waveform. As soon as this is selected, you’ll begin hearing a very beefy oscillator! Sawtooth waveforms are always a lot easier to build out with some attitude due to their jagged, rough properties. And having this saw layered on top of another, we’re sure to build something big and awesome!
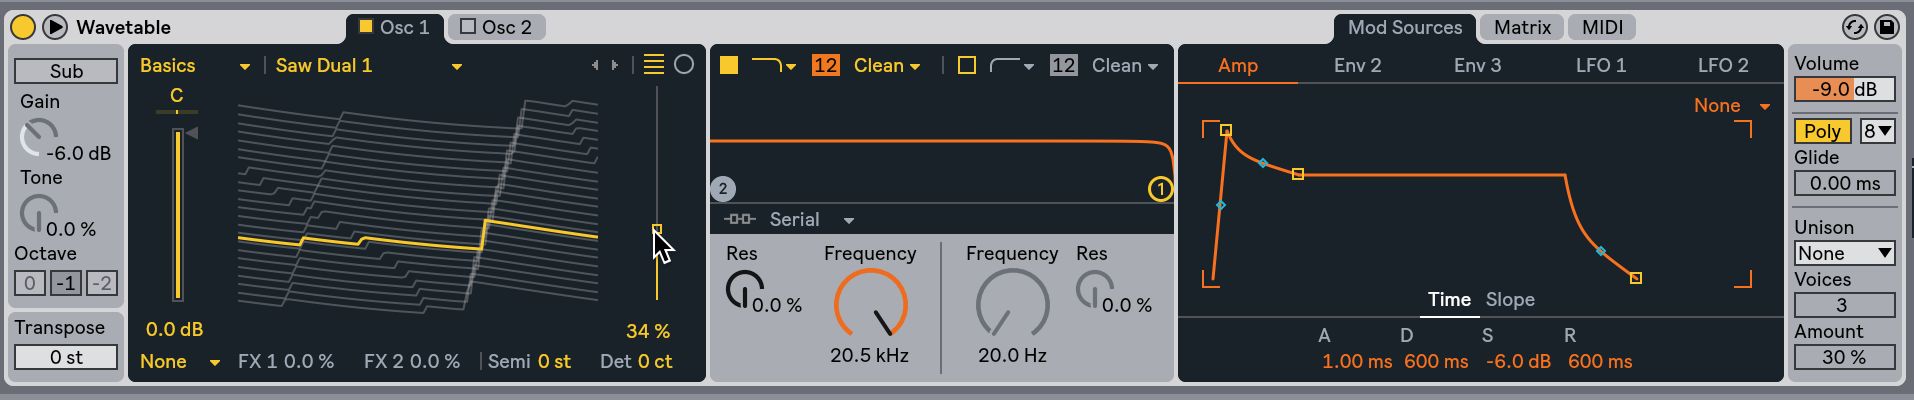
Using the Wave Position slider within the Oscillator 1 section of Waveform, I can scroll through areas of the Dual Saw image and find a section that sounds good to my ears. I would suggest moving this slider slowly as you play. By doing this, you can really gain an appreciation for the sub modulations that occur within the image of the Dual Saw itself.
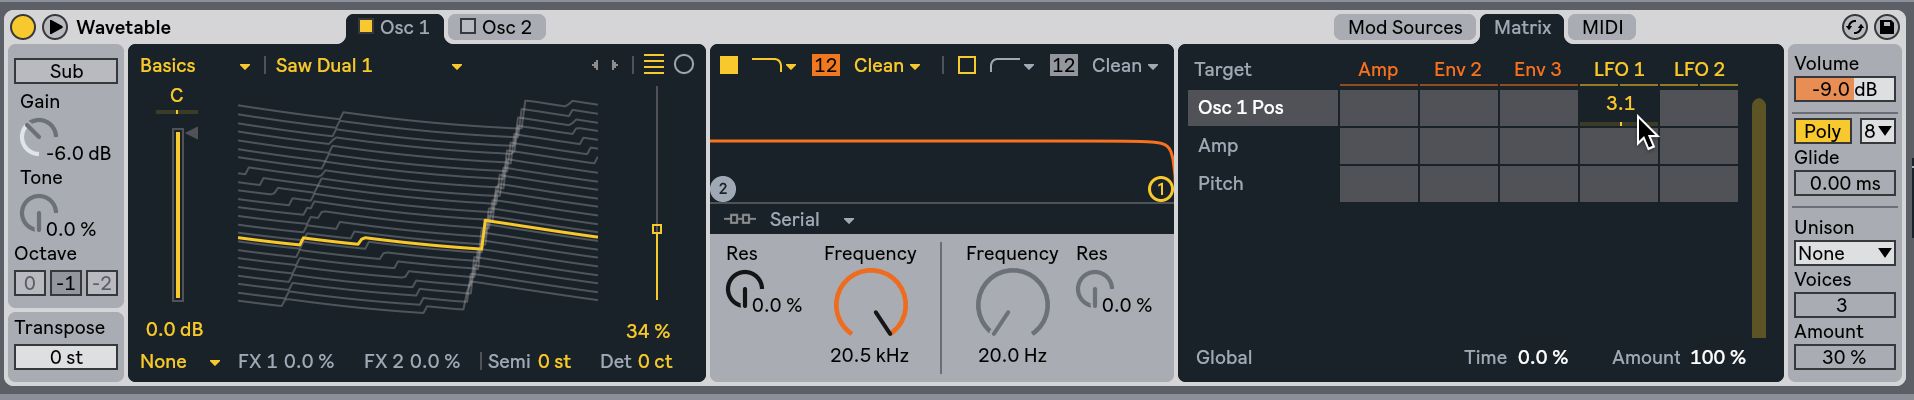
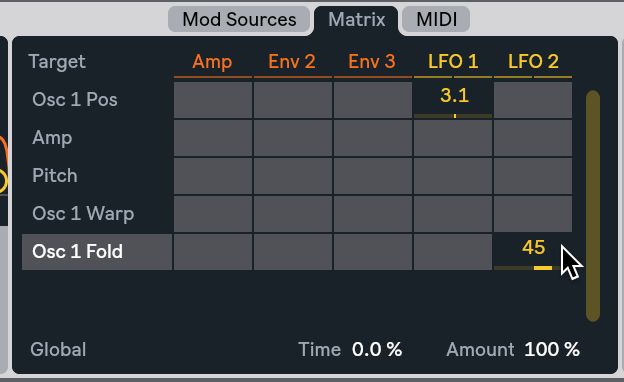
Once I’ve pinpointed a location, I can move over to the Matrix page of Waveform, which will now be showing the Osc 1 Position slider as an option for modulation. By modulating the slider that we were just playing with, we’re automating the slider movement of the Wave Position knob, causing the slider movement, and all of the Dual Saw image’s complexity in movement, to now be audible within our patch. I’m only going to apply a tiny bit, as a little bit goes a long way, as you’ll soon hear.
Step 2. LFO
One thing I love about Wavetable is how intuitive it is to get everywhere. By simply pressing the LFO 1 header within the Matrix, I’m automatically relocated over to LFO 1 control section, where I can dial in the modulation movement. Personally, I like to keep it a little slow, simulating the rise and falls of ancient electronics. But I’d also like to keep that modulation slightly rhythmic, if extended. I’ll Sync the LFO by pressing the small musical note button. I’ll also deselect the LFO 1 Retrigger button, so that the LFO does not reset every time I press a key
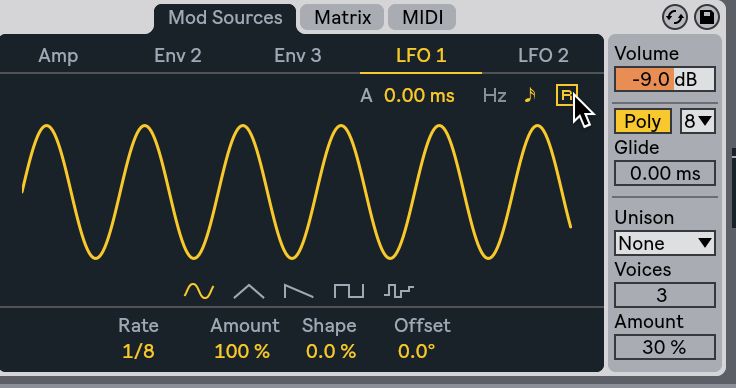
A Note On Retrigger
If you’re building a patch that has rhythmic modulations that rely on key press timing, then Retrigger is exactly what you want. Rhythm starts exactly when a key is pressed, allowing you to trigger sub-patterns on the fly. If you’re trying to simulate an older synth, or you just like randomization, deselect the Retrigger. It will bring a much more organic feel to your patch, as each key press can bring slightly different results.
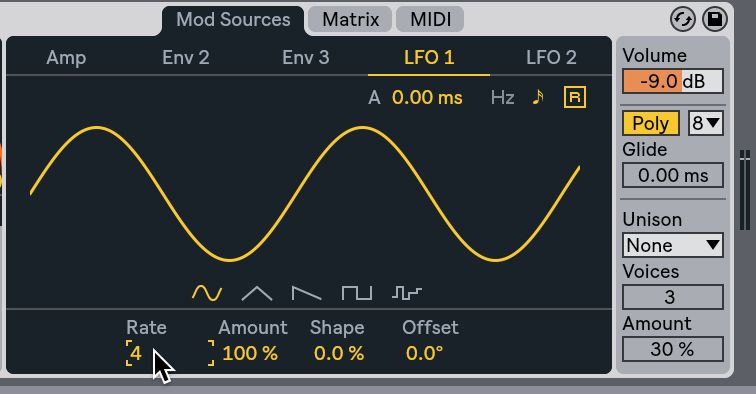
Now, let’s adjust the timing of the LFO! Because we’re now synced, the rate is now displayed in musical resolutions. I’ll select 4, greatly slowing down the modulation movement, making it more of an under carrier. However, once we move to the next phase of our patch, this underlying modulation may contribute greater havoc within the audible sphere.
Step 3. Effect Mode
Going back over to Oscillator 1 may seem like a strange move but there’s really just that much that can be done with just one of the individual Wavetable Oscillators - a lot! In the lower left hand corner of the Oscillator 1 section, there is a small drop down menu. This is the Oscillator FX menu and you’ll find this menu in each of the Wavetable Oscillator sections. I’ll select the Modern setting, which allows you to create a sound very similar to Pulse Width modulation, through the Warp parameter. It brings wave folding distortion to the table with the Fold parameter, in which I’ll add a small value just to bring it alive.
After adjusting the Fold parameter, of course the Matrix will now display it as an available value. Except this time, I’m going to assign the Fold parameter to LFO 2, bringing even more underlying modulation to our forming bass.
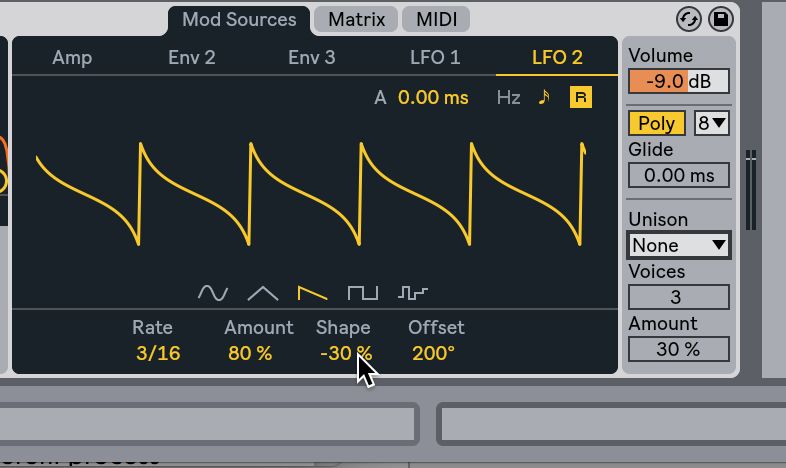
In LFO 2 I’d like to add a little more rhythm than what we did for LFO 1. This time, I’ll leave Retrigger on. But I’ll still sync the LFO, set its resolution to 3/16, and make its waveform a Sawtooth.

Step 4. Offset
Now, because I want my patch to be slightly rhythmic, I’m going to need to ensure that my rhythm starts in time with my key stroke. I’ll use the Offset of the second LFO to move my sawtooth rhythm over, so that it starts with a key press at 200 degrees. Because it’s so pronounced, I’ll move back the Shape and Amount, so that it’s not so forced.
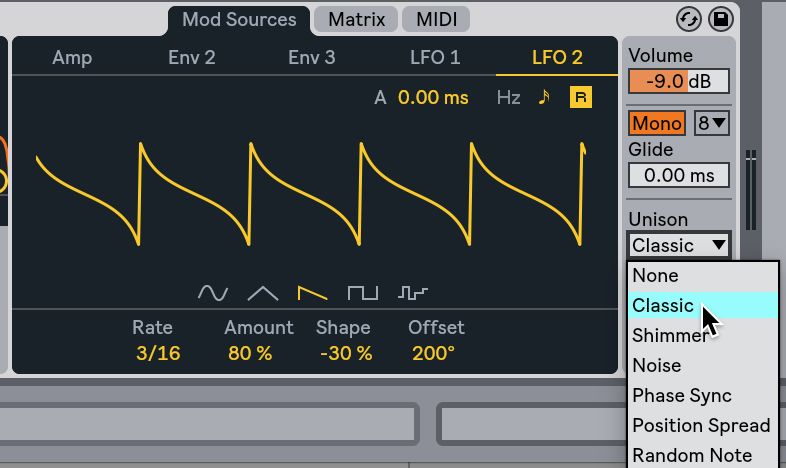
Okay, let’s see how it works as a bass. I’ll set Wavetable to Monophonic, and enable Unison by selecting Classic from the Unison drop-down menu, over on the right hand side
All I need do now is enable the Sub oscillator, over in the far left section of Wavetable and raise the Tone, so that it sounds a little more like a sawtooth.
Conclusion
Okay, if we throw some drums on, along with our new bass, we can get a real feel for how the Fold rhythm and sub modulations work with other tracks.
That’s a lot going on for one oscillator and a Sub-oscillator! I wonder what it would sound like with a second oscillator in play? Regardless, as you can see, having one Wavetable in a session can take up a lot of space, filling it up with fatness and warmth. Throw on some effects and you’re in for quite a ride!

Discussion
Want to join the discussion?
Create an account or login to get started!