Once you’ve wrapped your head around it, it’s all too easy to fall in love with Live’s Session view. Who doesn’t love jamming on loops for hours on end? The problem is how to convert the palette of ideas generated in the Session view into an Arrangement that can be edited and mixed into a finished track. In this tutorial, we’ll examine some helpful strategies for doing just that.
Organize to Hypnotize
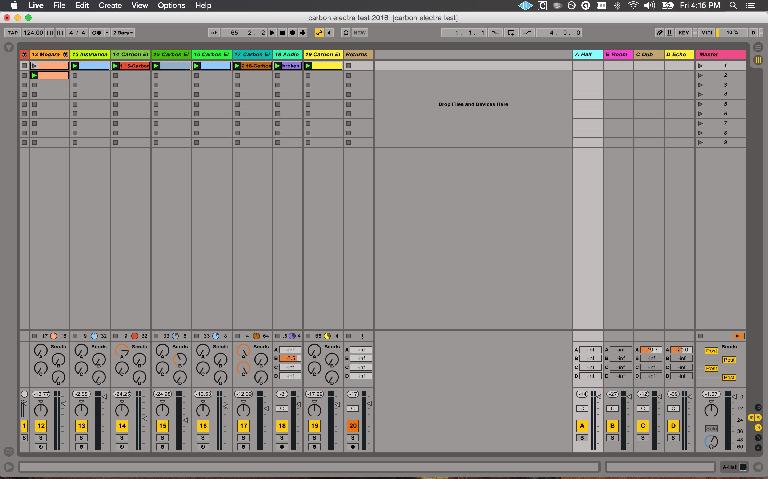
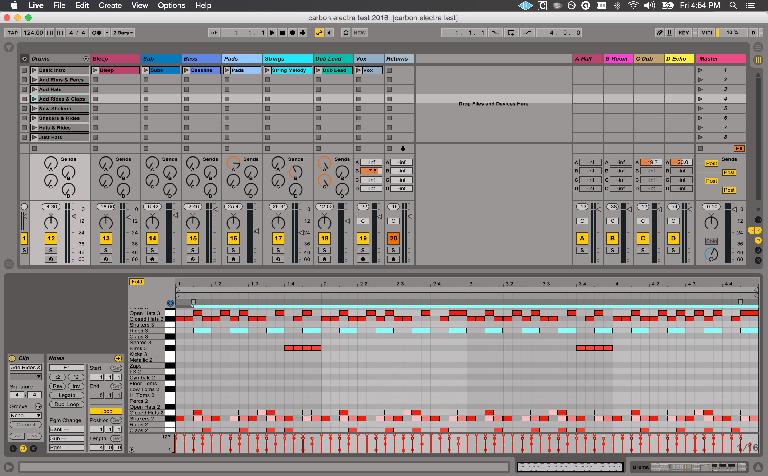
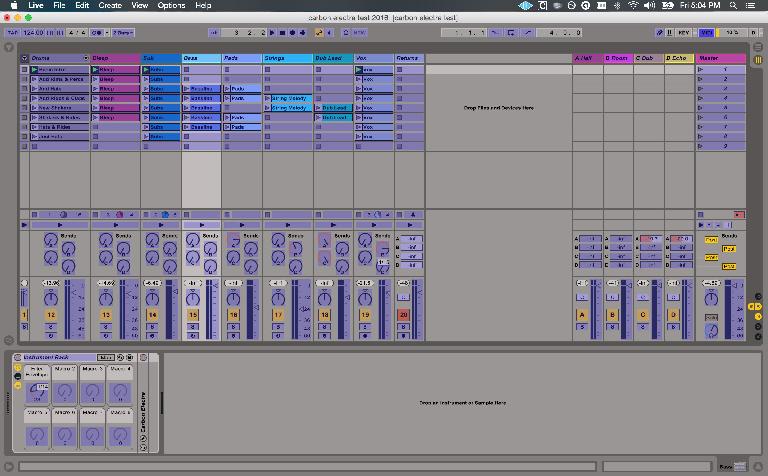
As you can see, I’ve got a bunch of clips in this project I’ve opened up, but it’s hard to tell what’s what, and since I haven’t opened it in a while, I’ll quickly name and color the clips and tracks for reference. With a project that’s more fresh, this might not be quite so essential, though once you’ve switched to the horizontal Arrangement view, you’ll likely find having tracks named, at the very least, quite helpful.
Now that I’ve got everything labeled, I like to categorize everything for easy location in the arrangement and a more intuitive mix down. You’re free to develop your own system, but I tend to group percussive elements, then low end parts, then mid-range tracks, and finally more high-end stuff, from left to right—which becomes top to bottom in the Arrangement.
Drum Versions
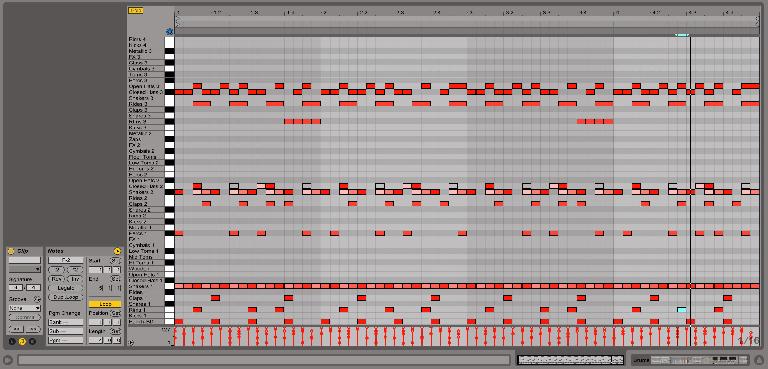
In this project, I had two clips on my Drum Rack track that contain the bulk of my percussion. The Bleep Rhythm is also essentially a percussive part, but it’s generated by a synth device’s sequencer in a way that I can’t edit via MIDI clip. The first Drum clip only contains a few parts, while the second one holds all the percussion parts I had written in—so that’s the important one.
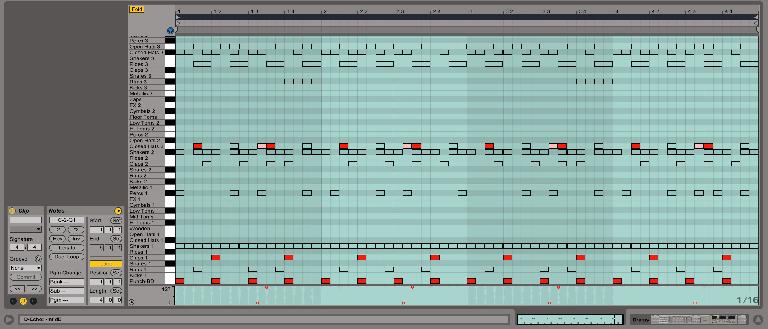
Looking at my main drum clip that contains all the rhythmic parts, I’ll figure out which drums I want to start the track with, and deactivate all the other ones. To deactivate parts, click the white or black key at the far left of the corresponding drum rack pad in the MIDI clip to select them all, and then strike the 0 (zero) key; strike the 0 (zero) key again to reactivate when needed. Of course, this deactivation can be done on a per-note basis as well, but the point here is creating a variety of drum clips with which we can build into and out of different rhythm sections we’ve created.
Once I’ve got all the parts I don’t want at the start of the track deactivated, I’ll duplicate the entire clip using Command-D, activate another part or two in the newly duplicated version, and rename accordingly. This process should be selectively repeated as many times as necessary; I usually aim for eight variations or so in the end.
Estimation Station
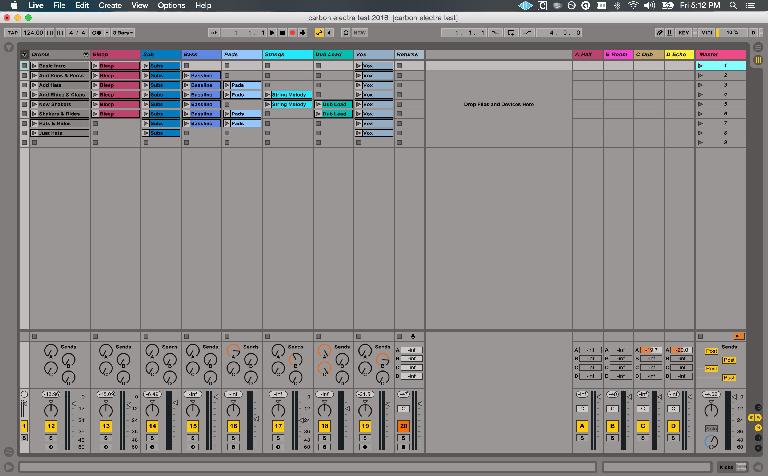
Now that I’ve got eight drum clips, I like to start moving the other clips around, from top down, in order of what I think might come in sooner or later in the song, with earlier elements slotted in higher scenes. The clips that I’ll want to play throughout, or up until a later point, I’ll duplicate down as many clips slots as I need, again using Command-D.
Why would I want to do it this way, rather than copying and pasting clips into the arrangement where I want them? The simple answer is that I don’t know exactly where I want them just yet—and as you’ll see, recording my session into the arrangement gives me the opportunity to define the arrangement by feel, with more intuition than logic. Getting the clips laid out in advance establishes some best-guess guidelines, but no hard and fixed rules as to what comes in when.
At this point I’m nearly ready to record my Session view jam into the arrangement as a live performance, but first I’ll want to map any parameters I want to record automation of to a MIDI controller—if they aren’t already mapped to a control surface, that is. In this case, I’ll map the Bassline Filter Envelope Macro and Vox Dub Send Amount to knobs on my Korg nanoKONTROL, entering MIDI Map Mode via Command-M, clicking the desired parameters one by one, each time twisting the physical dial on the controller that I want to control them.
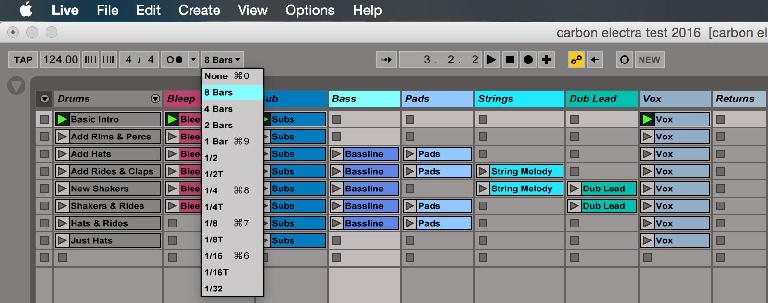
With that configured, I’ll hit Command-M again to exit MIDI Map mode. Then I’ll set the Global Launch Quantization to 8 bars—a longer interval that you’d want for more immediate jamming or editing purposes, but for phrasing purposes, depending on genre, I believe you’ll find 8- or 4-bar settings work nicely for keeping everything nice and tidy when recording Sessions to the arrangement. Next, I’ll arm the Global Transport for recording, trigger my first scene, and I’m off to the races.
Record Your Performance
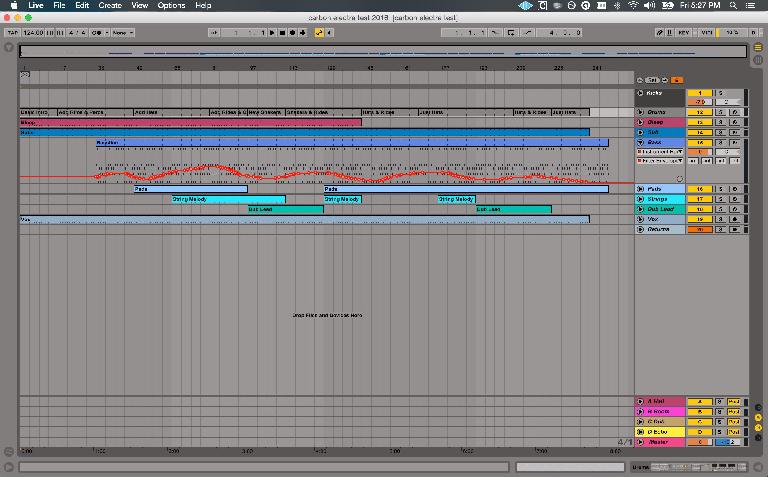
With Global Record enabled, everything that happens in the Session view will be captured into the arrangement; if you want to capture parameter changes as well, be sure the Automation Arm toggle is enabled. Scene and Clip triggers, mutes and the rest are all committed to the Arrange view during Global Recording; internal Clip parameters, however, are not.
I like to give myself a good six to eight minutes, depending on content, to explore the possible arrangement, giving time to build up, delve into the heart of the piece, and then deconstruct things a bit on the way out. Everyone will have their own approach to this, but the real value here is twofold.
First, you get to arrange by feel, in the moment, capturing at least some kinetic energy in real time, bringing the right brain directly into the arrangement process. This is in stark contrast to mentally calculating the placement of parts by copying, pasting, and deleting directly in the Arrange view—an often exhausting and time-intensive process.
Secondly, building an entire rough arrangement in real time is a huge time saver: with seven minutes of recording, you’ll have a seven-minute arrangement to work with, simple as that—no getting stuck 2 minutes and 30 seconds into your tune wondering what’s meant to happen next.
After you’re done recording, you’ll want to click the orange Revert to Arrange button in the upper right of the Arrange area to enable the recorded performance for playback. There will nearly always be mistakes to correct, and certainly plenty of editing and mixing to do—but at least you’ve got your ideas out of the Session view, and that much closer to resembling a finished track.
Learn more with these Ableton Live video courses in The Ask.Audio Academy




 © 2024 Ask.Audio
A NonLinear Educating Company
Discussion
Want to join the discussion?
Create an account or login to get started!