
With so many plugins on the market—especially compressor plugins—how do you choose the perfect one? DMG Audio's Compassion has made this choice much easier. They have developed a plugin that could be the only compressor you'll ever need. It has everything from analogue emulation compression to modern sounding compressor types with advanced circuit algorithms, and more. I will cover some of the features of this unique compressor plugin in this review. With so many features this is a plugin that you will never get bored of. Every time you use it there's potential to learn something new.
Step 1 – What Makes this Plugin Special

The Compassion compressor is packed full of tools. It has compression, expansion/gating, side-chaining, transient shaping, and limiting capabilities. Which makes this more than just your average compressor! What makes this plugin very special is its visual graph aids. There is an audio window display that shows the waveform and the compression effects on the audio signal. This comes in handy when customizing the attack, release, threshold and ratio via the waveform. You get real-time visual feedback via the waveform graph that is in my opinion the biggest selling point with this plugin.

This visual guide will really help novices get their head around how compressors actually work and how they affect the audio signal path. I remember not quite understanding compressors when I first got into computer music production. It took quite some time until it made sense. Now with these visual aids, Compassion will really assist the beginner, and its advanced features will entice the intermediate to advanced user as well.
Step 2 – Presets/Modifications
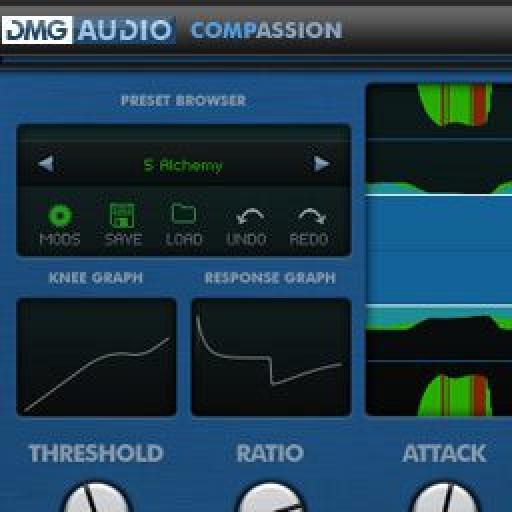
Compassion comes with a few nifty presets, but what is very interesting is its Mods feature. Mods are a form of preset but with more configurable options. You can alter specific parameters and save them as a modification. This is a different way of looking at presets and is where you can find some of the compressor emulator modifications. The Mods are broken up into Characters, Compression Styles, and Utility functions.


You can also save your own Mods for later use.
Step 3 – Advanced Mode
Here in Advanced Mode you have access to many more features that allow you to tweak your compression settings further such as the shape of your attack and release curves. For example: you can reshape your Knee in the graph.

You can even dial in negative compression values, which can completely change the way your compressor reacts to the audio, giving it a gradual increase to the threshold.

Step 4 – Transient Shaper and Side-Chain
The Transient shaper is very handy: after most compression you can lose some of the edge to your sound. The transient shaper will help bring back some of that edge. With the Advanced Section you can further tweak the transients.


The side-chaining features are amazing. There is an EQ section with high and low-pass filters with adjustable slopes, plus bell peak types. You can also add noise into the side-chain for more analogue response. Plus, there is the option for an external source as a side-chain source.
Step 5 – Preset Examples
Here are some audio examples so that you can hear the results of Compassion. I have used the presets that have come with the plugin. But so much more is possible with it.
Here is an example of the Bassline Smash preset on one of my synth bass lines.
Before:
After:
This is the Drum Transnap preset before on a Kick sample. You can really hear how the Transient Shaper affects the attack of the Kick.
Before:
And after:
Here is the Drums Bus preset on the drum channel of my one track.
Before:
And after:
There is also a Bus Compression preset called Main Bus. Take a listen how it affects the track.
Before:
After:
Compassion can also be used for creative processing: I have dialed in some settings using the Transient shaper and some of the other parameters in the compressor. Take a listen how it alters the sound quite drastically. You see how it can be used as an effect as opposed to a corrective tool on your audio.
Before:
After:
Conclusion
We're just scratching the surface of what is possible with Compassion. There are many other features to this compressor plugin. But once you get deeper into it you will find these hidden 'gem' features. I hope this demystifies some of Compassion's interface and shows you some of the possibilities of this amazing plugin.
Discussion
Want to join the discussion?
Create an account or login to get started!