
1. Load a kit

Begin by loading a kit : this can be one of the preset kits or one you have created yourself. Since we’ll be editing it, it doesn’t matter too much though it might be helpful if it was one with a relatively conventional set of sounds like kicks, snares, cymbals and so on rather than 20 bleeping sounds.
2. Edit a waveform
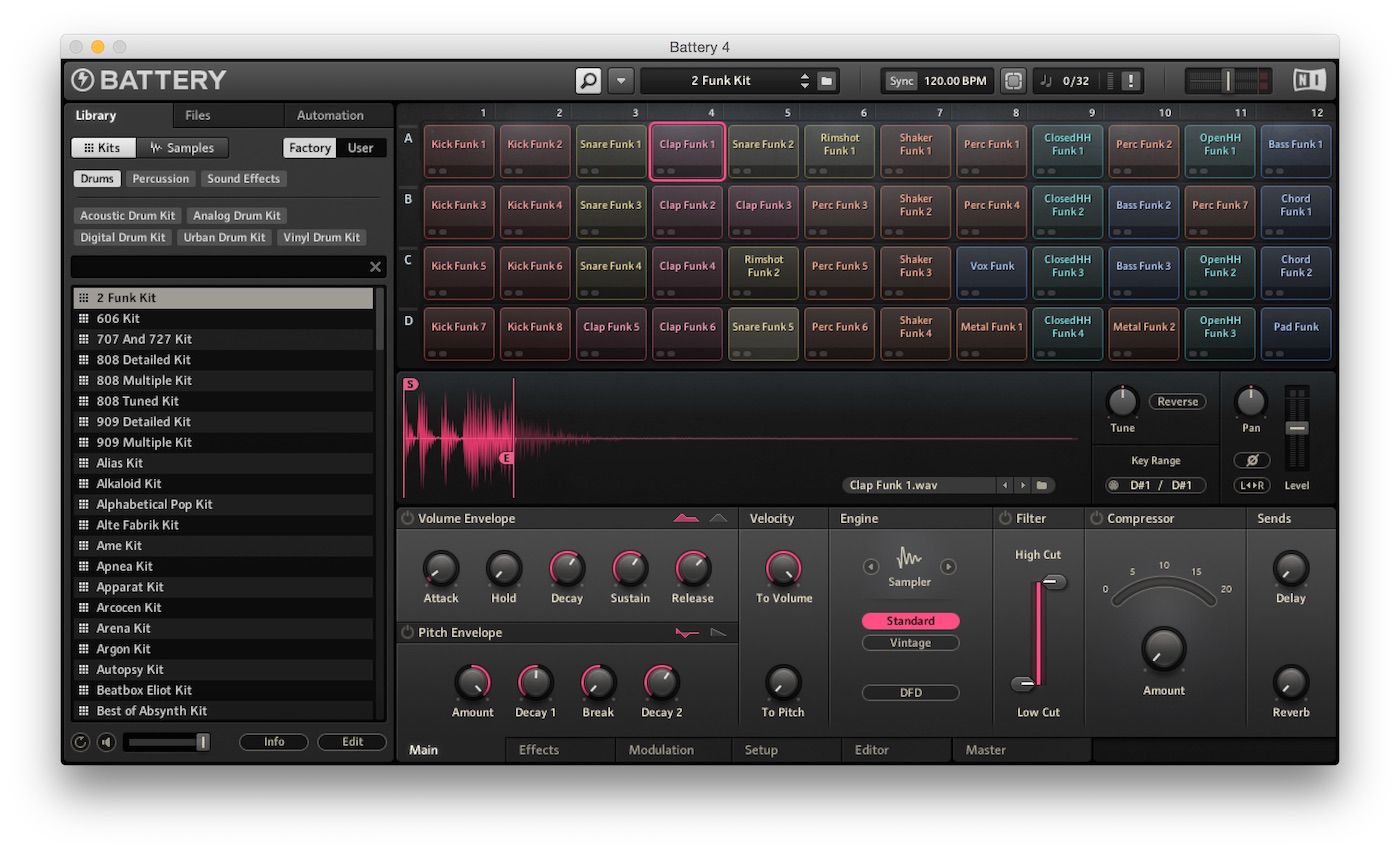
The first and probably quickest edit you can make to any cell is to alter the length of the sample it contains and this can be done by dragging the left or right marker inside the waveform display to include or omit any particular part of the sample. So this would be a good way for example to tighten up a sample by cutting off its reverb or decay tail, or increase its attack by moving the start marker forward and removing any build that exists.
3. Change cell settings
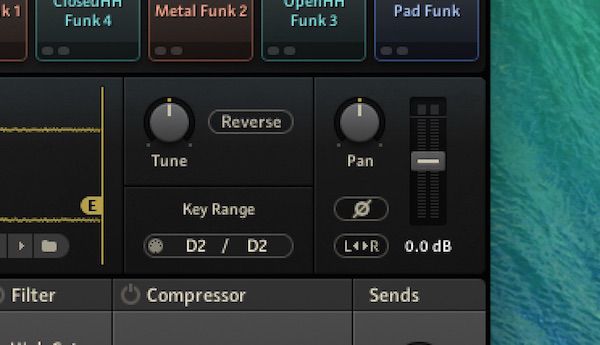
To the right of the waveform display is a control area that changes to reflect the settings of whatever cell you select. Here you can control various parameters including tuning, reversing a sample, panning, level and phasing. It’s a good way to quickly tune and modify elements of a kit without having to dig very deep.
4. Set filters and envelopes

Along the base is another controller section and this one also changes based on the cell that you select. On the left you can set volume and pitch envelopes for a sound, changing its character. There’s the option to send velocity to volume and pitch and you also get a filter and variable compressor for every cell. These are all really easy to use—just dial in a setting and see how it sounds. By filtering one snare but not another for example you could create variation within a pattern very easily.
5. Change cell contents
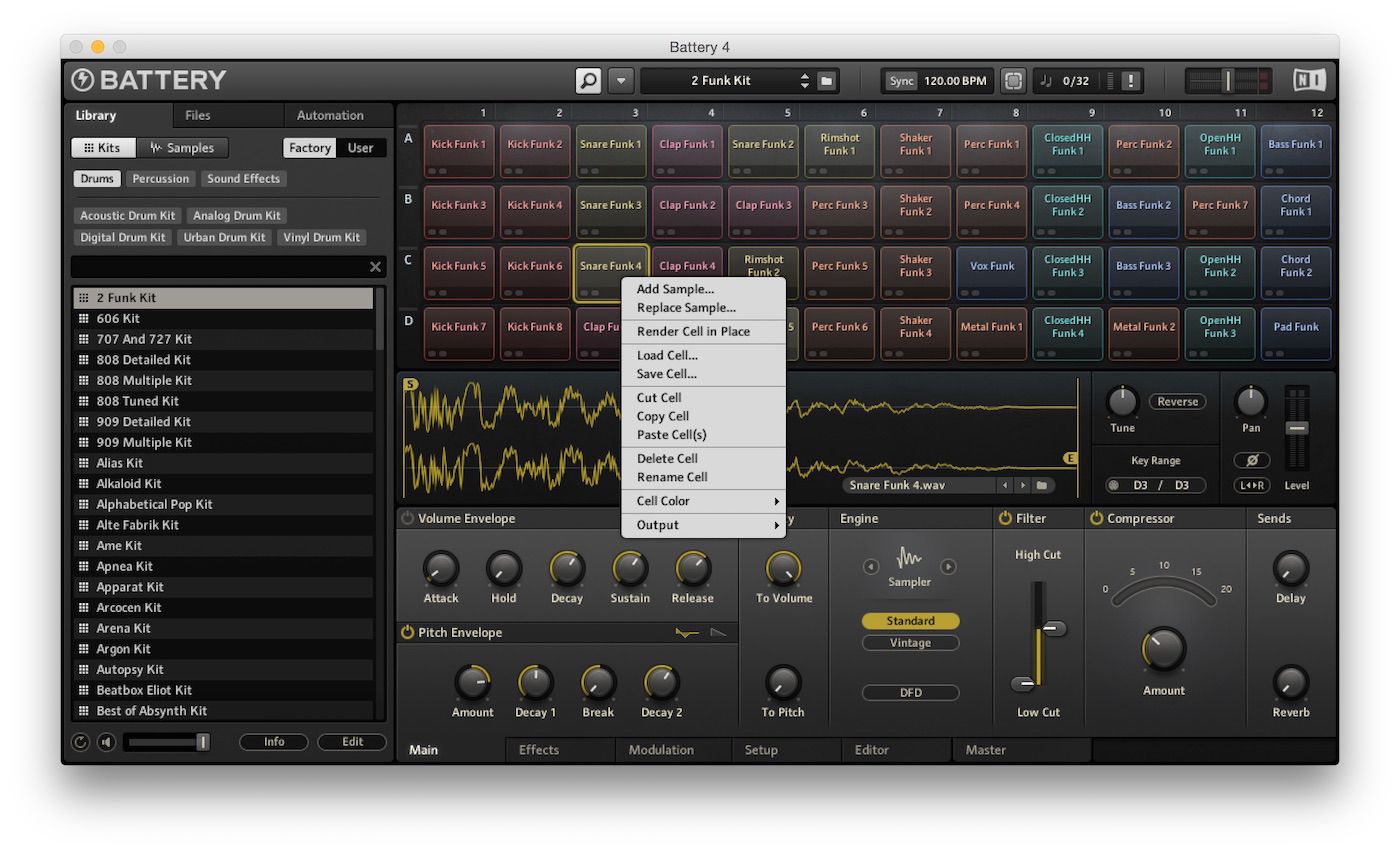
Any of Battery’s cells can hold a sample, and there’s nothing to stop you swapping these around. Right-click on any cell and you can choose to add to or replace the existing sample, load or save a whole cell (with associated settings), cut, copy or paste a cell or indeed delete it altogether. So it would be easy for example to quickly call up a snare sample from a third-party sample collection, or one that you had recorded yourself, and bring it into your kit. Or duplicate an existing cell and alter the settings on the copy to create two different versions of the same sound that can be triggered as part of a kit.
6. Add rows or columns
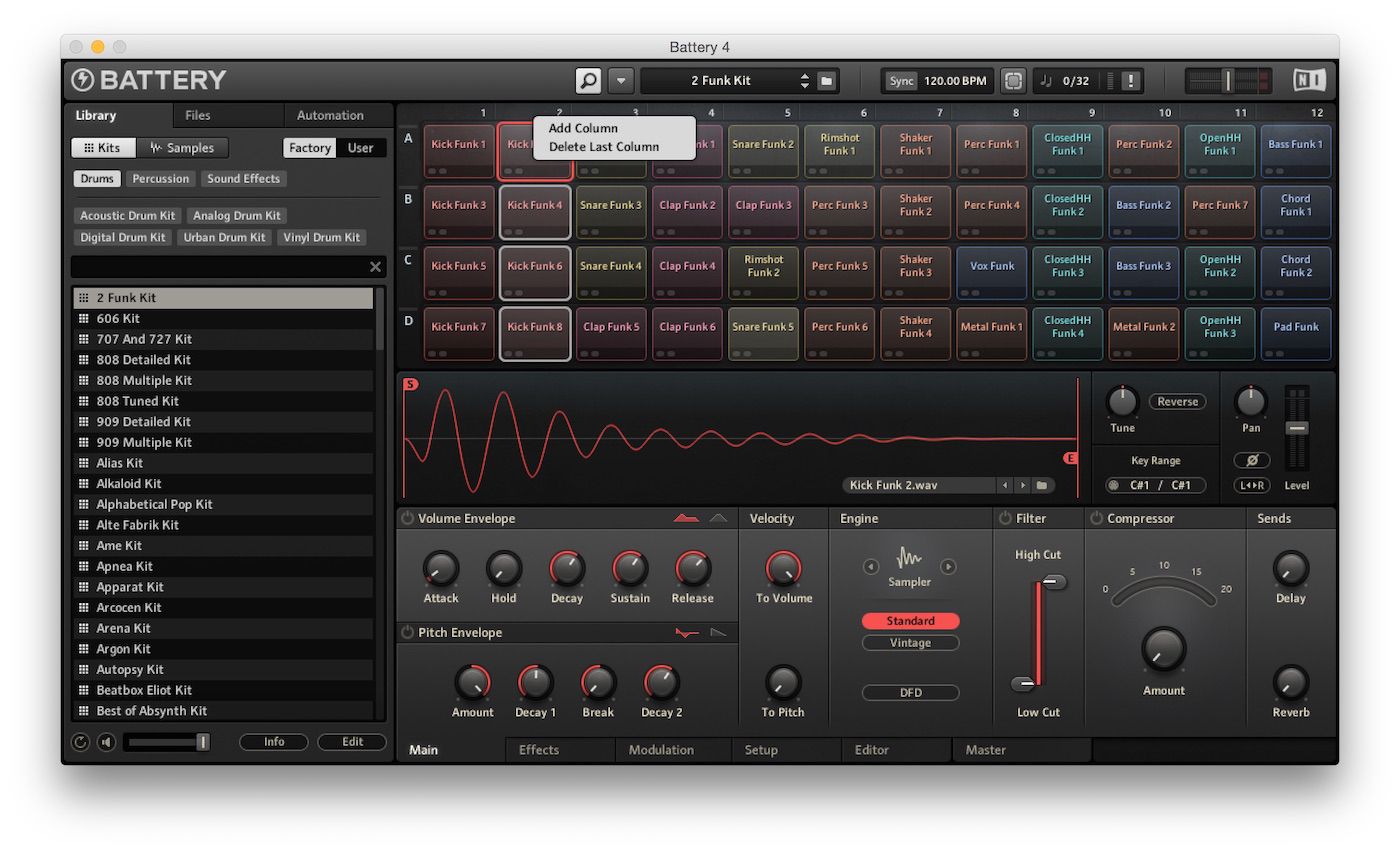
If you right-click on the area at the top of or to the left of the cell matrix you will see options to add rows or columns, dependent on where you have clicked. Battery’s cell matrix is not set in stone so if you decide you want to load up a fresh row for some new samples, this is easy to do.
7. Add cell-based effects
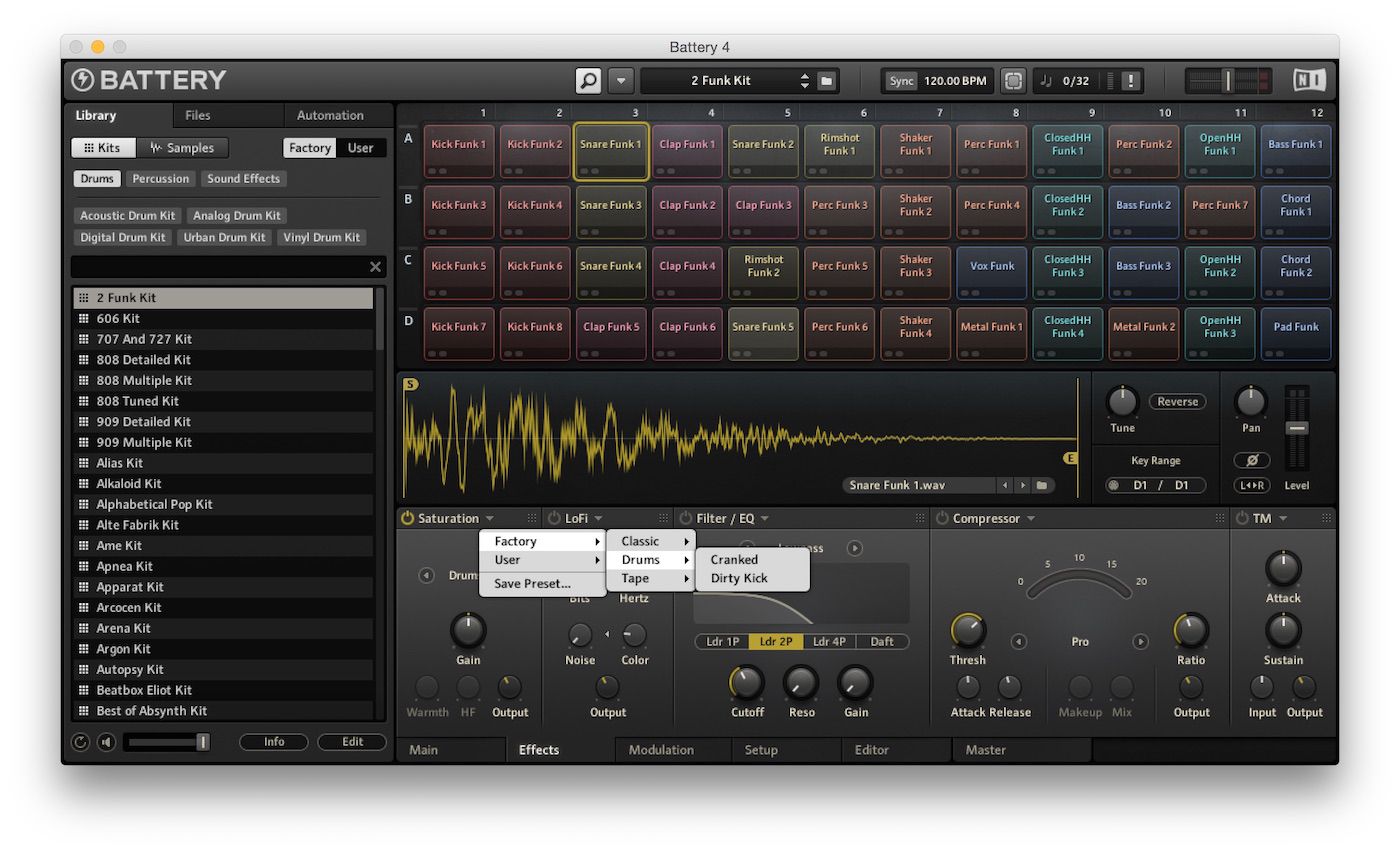
Using the tab bar that runs along the base of the window, click the Effects tab. Now you see a selection of effects that apply to any selected cell. Like before, these are independent for every single cell so you can make really detailed settings. Each of the effect modules can be switched on or off, has its own settings and also a preset list available next to its name, plus the ability to save your own presets on a per-module basis. Try dialing in some saturation or lo-fi effect to dirty up elements of the kit.
8. Add modulation
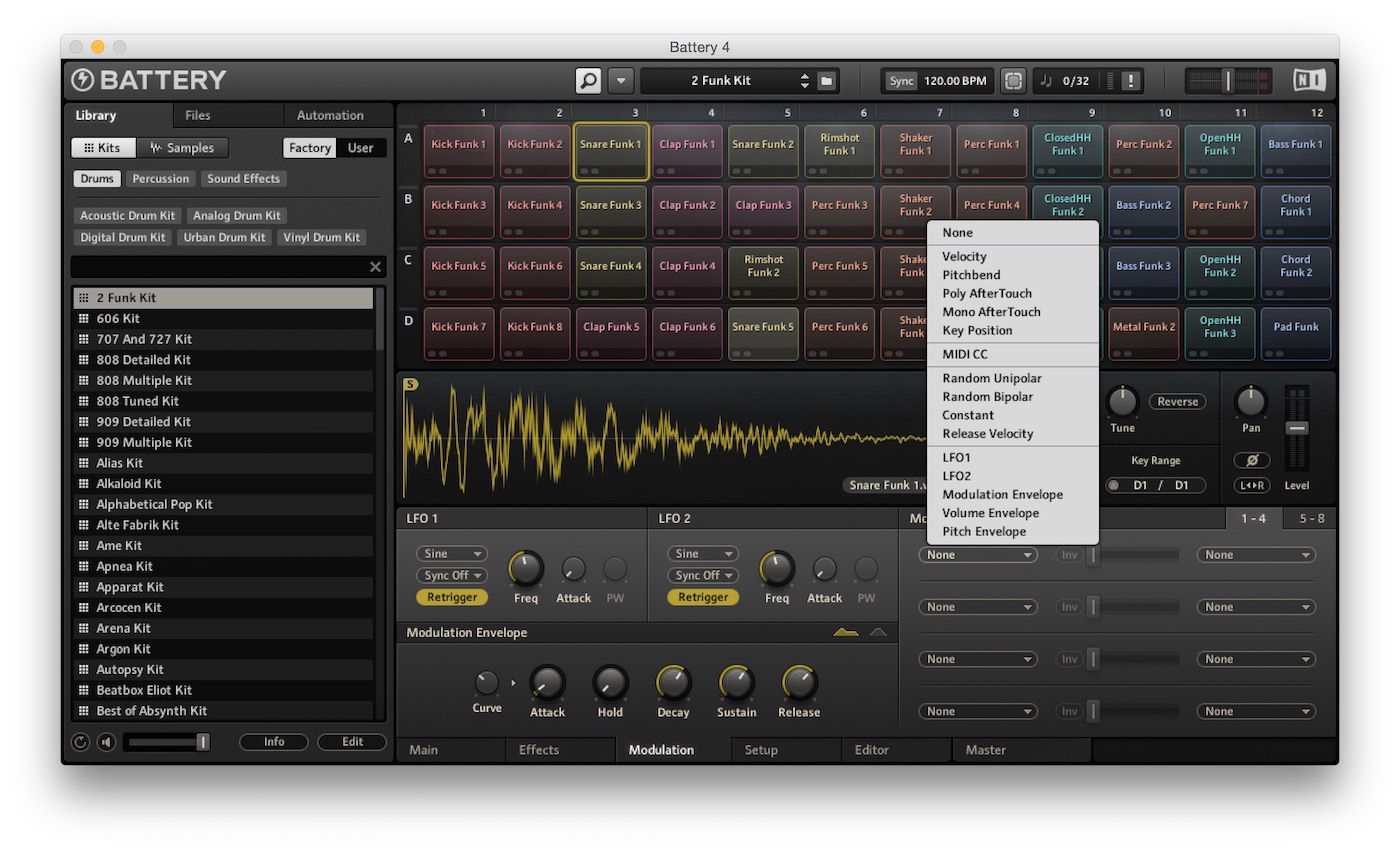
Battery is even capable of using modulation within a patch! Click on the Modulation tab and you’ll see eight modulation slots with assignable sources as well as two configurable LFOs. Use these to add movement to your sounds.
9. Edit samples in detail

As well as quick edit in the main view, Battery also lets you perform more detailed sample edits in the Editor section, again based on whichever sample or cell you select. Here you can set samples as one-shots or loops, cut, copy, paste and normalize as well as layering multiple samples together and editing velocity crossfades. Of course you can use the browser button here to navigate to any sample in Battery’s library or on your hard drive. It’s a quicker alternative to loading in a third party wave editor first—just do it all in Battery!
10. Use master effects

The effects added so far have all been on a per-cell level but Battery can also process the main outputs through a range of effects via the Master tab. These are similar to the other effects, again with presets available, but also include a limiter for squeezing the main output. There are also reverb and delay modules available, so you can see there’s plenty of effects horsepower available to you.
11. Consider working with busses

You will see in the Master section that as well as a Master fader there are four Bus faders. If you click on any one of these you will see a separate set of effects controls available for each of the busses. The idea here is that when you run Battery in multi-output mode rather than in simple stereo mode, you can send groups of cells to different busses and process them separately before they go into your DAW’s mixer. So you might send all your kick drums to one bus, cymbals to another and so on. It gives you more flexibility when it comes to mixing.
12. Use tags
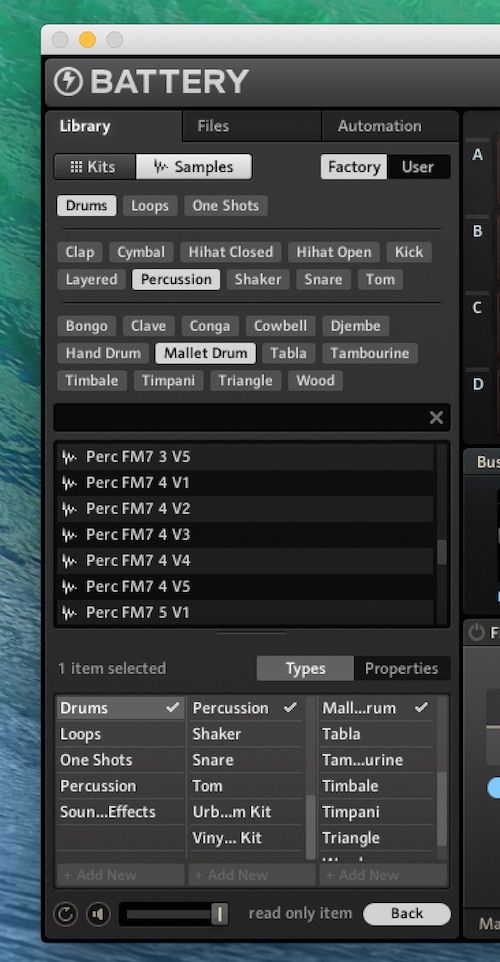
Finally, once you have created your perfect kit don’t forget to save it and also to add tags via the tag editor at the bottom left hand corner. Not only will this make things easier to find, it also integrates with NI’s Komplete Kontrol system so your tags will show up if you have recent NI hardware and be accessible from it.
Take your NI Battery skills to the next level HERE.

Discussion
Want to join the discussion?
Create an account or login to get started!