There are plenty of lists out there telling you about the plug-ins you should buy and the moves you should make to execute the perfect mix. With this in mind, I thought it might be interesting to compile a list of things you should avoid doing. So here is a collection of common pitfalls and workflow based mistakes that could potentially ruin a solid mix session.
1 - Dynamic Returns
Every seasoned Logic user will be making use of send/return based effects. They are ideal for reverb, delay or any other spatial effect you can dream up. Not only do they give you accurate control over return levels but these effects can be re-used thoughout a mix to treat multiple sounds.
Often with a standard return effect, a reverb for example, you may end up masking some of the original sound that is being treat. There maybe a situation where you want to use a reverb patch with an extremely long decay but the resulting sound is overbearing and swamps the mix.
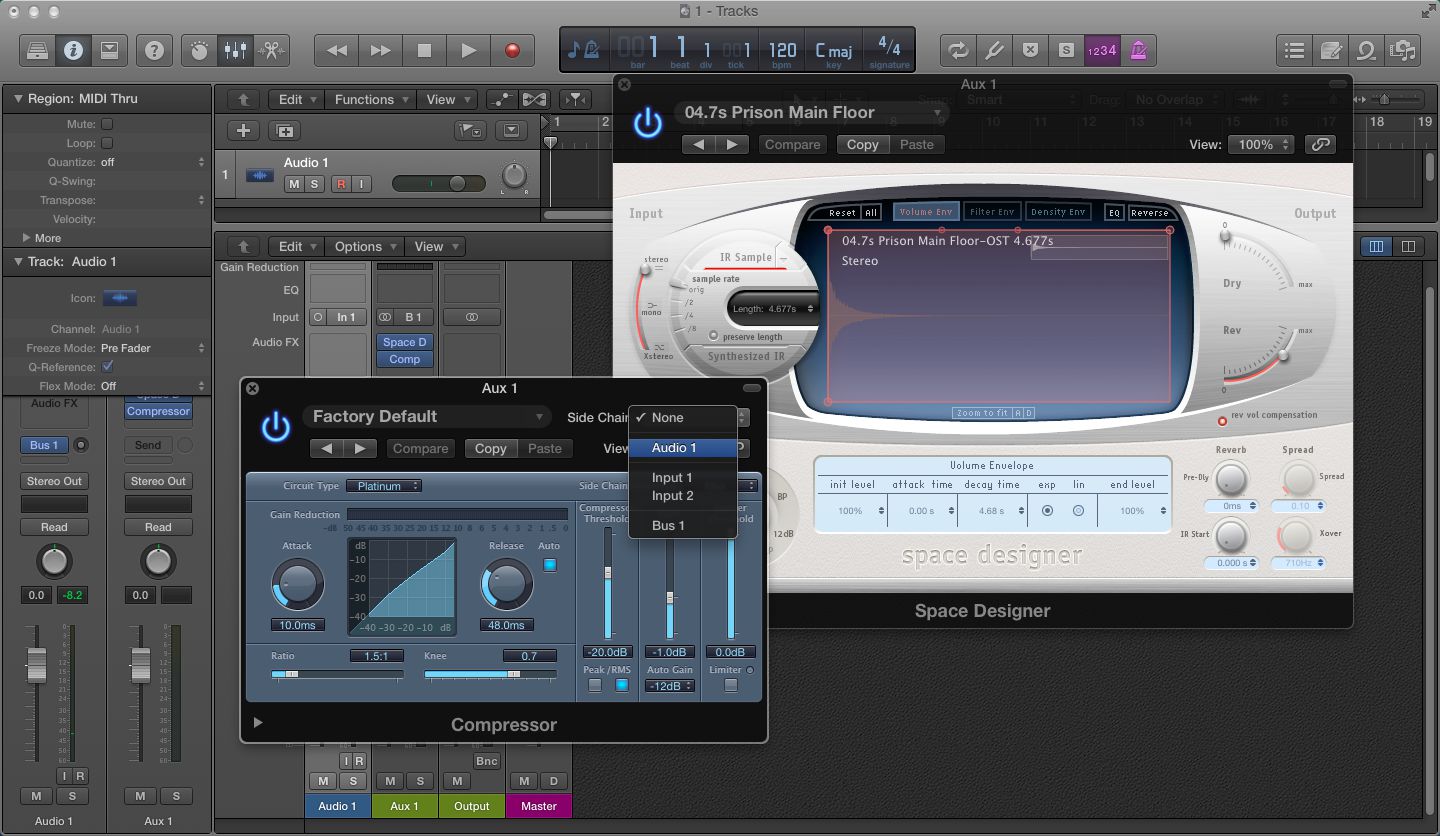
Dynamic returns could be the answer here. Try using the original signal you are treating (vocal, synth, guitar, etc.) as a side chain input for a compressor inserted immediately after the reverb on the return buss. The gain reduction of the compressor is now controlled by the level of the signal being processed.
This loop-like routing will allow the effect to 'breathe' during any gaps in the phrase, it will then be attenuated while it's present. This set up essentially gives you an instant link between your return effects and the sound you are processing.
2 - Cascaded Processing
Often when you need some serious control over your dynamics, you'll end up pushing compressors to a point where audible artefacts are introduced. Unless this is the specific sound you are after, these pumping effects can be less than desirable. Luckily, if you wanted to compress something hard but keep the compression transparent there are a few tricks you can employ.
Generally speaking using a few processors of the same kind will allow a shared load and therefore a more transparent sound. So two compressors performing 2–3 dB of compression should sound less colored than a single compressor applying 4–6 dB of gain reduction. Simple!
This technique often works best when the compressors are distributed amongst other processors in your chain. For example if you have EQs and modulation effects, you might want to place a compressor a the start and the end of the chain. Experiment with the position to achieve the optimum effect.
3 - Going Wide
Stereo enhancement plug-ins are awesome if you are looking for sounds that are larger than life. There are loads of routes to making stereo sounds wider and even for transforming mono to stereo. Logic gives you a few tools that allow you to do this right out of the box and some routing options that can take things even further with some work.
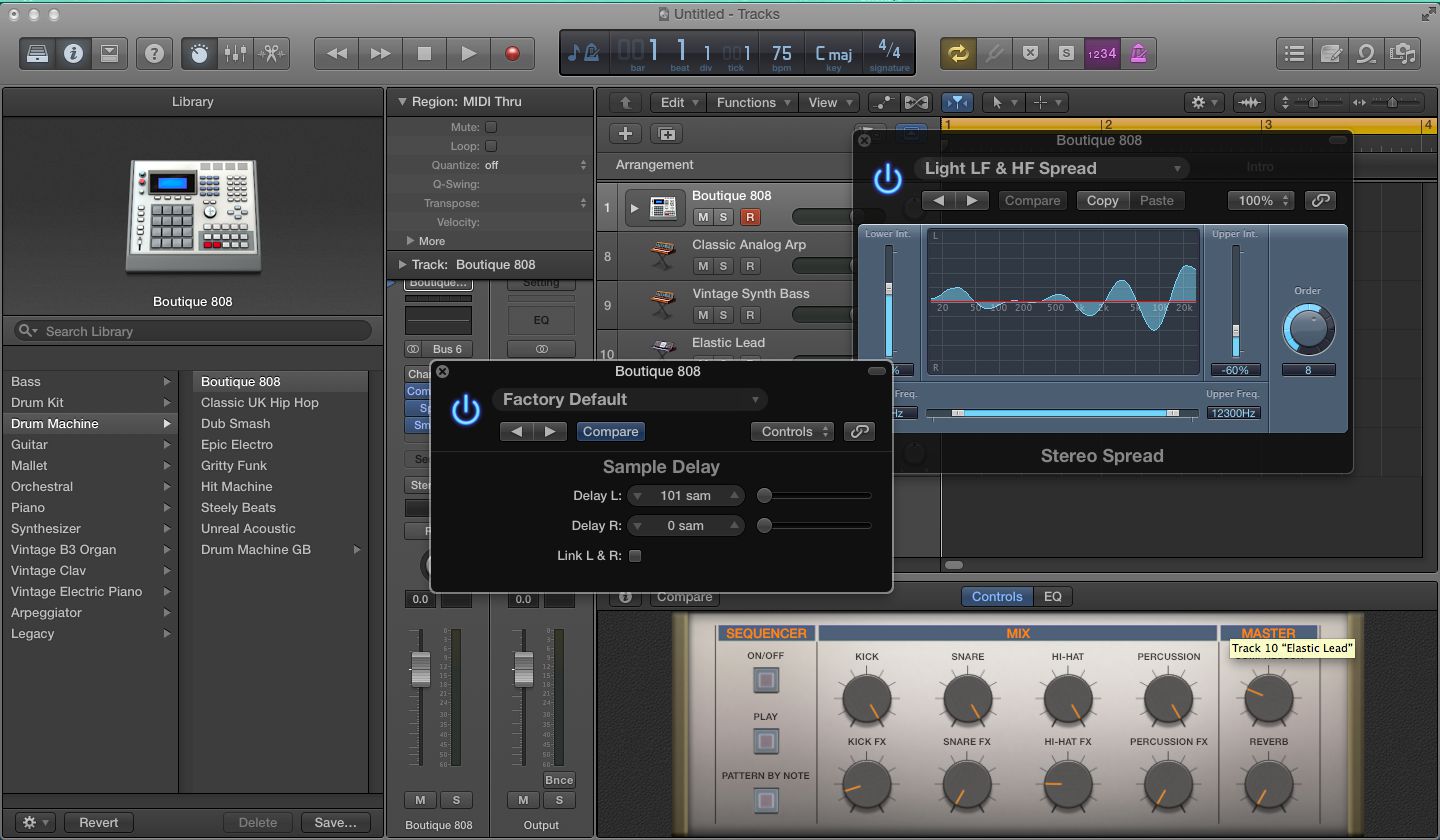
Logic's Stereo Spread plug-in is probably the most obvious route and allows some pretty accurate control over your enhancement. There are essentially two main controls here allowing you to alter the lower and higher frequencies independently. There is also a dedicated filter to allow you to leave any lower frequencies unaffected. The results are subtle but apparent.
Other subtle forms of stereo enhancement include using the sample delay plug-in to slightly delay one side of a stereo signal. This will induce the well known Haas effect and in turn produce a wider stereo image. All these are well and good but if you prefer something a little more creative then you will have to get stuck into some routing.
Start by sending your sound to two separate busses. These should then be panned hard left and right. Once the original send channel is turned down you will have an independent left and right side you can treat separately.
Now try adding EQ to both sided with differing settings. You'll find that these differences will give you a wider stereo image. You can repeat the process with various different effects. Just make sure you apply differing settings to each side of the stereo signal.
4 - Heavy Dynamics
Compression is one of those processes that can sometimes seem a little boring. Essentially, it's a workhorse effect that was designed to control dynamic range, however we all know it can do so much more than this. Push the right compressor on the right way and it can become an awesome creative effect.
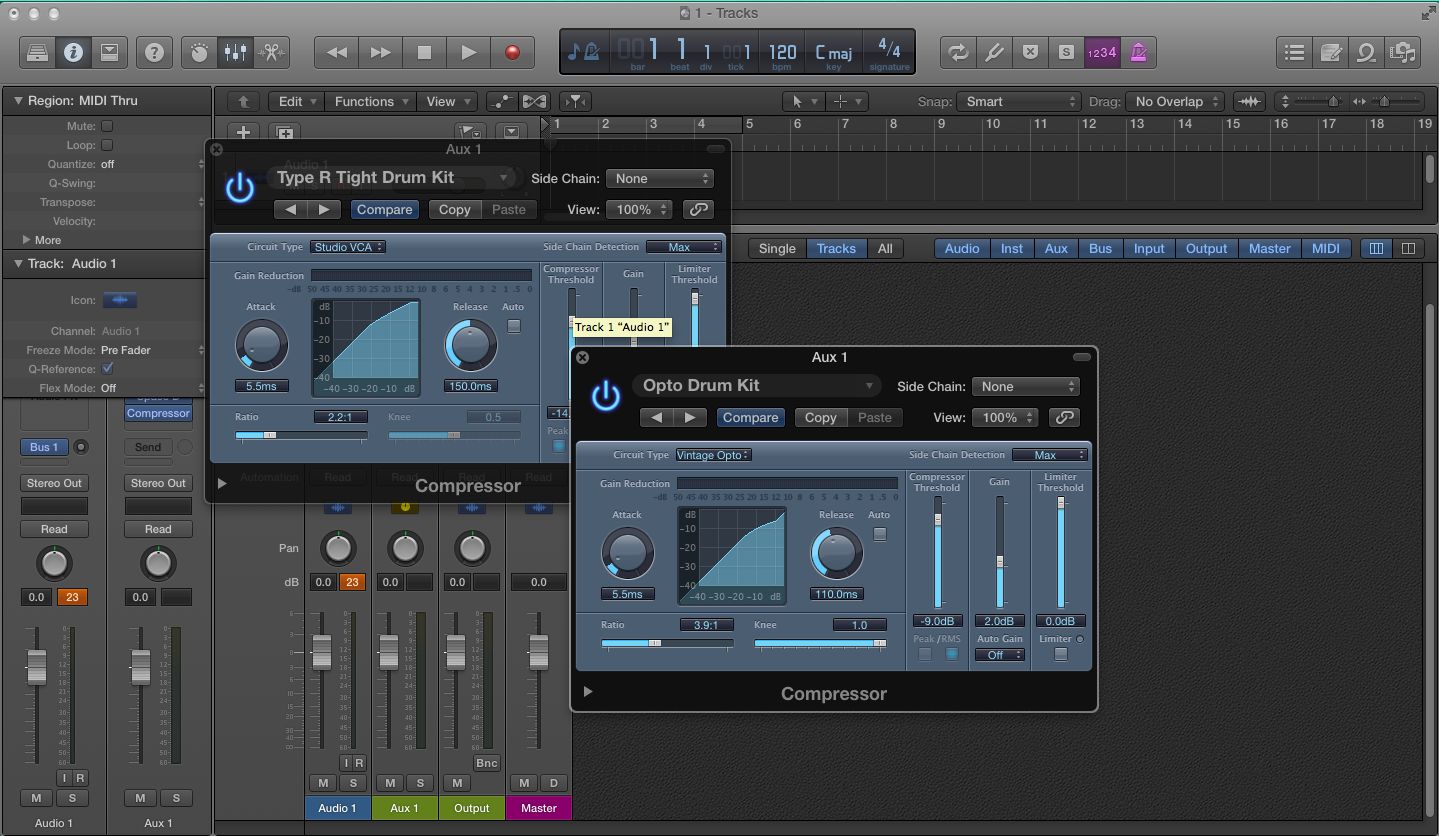
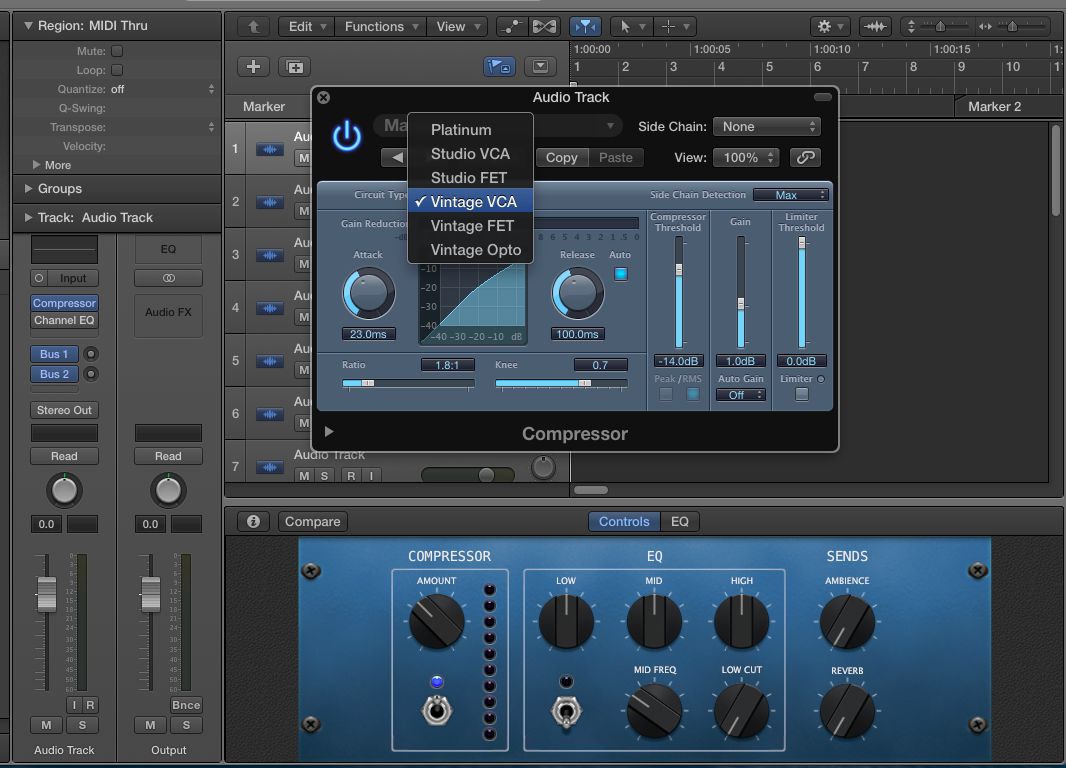
In its default mode, Logic's compressor isn't really ideal for creating pumping, full on effects. 'Slammed' compression effects are usually created with vintage valve models or specific bits of hardware famous for their character.
Luckily, with its compression models, Logic's compressor is capable of producing sounds that come pretty close to hardware. Using a simple drop-down menu, you can access both modern and vintage compressor models. When driven hard, these will ooze character and allow you to get that seriously smashed sound.
Use the compressors built-in mix control to balance between your new heavily processed sound and the original dry, dynamic version. This is basically the same as parallel processing and gives you instant control over the final effect.
5 - Hidden Depths
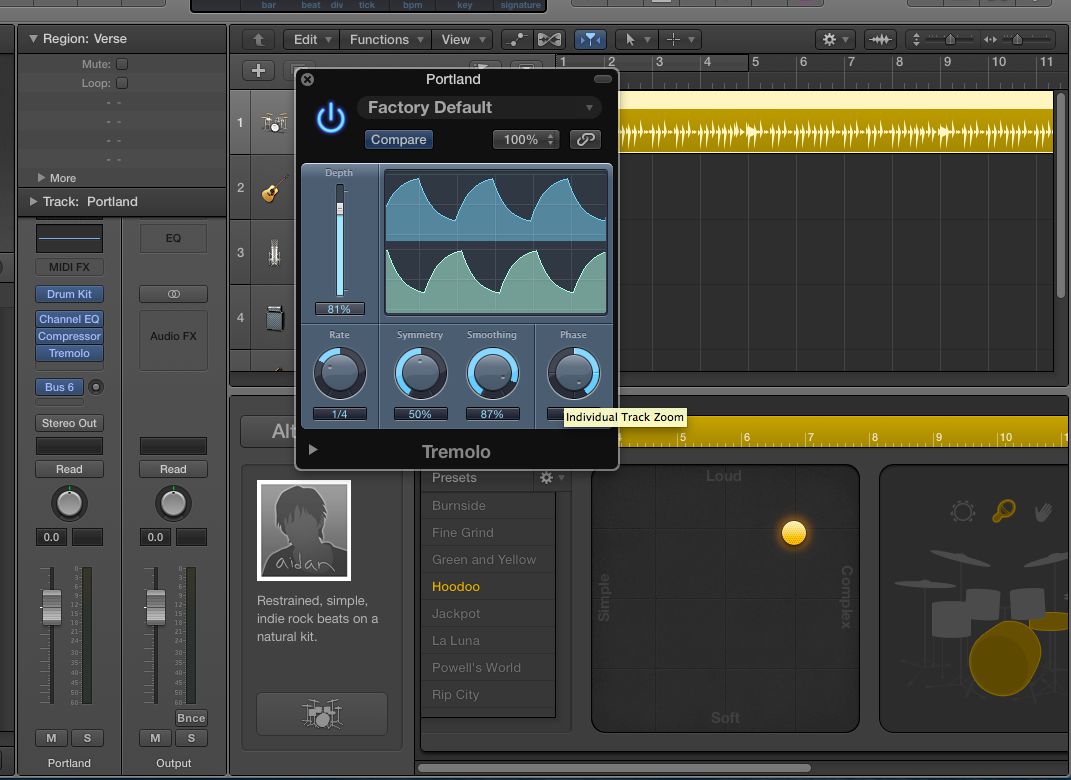
A lot of Logic's plug-ins may seem to be pretty straightforward at first but many of them can actually be used to produce multiple effects. A prime example of this is Tremolo. Of course is can create tremolo effects (hardly a surprise), but it's capable of a lot more.
This humble little plug will produce excellent auto-pan effects, just a quick tweak of the phase control will move from heavy volume modulation to sweeping pans. Add to this the ability to change the shape of the waveform (with smoothing) and you have a plug-in that will save you a whole lot of time programming pan automation!
Put the phase back into shape and you'll instantly be back into tremolo territory but keep manipulating that smooth parameter and you can create pseudo side-chain effects. This gives you the ducking effect everybody loves without the routing headache. Remember this will also work with your kick drum muted.
This just goes to show you should dig a little deeper into Logic's bundled effects as many of them hide hidden depths and can create effects that might not have been apparent at first. Try loading up a few presets as these will often demonstrate some of these hidden features.
Learn more about creative processing in Logic Pro X:
http://www.macprovideo.com/tutorial/logic-pro-x-301-supercharged-processing


 © 2024 Ask.Audio
A NonLinear Educating Company
Discussion
Want to join the discussion?
Create an account or login to get started!