1. Load Up
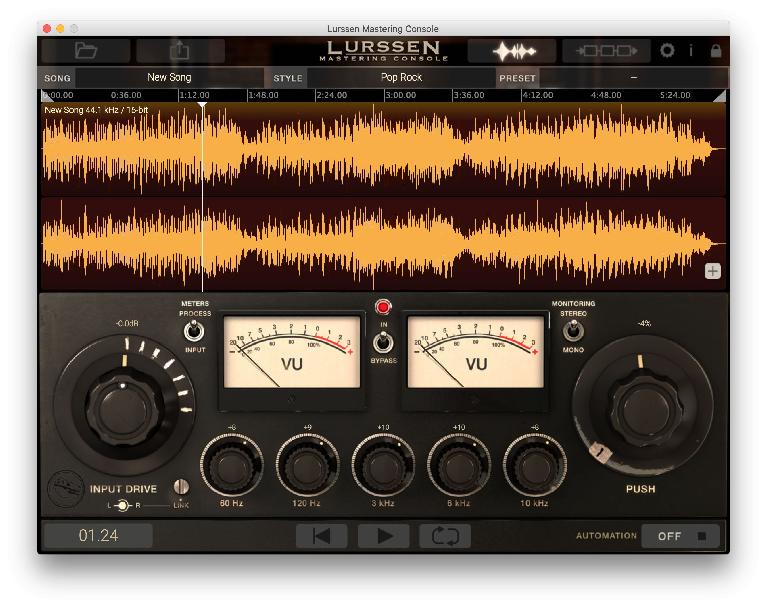
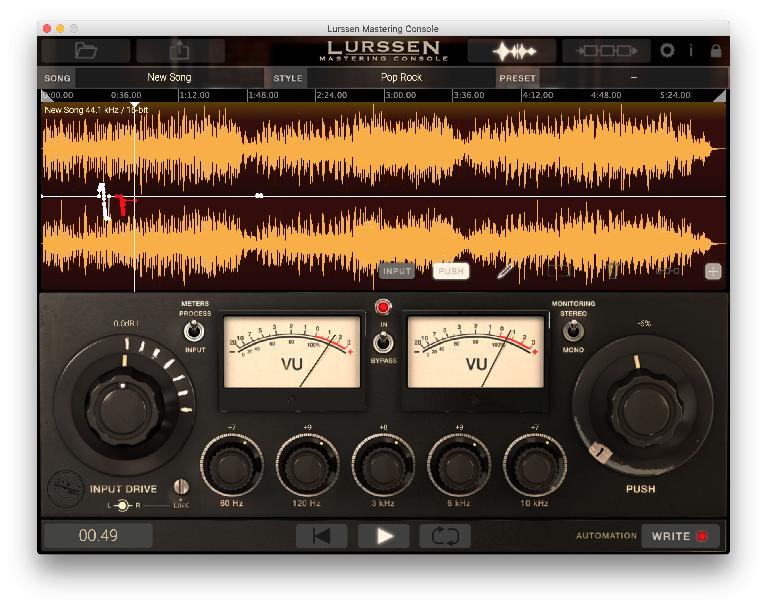
Load up the track using the file browser or by simply dragging the WAV or AIF file of your mixdown into the application’s window. Click on the waveform button and you will see an overview of the track. At this point it hasn’t been mastered so there is plenty of dynamic range left—plenty of peaks and troughs in the waveform. You don’t want to squeeze it too hard, but you will want to get some more gain out of it. You can start with a preset and tweak from there, so pick one that sounds stylistically close to the kind of track you are working with.
2. Control the Level
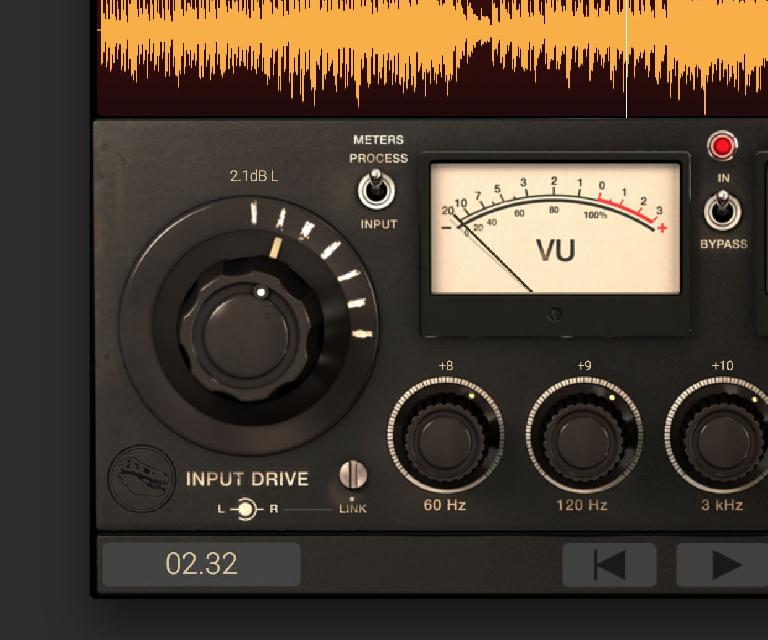
This application is a little different than other mastering chains. Since you’re getting the signature Lurssen sound, not everything is editable as it would normally be. It’s replicating his setup and some processing models have been preset up to behave a certain way. That said, there’s a lot you can change. First is the Input Drive knob on the left which controls the level of the signal flowing into the chain. It works in stereo but can also be split to have the inner and outer knobs control left and right by unlinking channels with the Link control. You’re controlling the overall level of the signal, so be careful not to push it too hard here.
3. Push and EQ
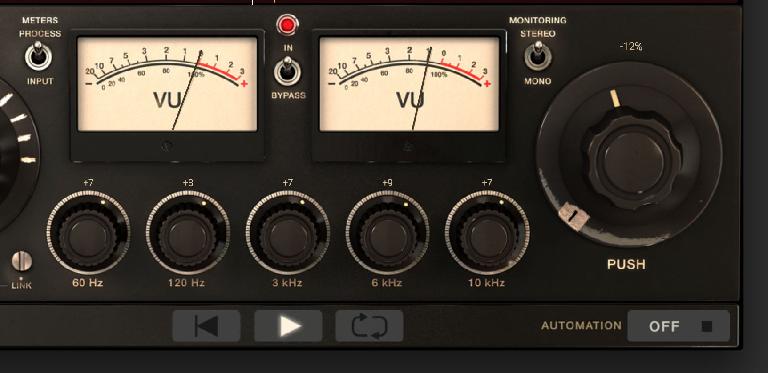
The knob on the right is a little different. Called “Push”, it controls the relative level applied to the five EQ bands that you can see in the centre. The intensity of the EQ bands can be set one by one by tweaking them or all at once by the same degree by using the Push knob. Riding the EQ has the effect of increasing emphasis and dynamics but it’s not just simple EQ: the other processors have been designed to react to control the overall balance of the track. So you shouldn’t find certain frequencies jumping out at you but rather a more subtle intensification of certain frequency bands. This is how mastering EQ differs from mixing EQ.
4. Tweak the Other Processors
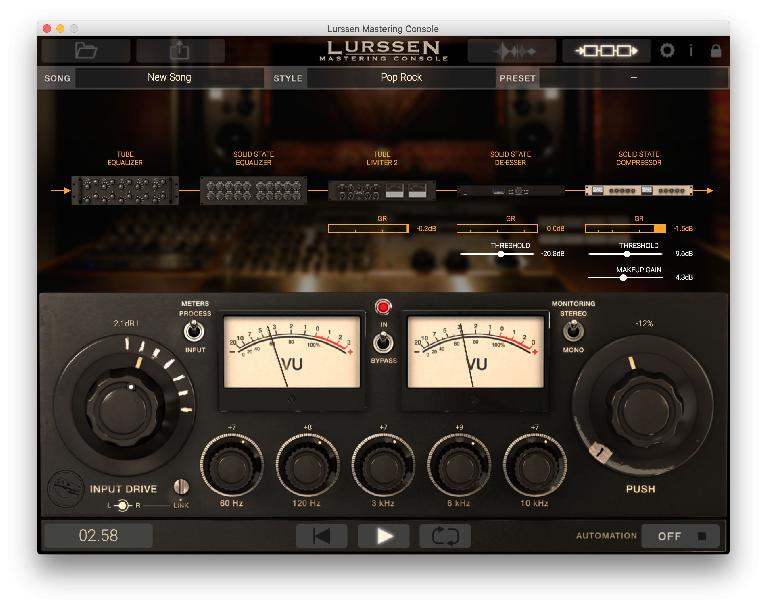
Click on the Chain button and you will see the processing chain appear. The EQ modules are represented by the EQ and Push controls beneath, but the compressor and de-esser modules do have controls that you can change. Tweak their sliders here to alter the way they compress and de-ess the sound respectively. Watch the VU meters to check you’re not pushing the signal too hard: it shouldn’t be consistently into the red areas.
5. Automate and Export
You can activate automation for some parameters by using the automation menu at the bottom right corner of the window. When you do this and go into the waveform view you will see the option to view either Input or Push control automation and either create or edit it using a pen tool or one of the other tools that appears in this view. A good tip here is to “push” the signal slightly during intense periods of a track and back it off for quieter ones. When you’re done, use the Export button to output your mastered track to the desktop!


 © 2024 Ask.Audio
A NonLinear Educating Company
Discussion
Want to join the discussion?
Create an account or login to get started!