
If you have pitch correction software that allows for editing and moving individual pitches, you can use it to create realistic-sounding harmony parts. Naturally, it’s always best to get the singer to come back and record the harmony track. But when that’s not possible, this method is the next best thing.
A plug-in like Melodyne, in any of its flavors, is perfect for this kind of editing, as is Waves Tune or even the inexpensive Waves Tune Lite. If your DAW has pitch editing features such as those built into MOTU Digital Performer and Steinberg Cubase, you could use those as well. PreSonus Studio One and Cakewalk Sonar come with Melodyne Essential built in. Any software that lets you graphically change pitch will work.
In this article I’ll focus on vocal parts but you can also use the techniques described here for creating the harmony for a twin-guitar part, or for harmonizing other melody instruments.
Getting Started
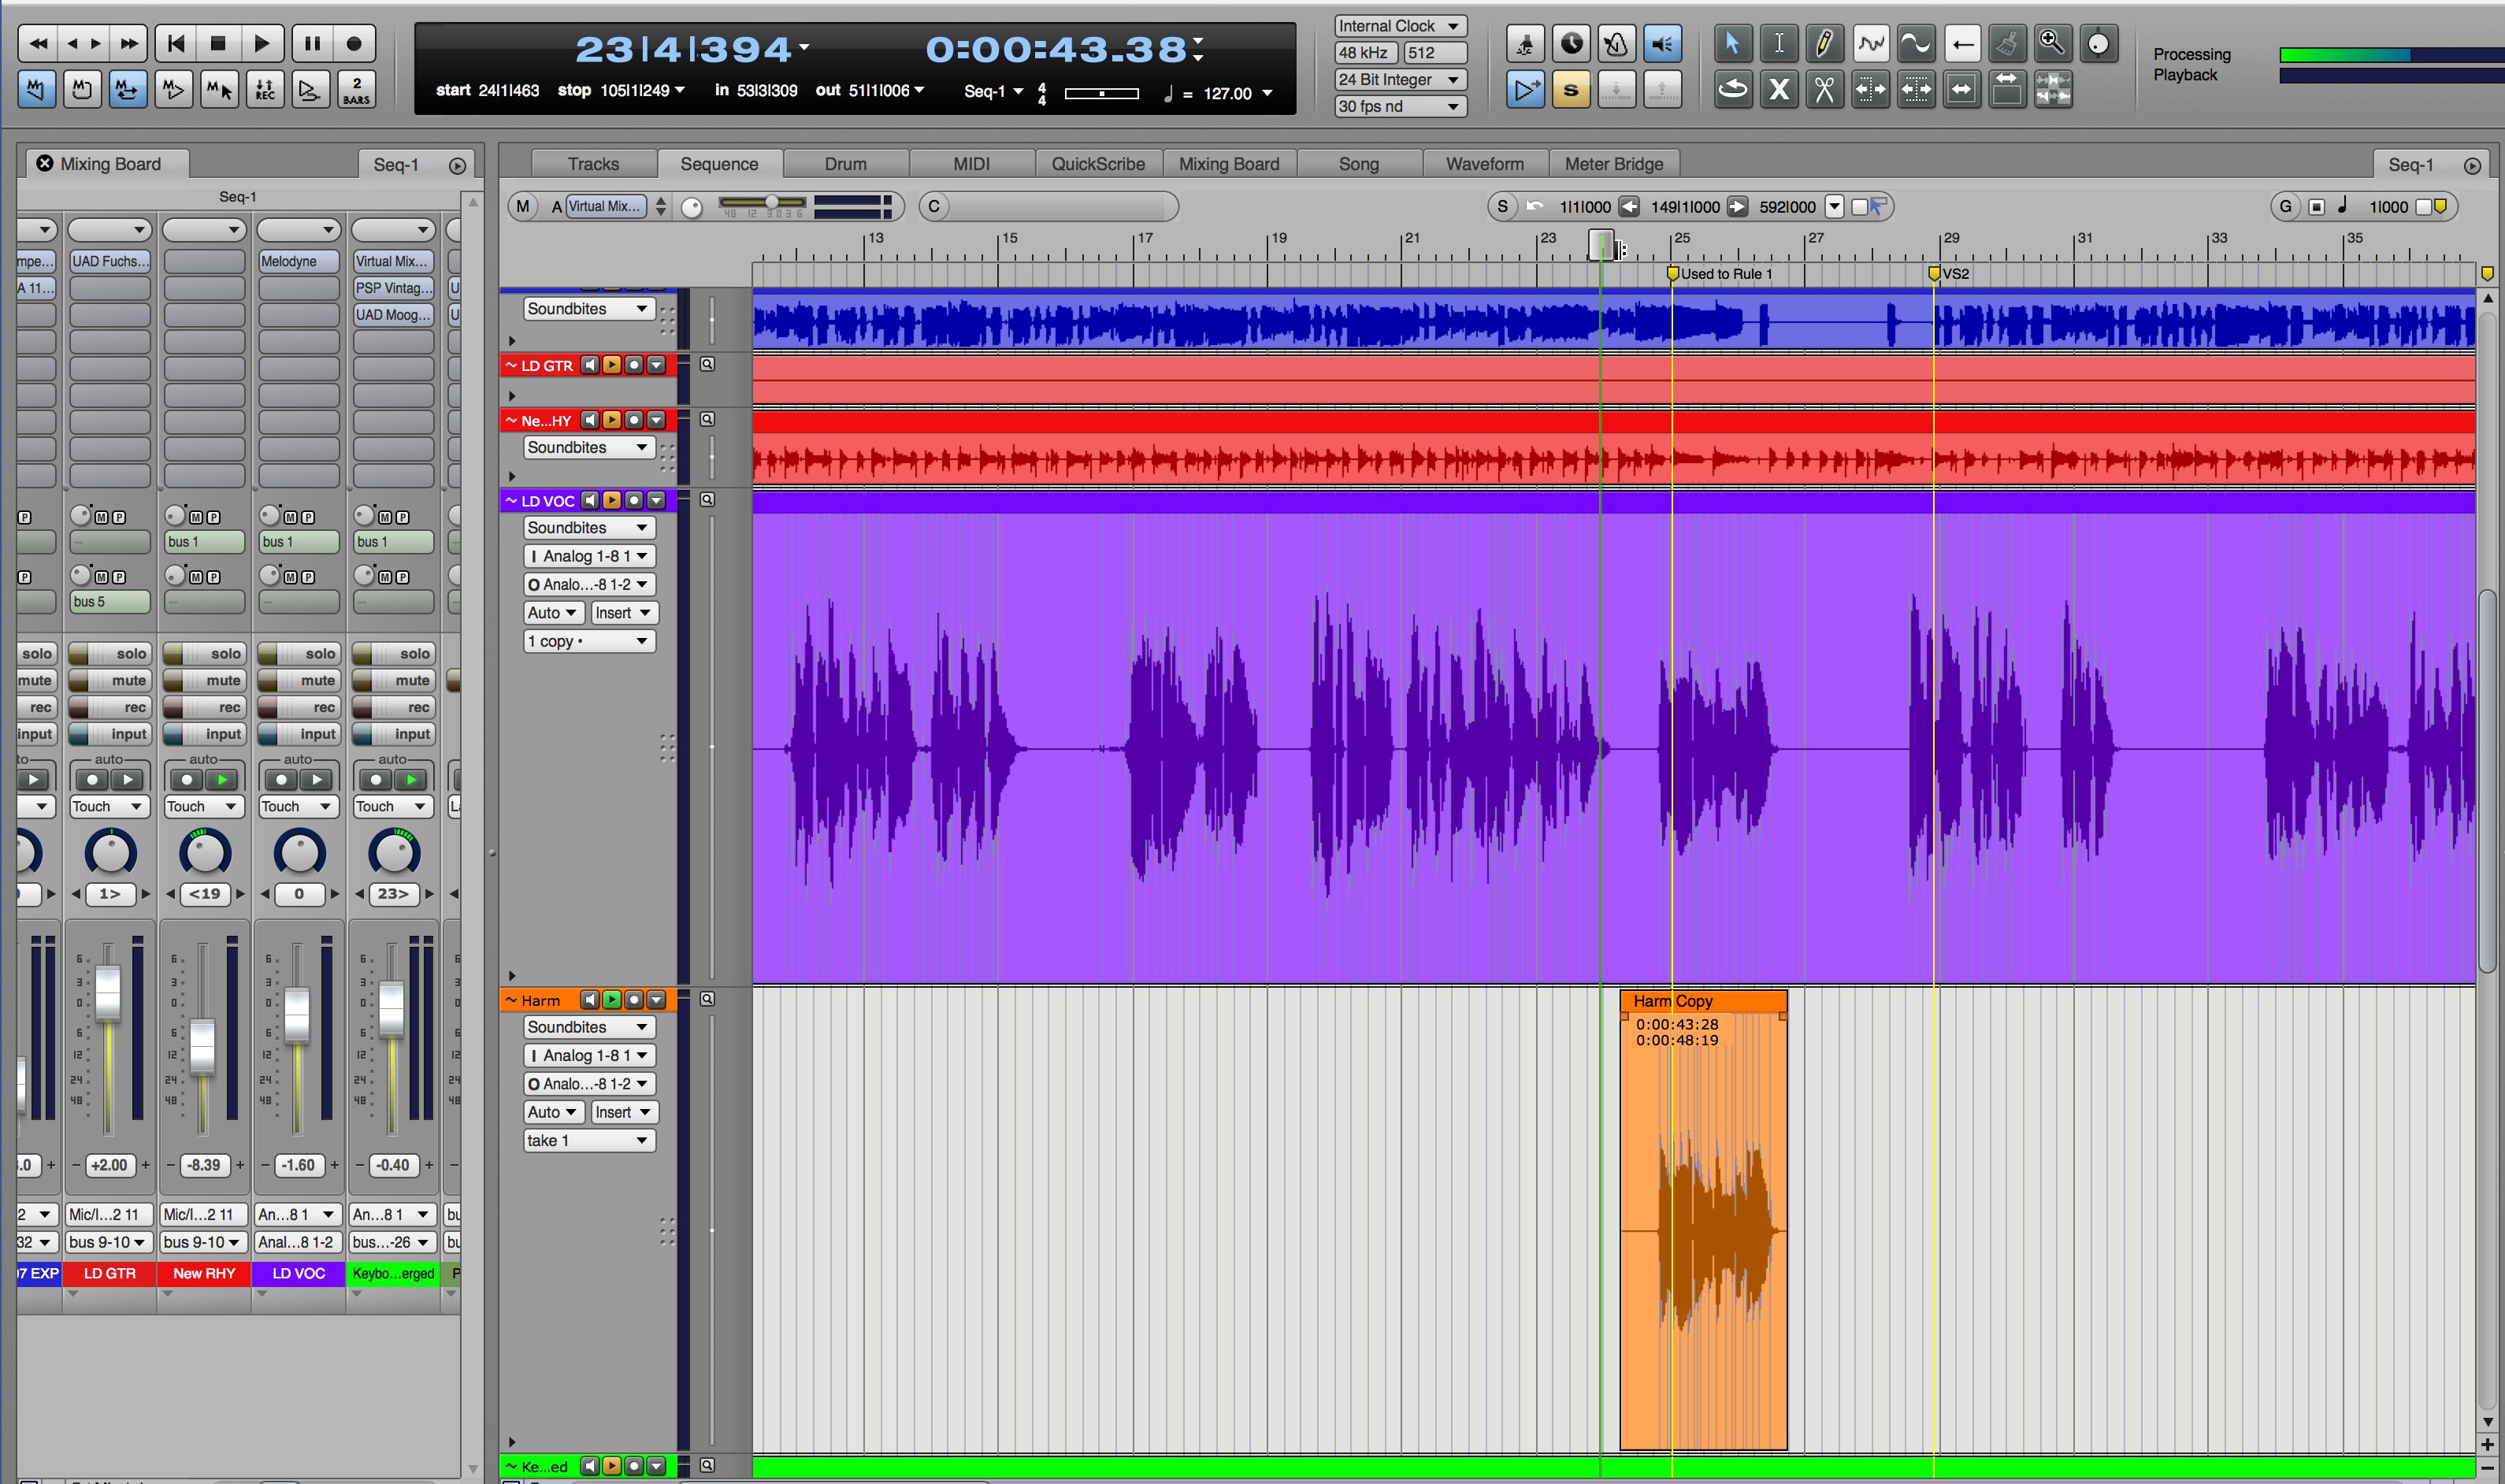
Here’s an example of how to create a harmony vocal with this method. In the song shown below, the vocal is the purple-colored track. Below it, in orange, is the line I want to harmonize, which I copied and pasted from the lead vocal.
I’m going to be working in Melodyne Editor here, but the workflow is similar when using other software capable of pitch editing. In Melodyne, you have to capture the audio you want to edit, so I instantiated Melodyne on the harmony track, and then captured the vocal line. It looks like this.

Each of those orange shapes (or “Blobs,” as they’re called in Melodyne), represent the notes of the vocal. Like with a MIDI piano roll editor, the vertical axis is pitch and the horizontal axis is time. I like to have a MIDI piano set up in the session for reference, so that I can work out harmony parts on it as I go. I also like to set my DAW to return to the same spot after I stop playback so I don’t have to keep locating the beginning of the part each time I want to listen.
Start with the Part
If you don’t already know the notes you want for the harmony part, loop the section and figure it out by singing along or playing it on the keyboard. Once you have it worked out, simply drag the individual notes to their new pitches. Although it’s probably easiest to do this one note at a time, you could also drag the entire section up, say a up a third, or down a fifth, depending on what you’re going for, and then fine tune it from there. That may save you a little time because several the notes will probably be correct already.
If your software has a snap feature for the pitches, you want to have this on while you’re dragging so that your harmony notes snap right into pitch. You can always fine tune later if need be. One caveat: if you shift the pitch too far to create a harmony, it may sound a little robot-like, so depending on the musical style, be judicious.
I usually mute most of the instrument tracks when I’m working on this kind of part so that I can hear the vocals better. However, I always leave the bass and one chordal instrument on, to make sure the harmony works with the song’s chord changes.
Layering
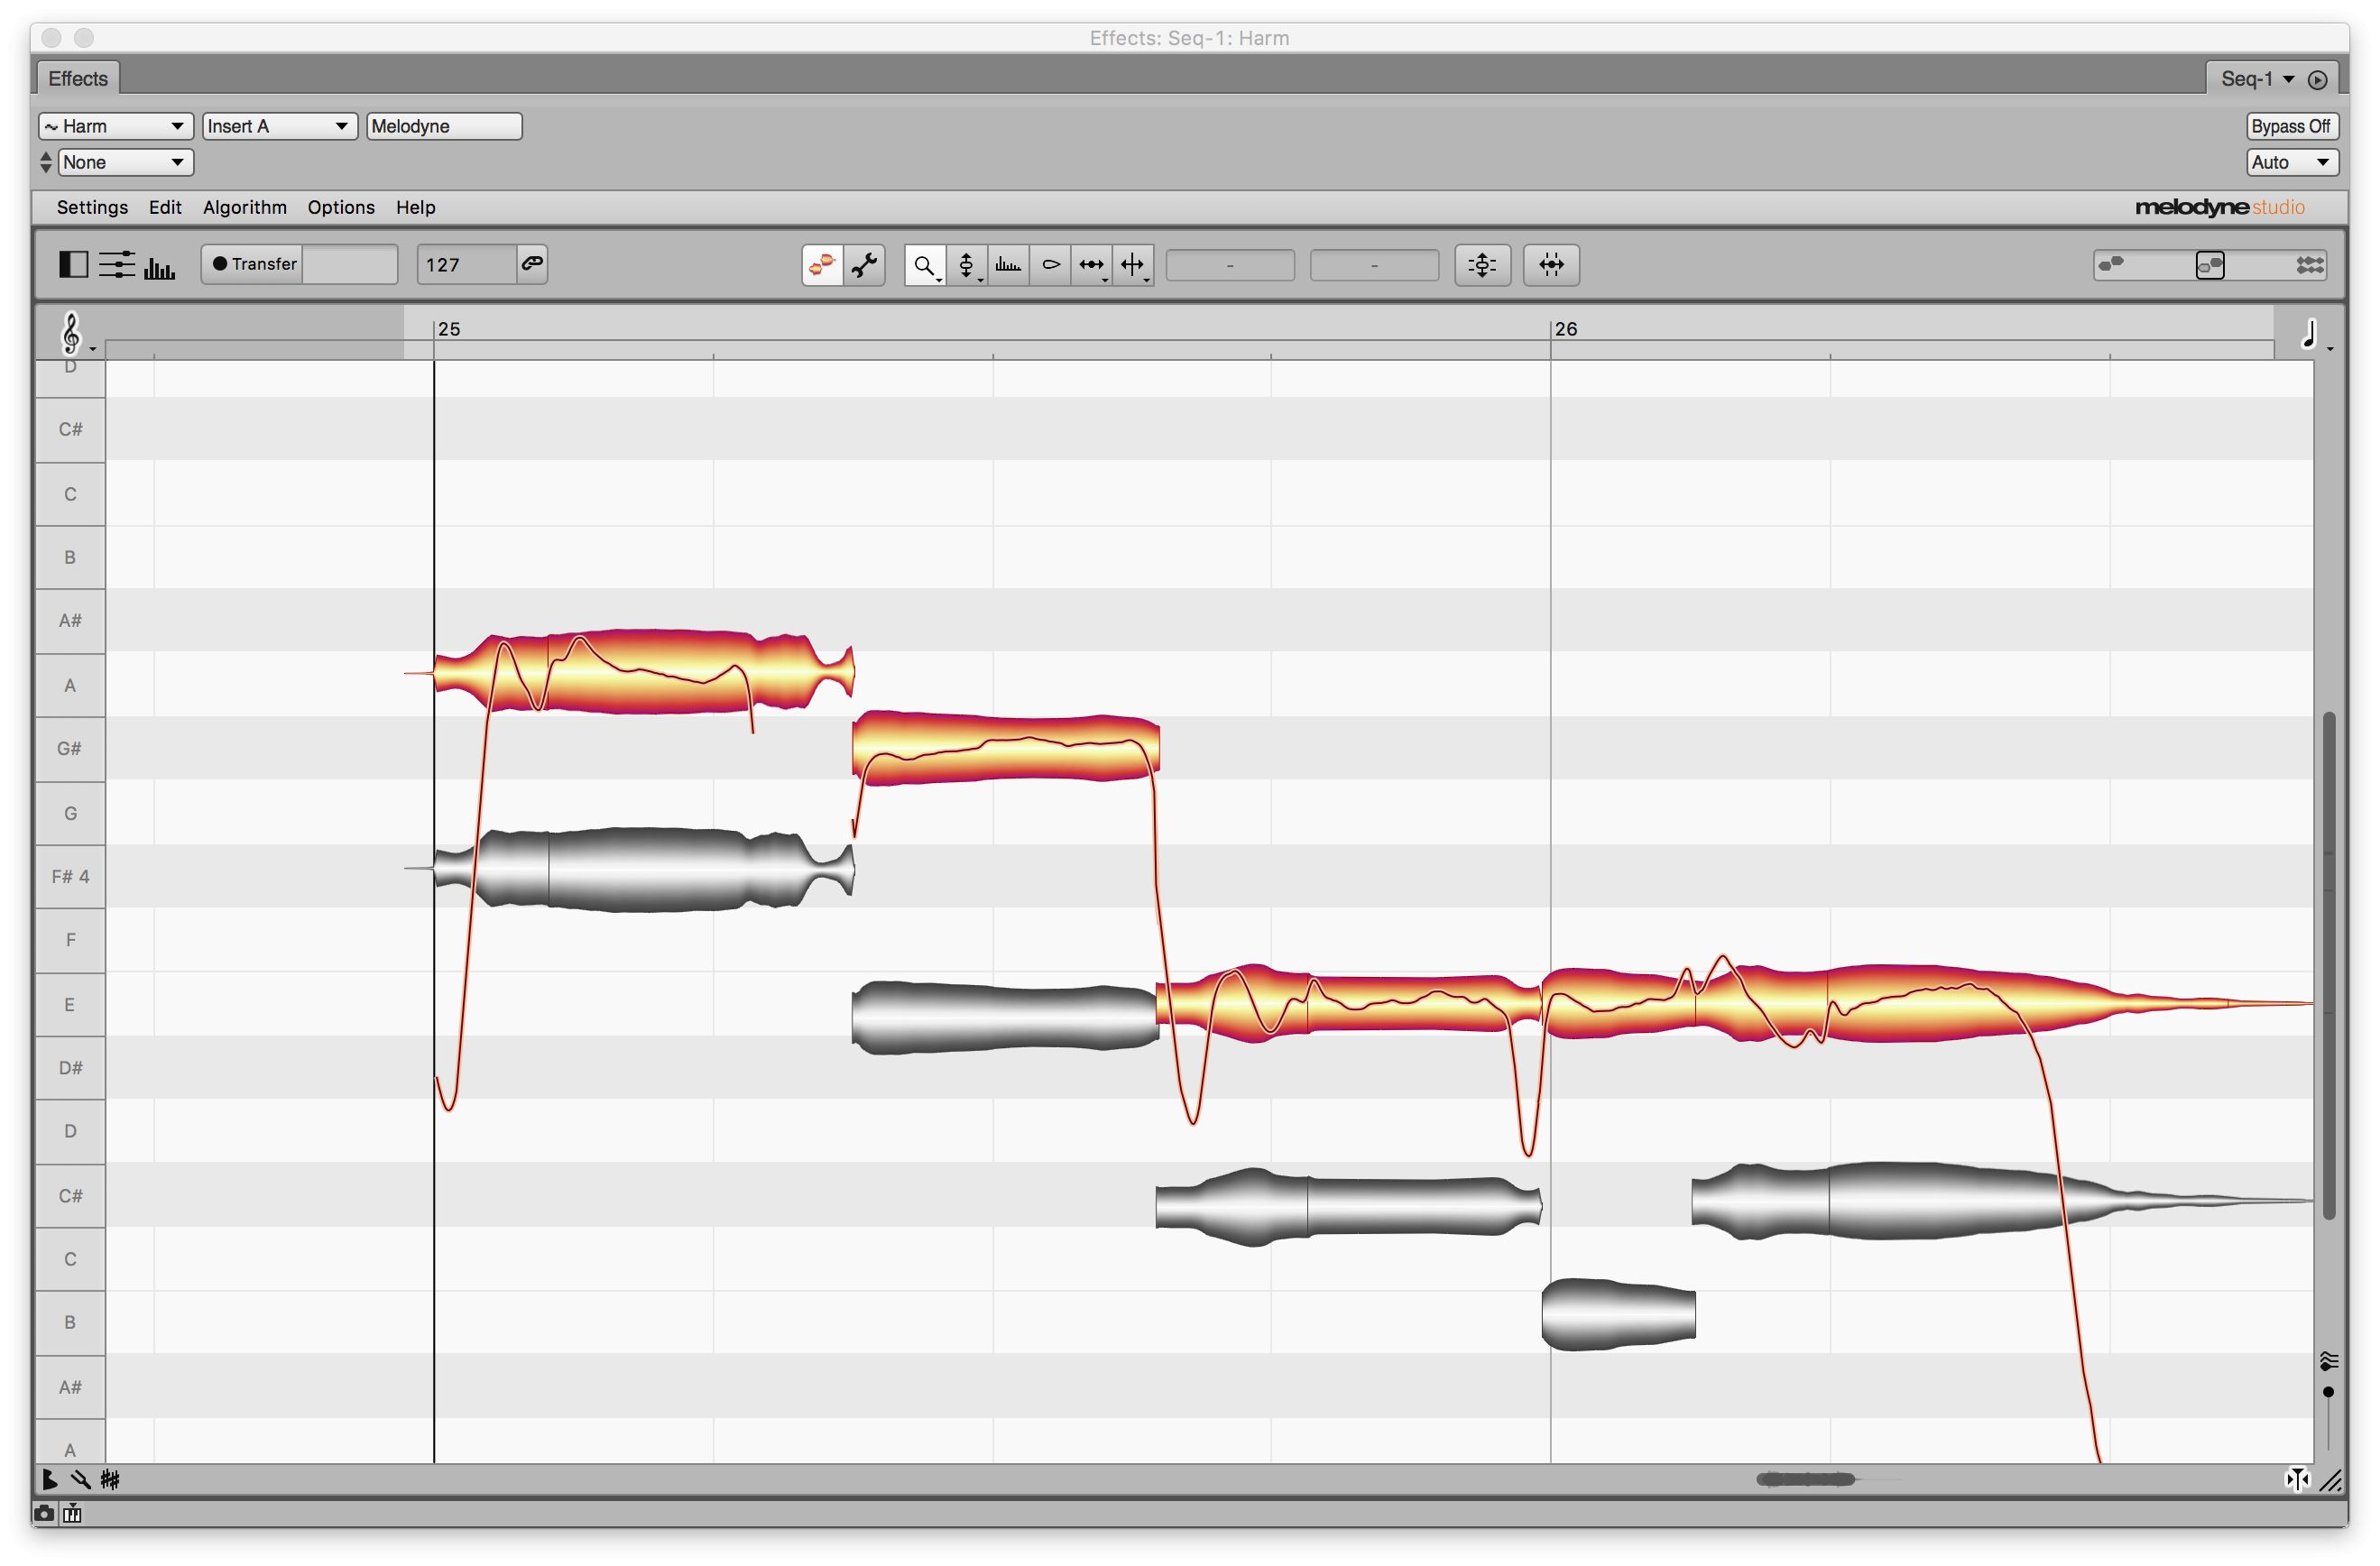
Here you see the original part in gray and the harmony I’ve created in orange. I could obviously repeat these steps to produce an additional part or parts. Because the harmony is derived from an exact copy of the melody line, the phrasing will be identical between the two, which can make it sound less natural.
A real harmony would have some minute timing variations between the parts. If you want to make the harmony sound more human, slide the harmony notes to be a few ticks early or late. If your pitch software lets you zoom in, come in close before you slide, so that you can move the notes very slightly. If you’re using your DAWs built-in pitch correction, or if your pitch software doesn’t let you adjust time, you might have to shift the actual region in your DAW’s audio track.
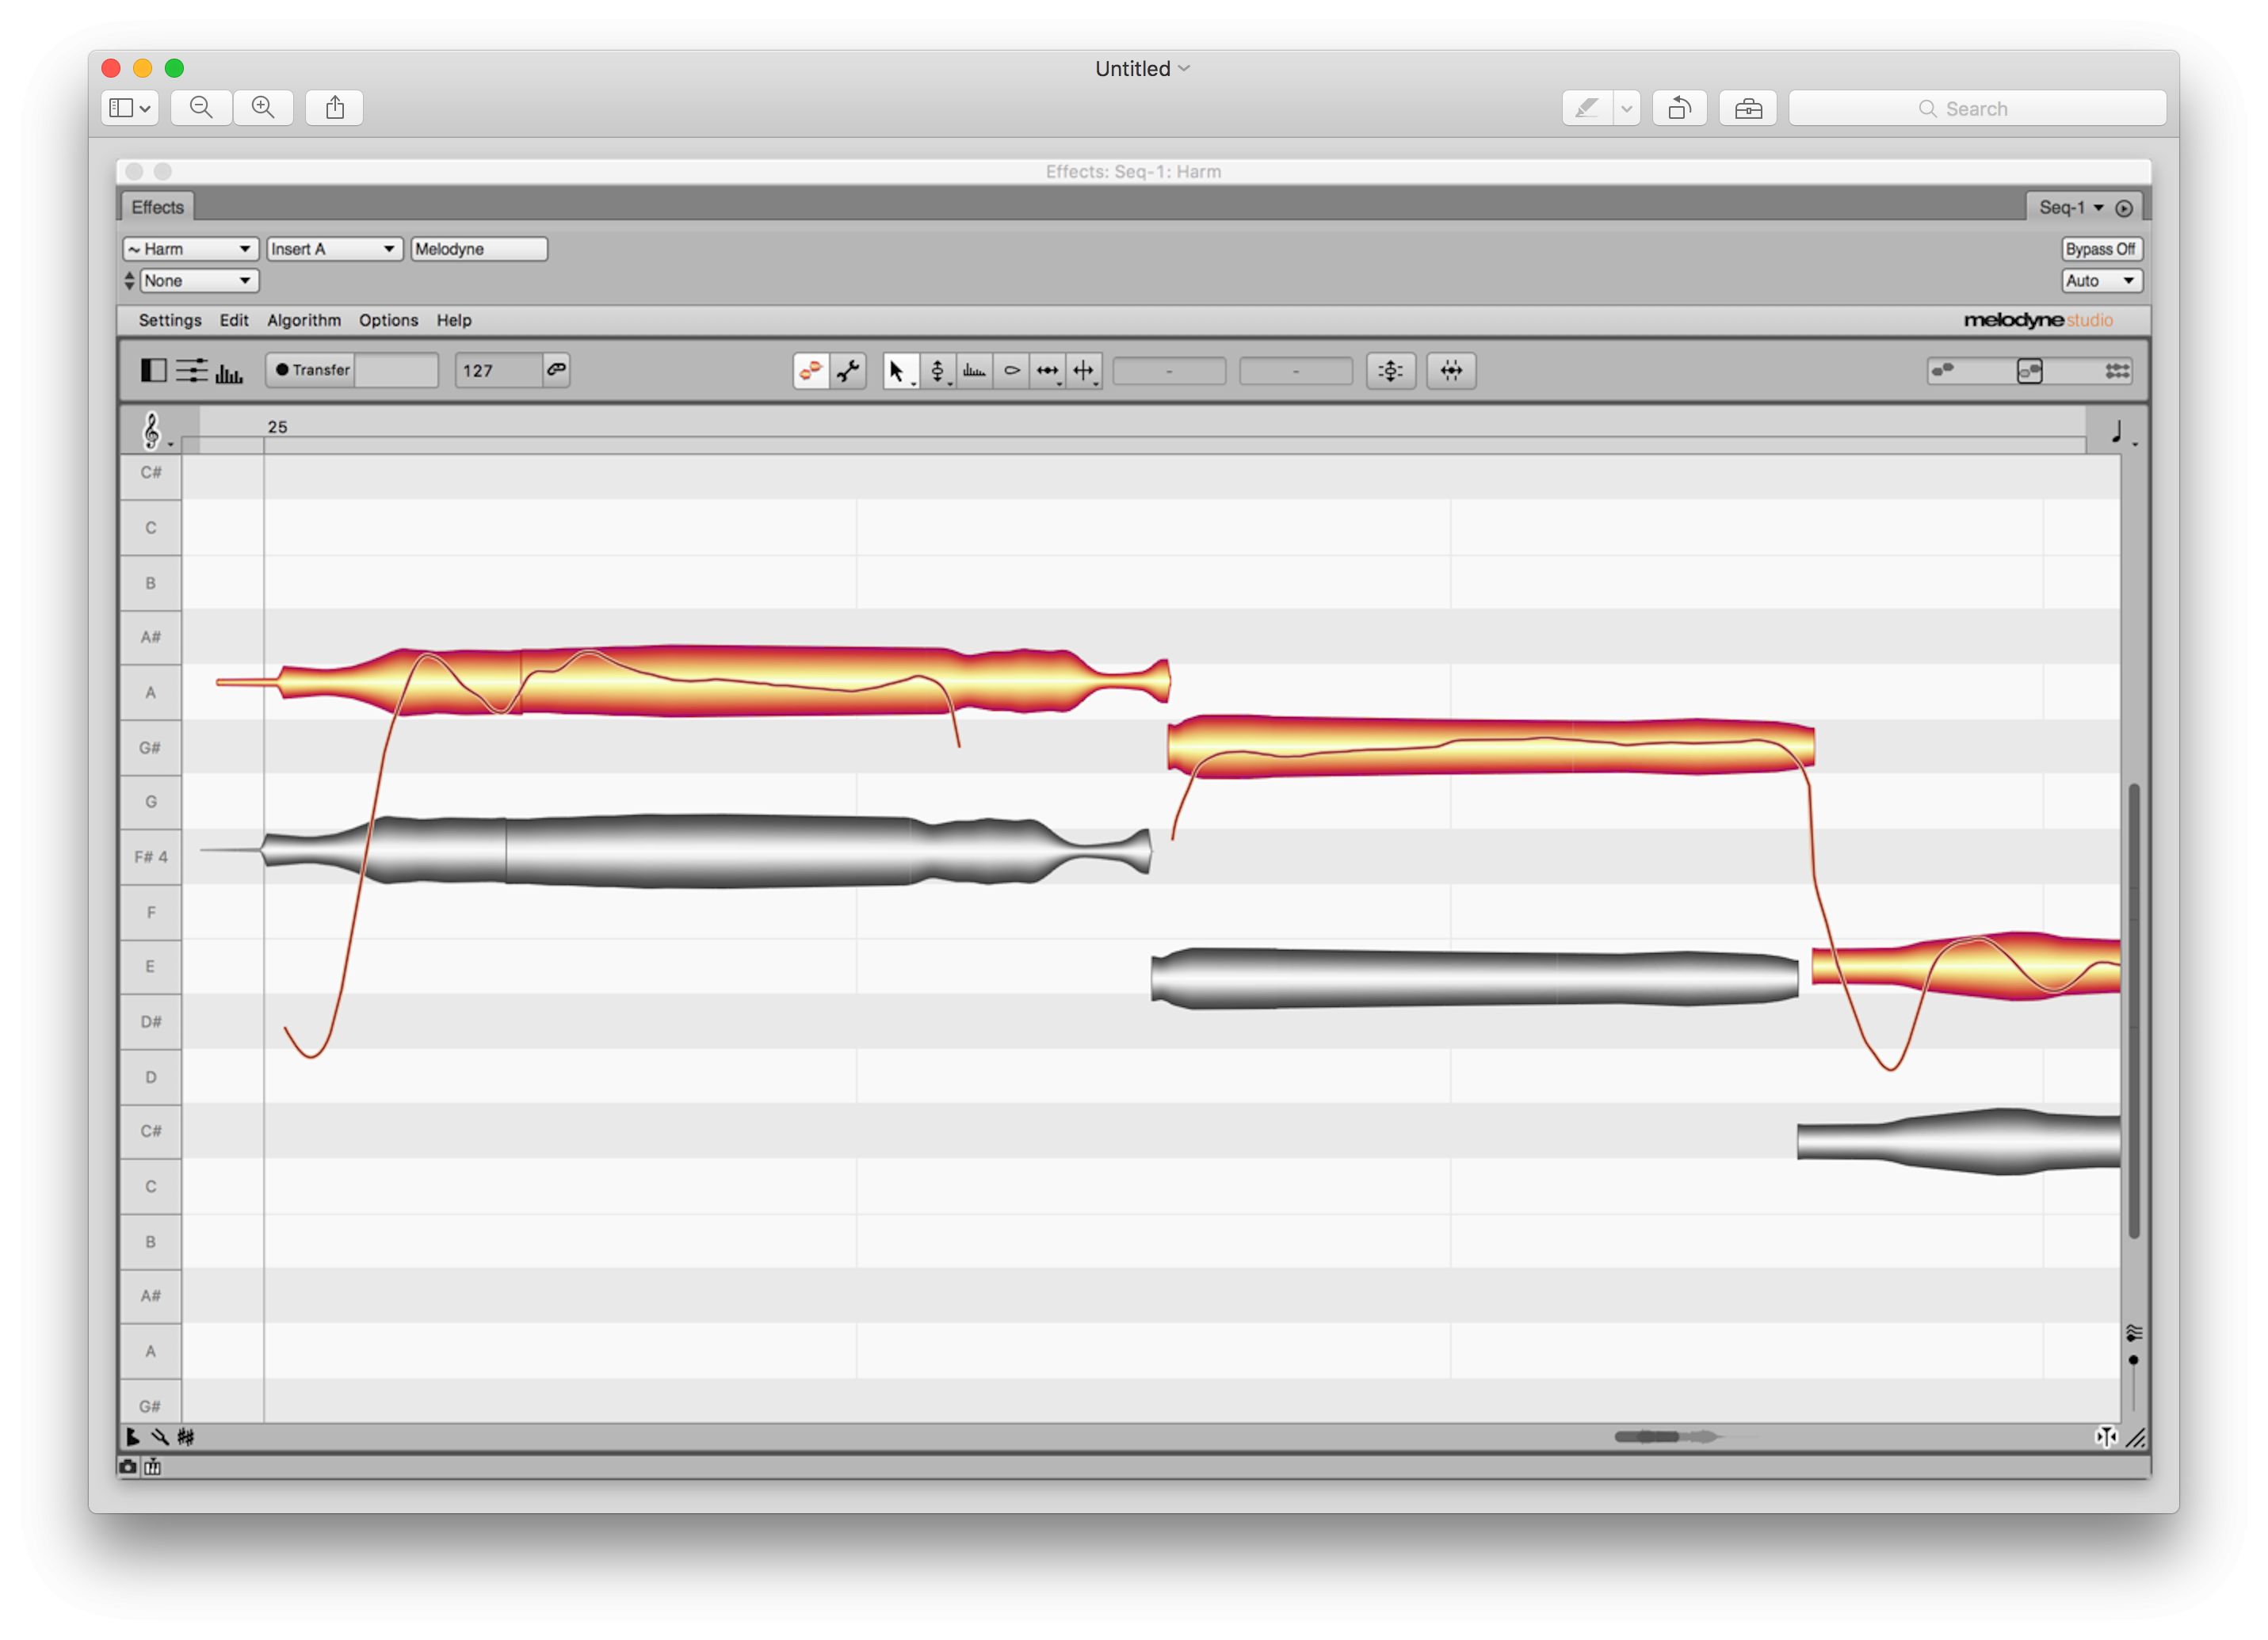
Here you see that I’ve shifted the harmonized part ever so slightly by dragging it.
If the phrasing still sounds too perfect, you could go in and drag a few random notes in it in one direction or the other (again, only by a few ticks) to give it a looser feel. If you’re going to double the harmony parts by copying them, then you also may want to create different rhythmic variations in each the copies.
You can add more random changes to the harmony by introducing tiny pitch shifts to all or some of the notes. First, turn off the pitch snapping feature if it’s on, select your copied harmony part, zoom way in, and drag just a tiny bit up or down, either on the whole line or just selected notes. Be careful here, as the pitch change can add a pretty strong chorusing effect, which you might not want. Panning your copied harmonies to opposite sides will help lessen the chorusing, and is a good idea in general.
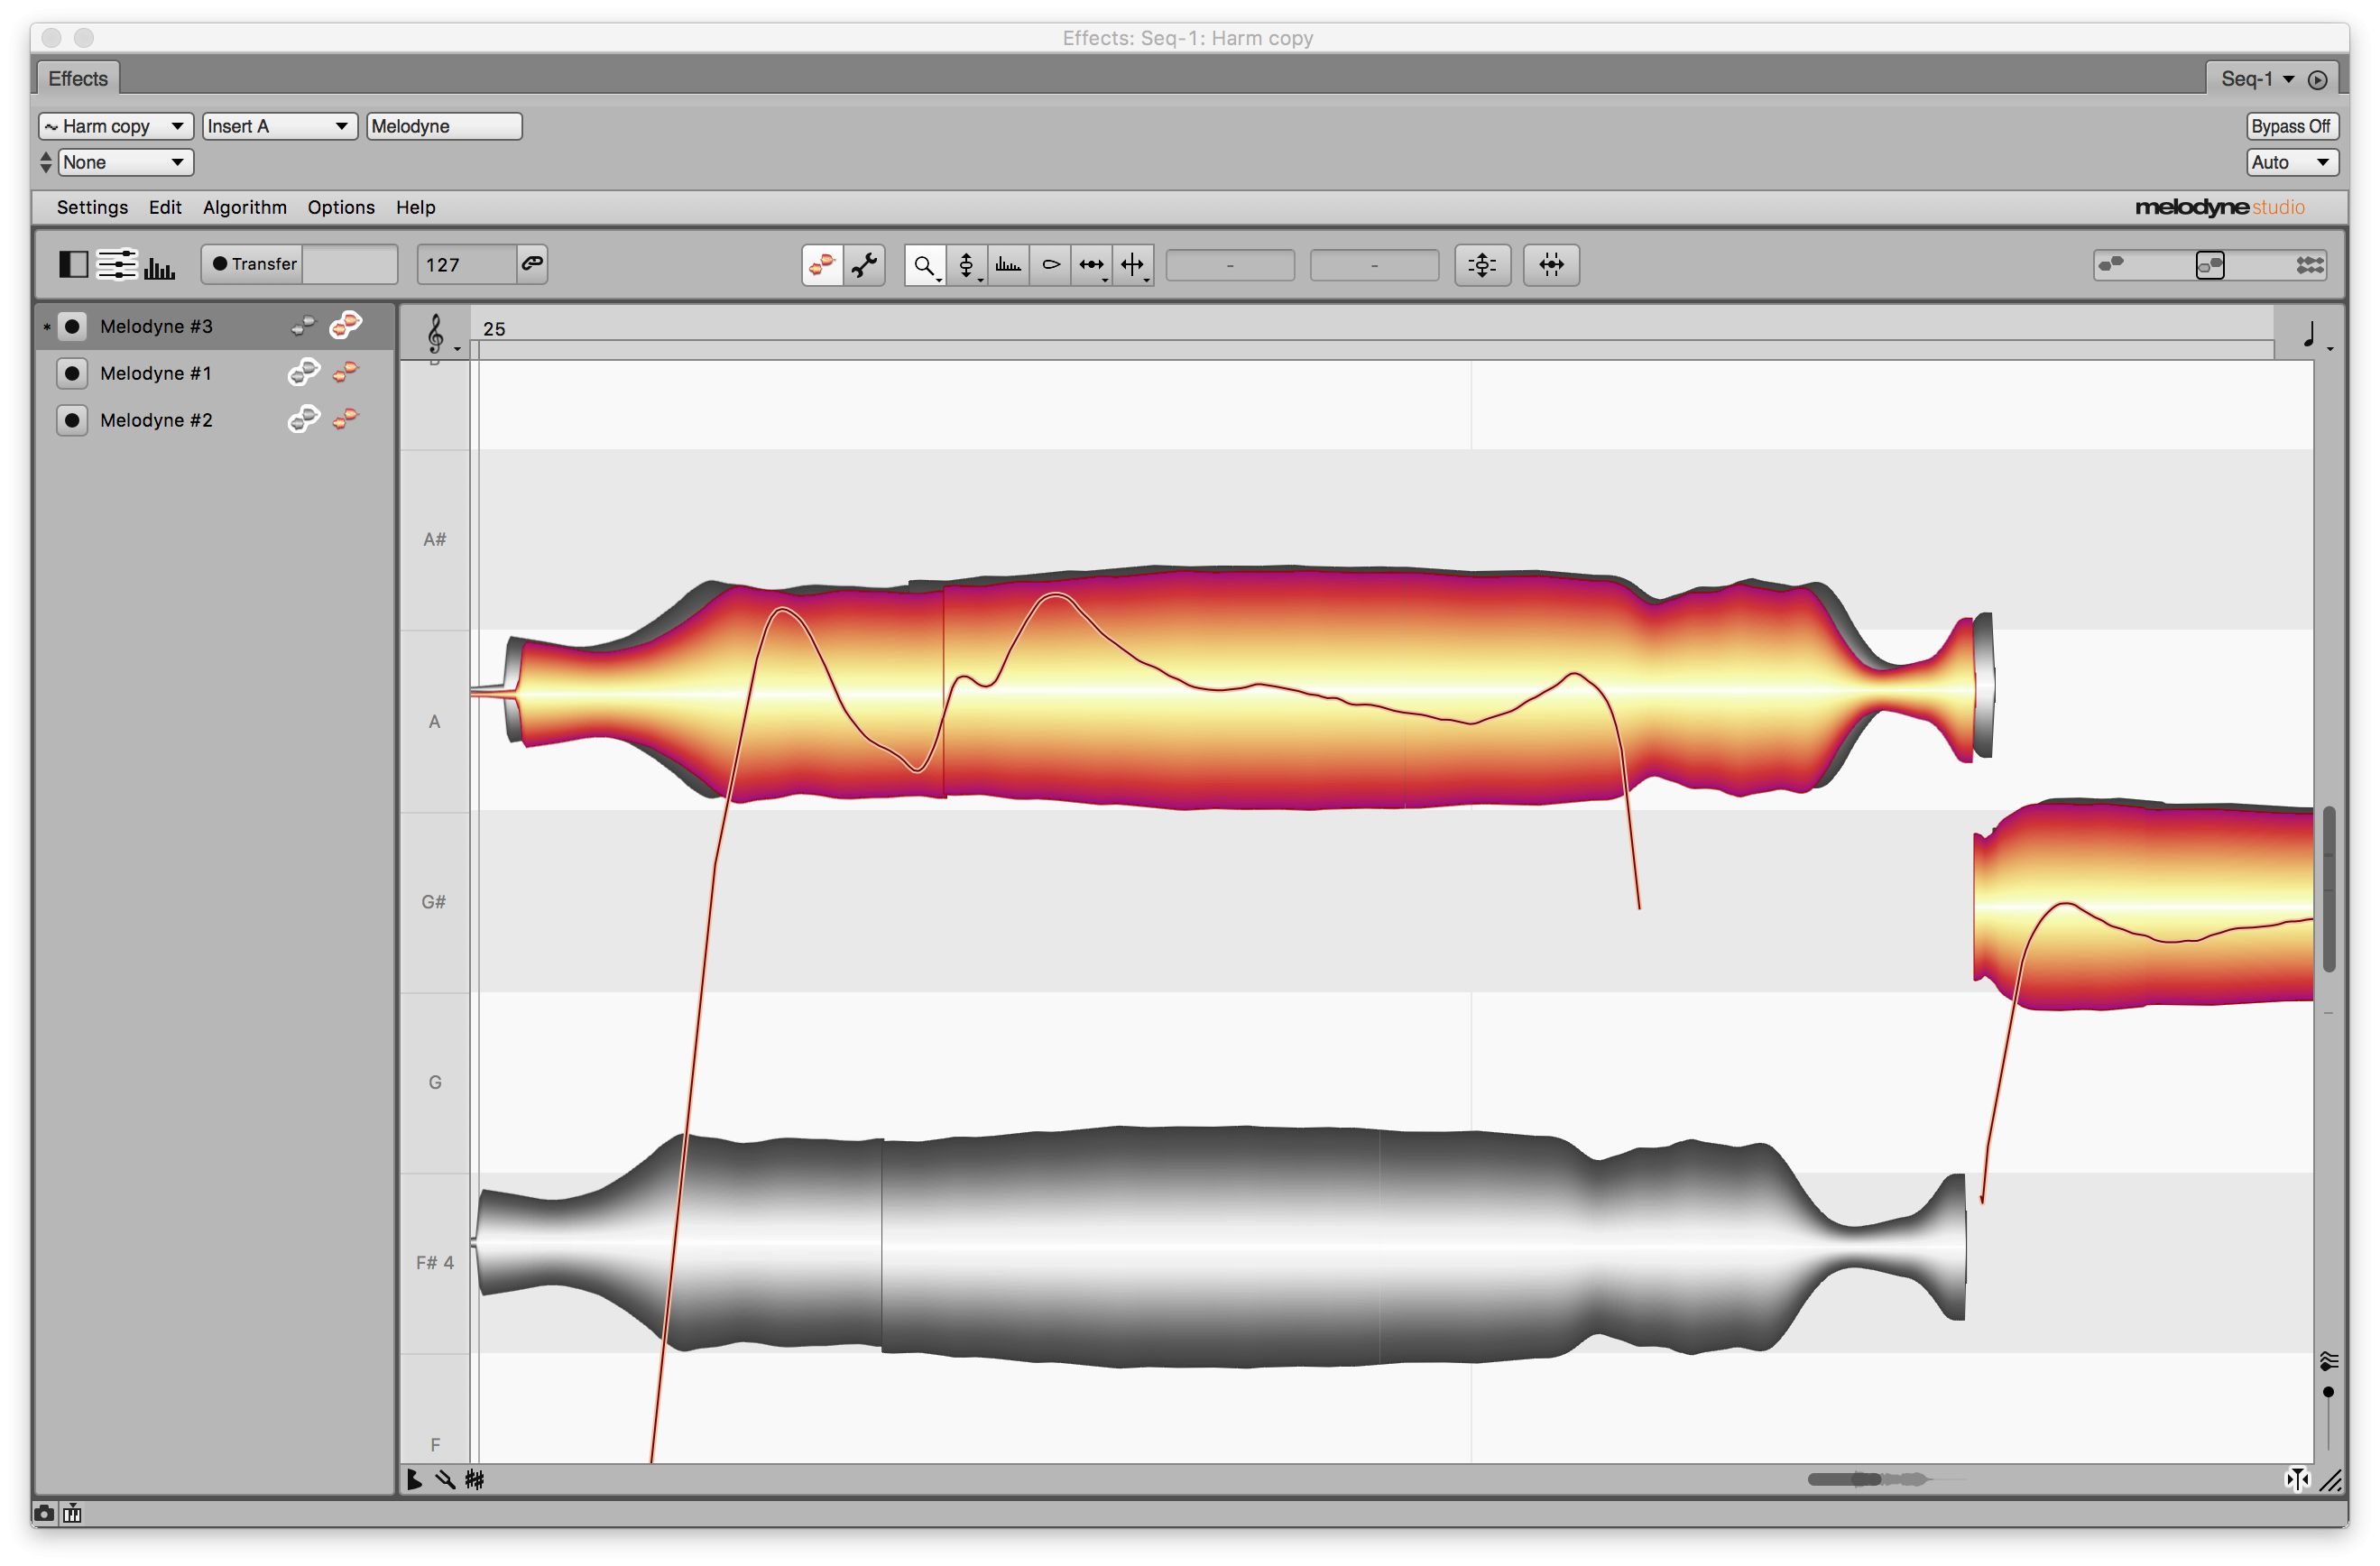
In this screenshot, which is zoomed way in, there are two harmonies layered above the melody. The second harmony part (the gray one on top, peeking out from behind the orange note) has been slightly changed, both in pitch and time.
Formant Shifting
Another way to make vocal parts sound different is to shift their formants, which changes the character of the copied voice from the original. You can even make a male voice sound female and vice versa. Most likely your pitch software has some formant-shifting capabilities, but if not, you can find other plug-ins (for example Soundtoys Little Altar Boy) that can do it.
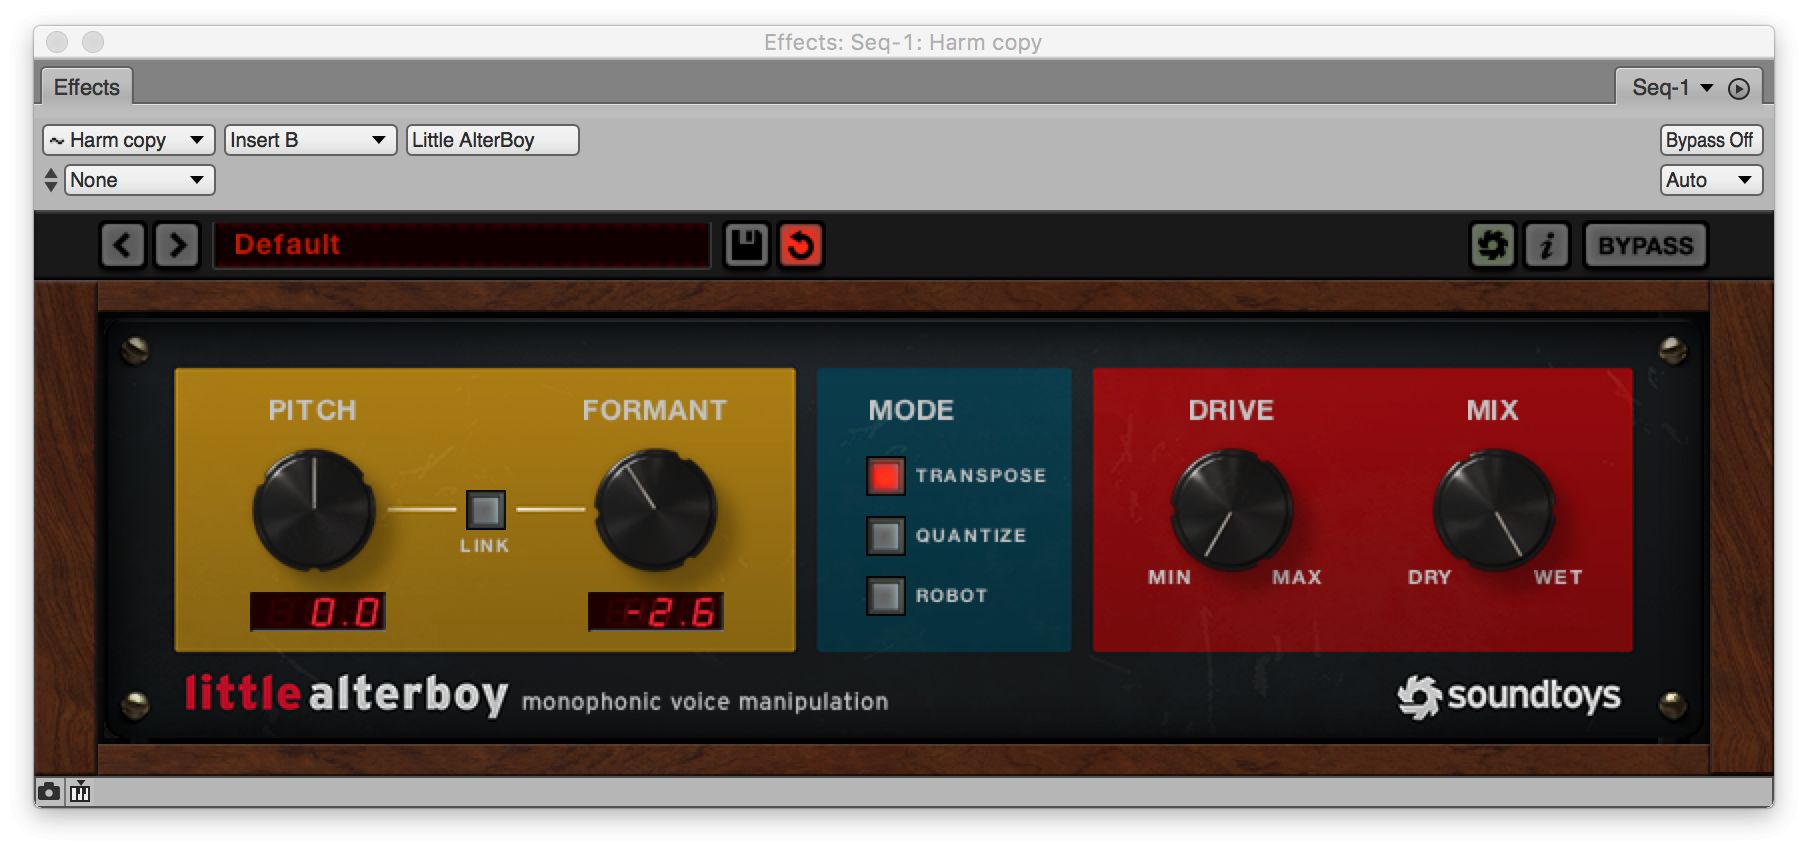
A subtle bit of formant shifting can give the voice a different character from the original.
Repeating Sections
Because constructing harmonies this way is time consuming, once you’ve created the parts for one section, it might make sense to copy the harmonies to other locations in the song where they occur. That would also mean copying and pasting the corresponding part of the lead vocal as well, so that they match the harmonies. Naturally, that will only work if you’ve recorded your song to a click. Otherwise, the rhythms won’t line up, and you’ll have to recreate the harmonies for each occurrence.
Last Thoughts
As you’ve seen here, pitch correction software - especially products like Melodyne that also allow for time manipulation - provide you with the tools to do a lot more than just fix out-of-tune notes. Creating harmonies is one application, but you can also create custom modulation and pitch change effects that range from subtle to crazy. Even if you’re not working on a song project, record some vocals or instrument tracks and mess around with creative possibilities of digital manipulation. You have nothing to lose but some time out of your day, and you’ll enjoy every minute.

Discussion
Want to join the discussion?
Create an account or login to get started!