Cycling (looping chosen bars) in Logic allows you to focus on a specific area without having to continually replay that section from the start every time. Most of us know how to set a cycle by click—dragging across the numbered bar area at the top of the workspace/arrange area. You soon realize though that looping can be like looking through a hollow tube at your song (you don’t see/hear the whole picture). In this article I’ll show you several tips to use when cycling that will help keep the rest of your song in perspective.
1. Set the Loop/Cycle By Clicking a Region
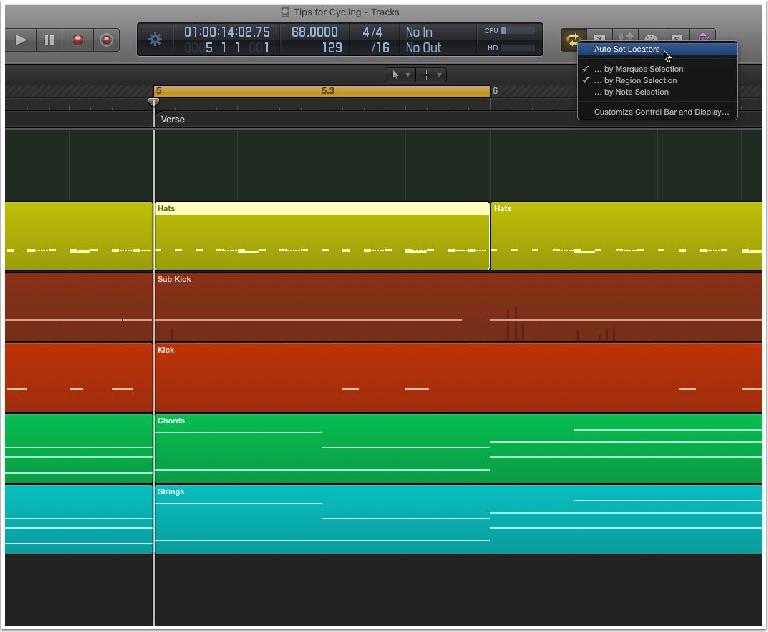
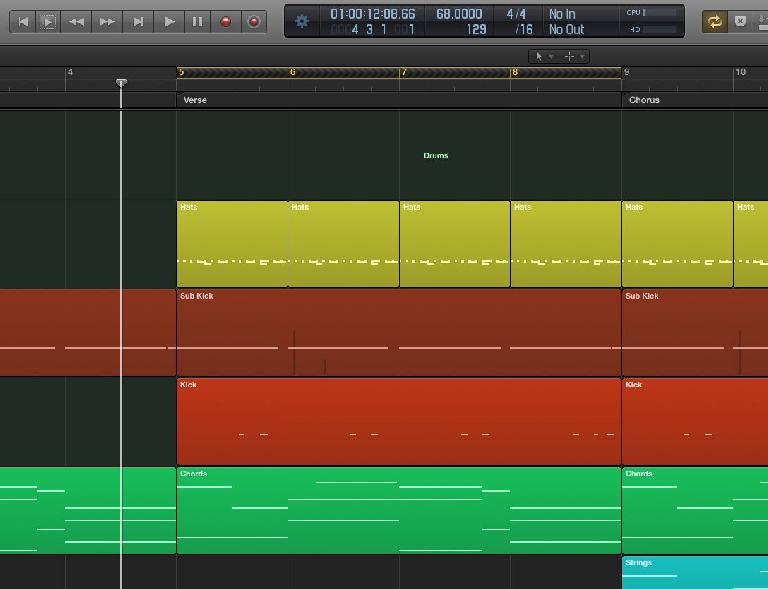
First, some find it extremely useful to set the cycle when they click onto a region. If you click and hold the Cycle button in the Control Bar you can enable “Auto set Locators.” Use it while working out looped grooves and beats, then switch if off when you’re ready to start arranging.
2. Move Cycle by Cycle Length or Markers
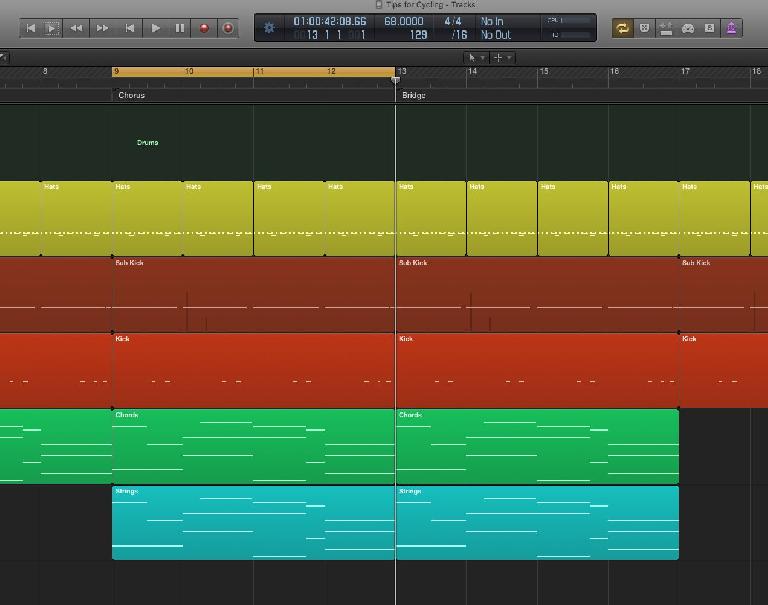
While working on a cycled/looped section, often you’ll need to move the cycled area forward or back in time. When working out grooves or other intricate MIDI parts, being able to easily push the looped section forward (or back) will let you easily move on to the next section to edit. When arranging, you can move the cycle forward to the next sections. The key command for this is Shift-Command- and the comma and period keys (or < for move left/backward, and > for move right/forward). If you use Marker, use Option and the < & > keys to move the cycle back and forth through your different marked sections.
3. Start Playback Anywhere When Cycle Enabled
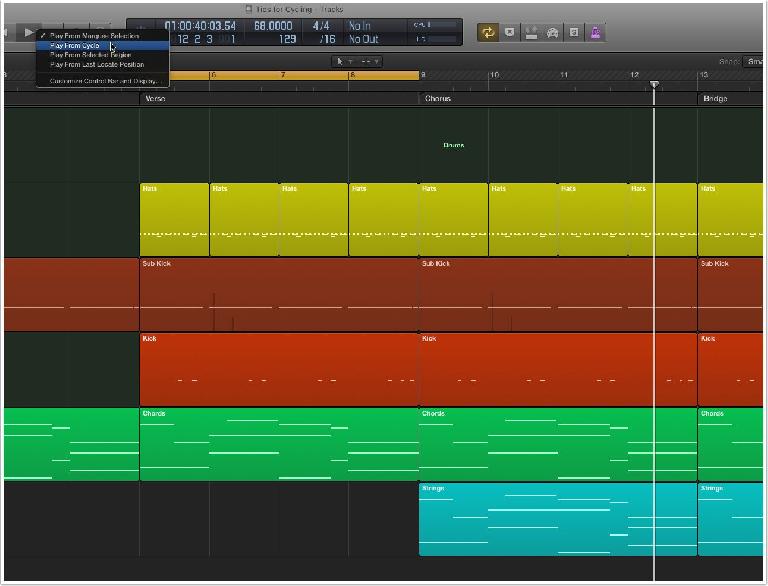
This can be such a pain when you don’t know how to disable this. You want to keep your looped section enabled, but go back a few bars before, or jump to play a section after it. You place the timeline where you want to start playback, but playback starts from the beginning of your loop instead. You can double-click the ruler (below the bar numbers at the top of the workspace/arrange area), or click and hold on the Play button in the Control Bar. You can uncheck, “Play from Cycle.” To re-enable, click hold again and check off again.
4. Set the Loop/Cycle By a Selected Region
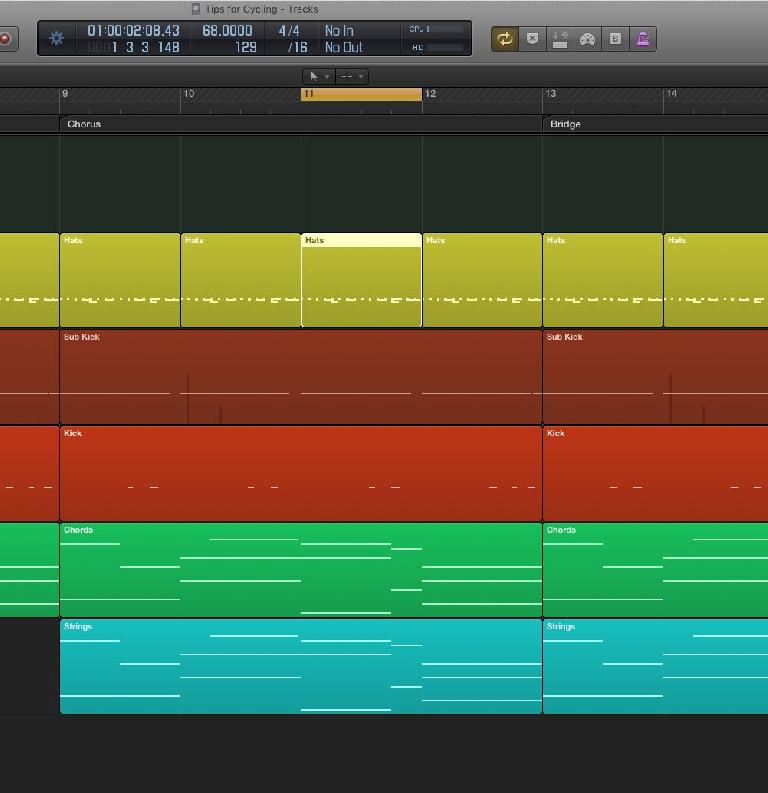
When producing, being able to quickly loop a region for editing can be a huge time saver. Simply click the region you want to loop/cycle and use either the U key or Command-U. U, sets the loop “rounded” around the chosen region so if it didn’t start at the beginning of a bar, you won’t loose sync when the loop comes back around. Sometimes when doing intricate audio edits, you might want to loop/cycle the region in and of itself whether or not it’s in sync … use Command-U to do this.
5. Skip Over the Loop/Cycle Area
The opposite of hearing something over and over again, would be not hearing it at all. If you hold Command and drag across the bar/measure area at the top of the workspace window (as you normally would to set a cycle) you create what is called “a skip section.” Skip sections are black with a yellow halo instead of the usual yellow. When the time line passes over the loop, it jumps around it to the end. This is great for testing out arrangements …sometimes you might want to hear what your track/song sounds like skipping over a certain area, and this is how you do that.
6. Nudge Regions
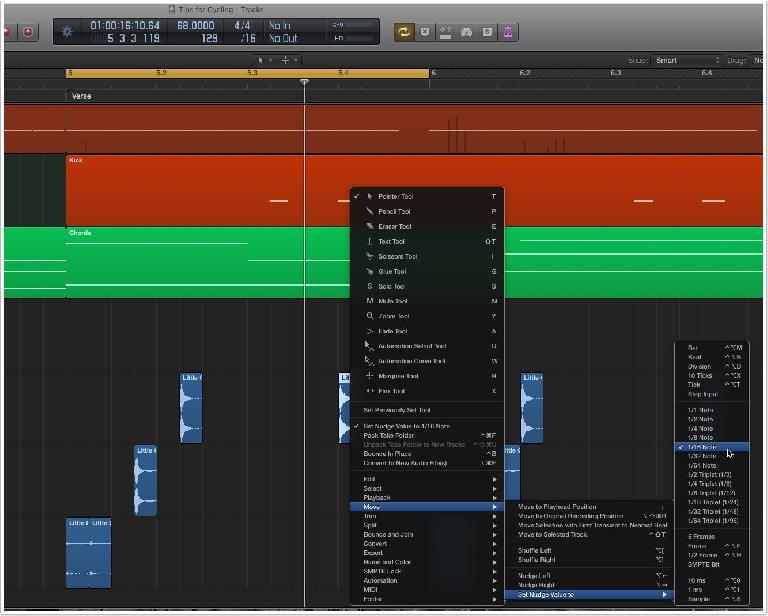
Another popular reason to loop a bar or chosen bars is while experimenting with timing on MIDI or audio regions. Being able to “nudge” a region forward or back in time by a “grid position” like 1/16th, 1/8th, or 1/4 notes allows you to try out different starting or ending positions for the region, but in perfect sync. First, right-click the region inside the loop/cycle range and from the Menu, then to the “Set Nudge Value” menu, choose a value like 1/16th notes. You can now use key command Option and the left and right arrows to move the region or MIDI note (if you’re looping in the Piano Roll) forward or back in perfect sync.


 © 2024 Ask.Audio
A NonLinear Educating Company
Discussion
Want to join the discussion?
Create an account or login to get started!