
Are you just starting to make your own drum patterns in Reason? You could do a lot worse than checking out my video tutorial on Beat Design Basics but in the meantime let me share with you a handy technique on applying tape compression to your new patterns...
Step 1 - It's All On Tape
Personally I think Reason has really come of age and it maybe one of the best beat making tools out there right now. With Kong, OctoRex and ReDrum at your fingertips there isn't a huge amount more the modern beat maker could need to hit the ground running.
Even if you have made an awesome beat in Reason there's no doubt that a touch of the right processing can push things right over the edge and give you something truly epic. I find that the Scream 4 is the perfect tool for the job.

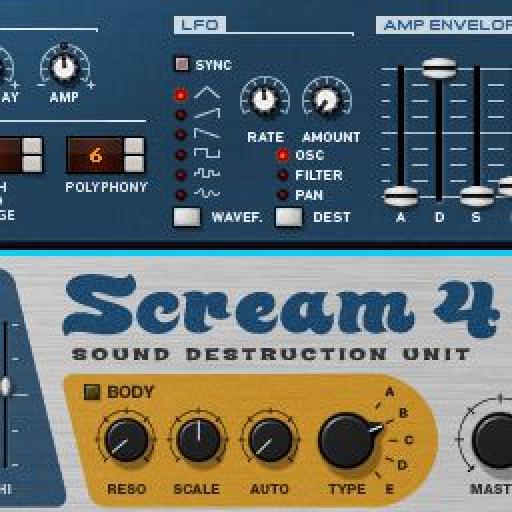
Loading the Scream 4.
It's not just any old preset from Scream 4 that works for me, some of them are really far too extreme to strap across a whole drum buss, you can end up with plain noise doing this. I find that the tube and tape settings are awesome though.
The tape compression / saturation algorithm setting is really my favorite. I think it produces some of the best tape emulation I've heard and it hardly hits your CPU. Let's take a look at how to get it going on a simple loop.
Step 2 - Setting Up The Effect
I find that for this effect you simply strap the Scream 4 across an entire sub mix or drum device. It seems to compliment pretty much everything you throw at it, so no real need for complex parallel mixing or send / return set ups here.
Go ahead and insert the Scream 4 in the normal fashion. In this case I have strapped it across the output of an OctoRex so that you can hear it working on a pre-mixed drum group. You can hear the dry version of the audio below. The processed sound will follow...
A more intense sequence is created:
Once inserted select the tape algorithm setting and ensure that you have no serious clipping anywhere. The only distortion or saturation we want here is from the effects!

The Scream 4 is inserted.
Step 3 - Tweak Those Settings
Now everything is in place you can start to tweak the extremely complex controls (obviously I'm kidding). I like to turn the EQ and Body sections off, at least for now. I also start with a relatively low drive setting.
As for the two interchangeable controls below the algorithm setting graph, I like to have the tape speed at almost 100% as this tends to let all frequencies through and keeps things nice and bright. The compression I tend to set from 50 - 75%.

The final settings used for the tape effect.
Now increase the drive to taste and if you want to boost those lows or highs, reach for the EQ! It's that simple and I think the sound produced is nothing short of great. Give it a go and see if it works in your projects.
The final effect adds saturation and grit to our drum group:

Discussion
Want to join the discussion?
Create an account or login to get started!