1. Load or record your sample
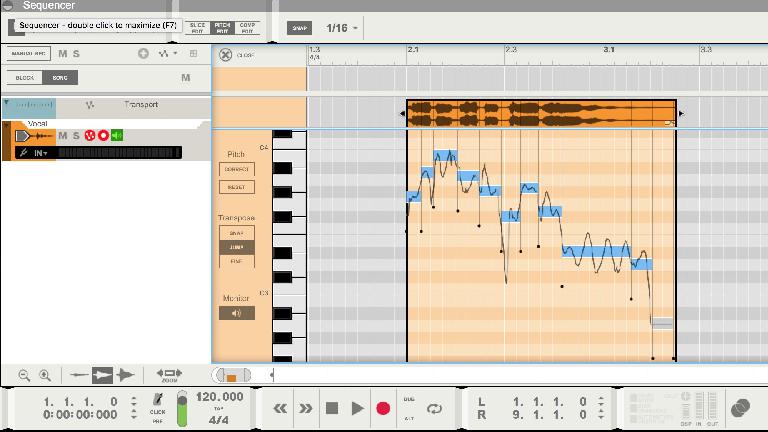
Reason is now able not only to tempo slice audio parts that you record or import, as it has been able to do for a couple of years, but also analyse monophonic vocal audio parts and make them editable in a similar way to something like Melodyne. At present, it’s restricted to working best with monophonic vocal parts and not polyphonic audio (although this may change), but it’s still a massive bonus to be able to alter the pitch and timing of vocals in a completely elastic way! Load up or identify a monophonic vocal clip in your project and then double-click it and you will see it opens in the pitch edit view. Zoom in a little so you can see all the slices.
2. Identify slices
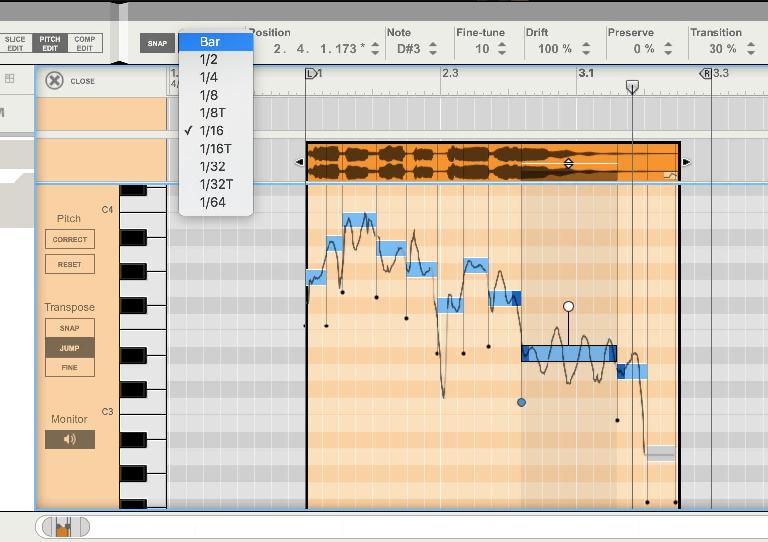
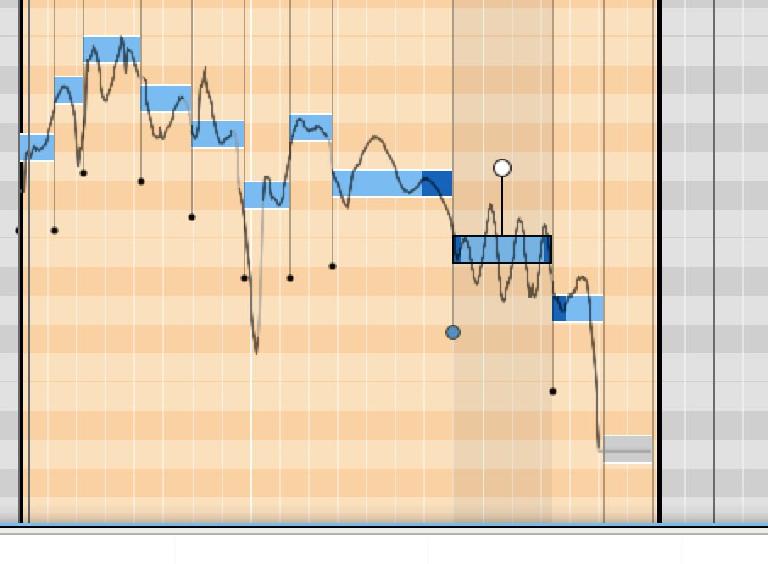
You will see that Reason has identified the different pitches in this sung audio passage, and also the lengths of those notes, which are shown as differently sized blue rectangles. You can click on any note to hear it played as a tone, or hold the Command (Mac) or ALT (PC) key while clicking to audition the actual slice sound itself. These slices obey your sequencer’s snap settings and much of the time it can be a good idea to leave snapping switched on to a setting like 1/16 so you don’t accidentally detune a note or mess up its timing. Of course you can turn snapping off if you do need to make very small changes to pitch or timing.
3. Change pitch
With snapping switched on, you will find that you can drag any slice up or down to transpose it by a semitone per step. Drag two steps to transpose by a whole tone, and so on. You can move pitches quite far up or down before they start to sound odd, so changing a vocal part from major to minor or vice versa for example is easy: just change the minor notes to major ones, or major to minor. You can also hold the Shift key while selecting multiple, noncontinuous notes and then drag them all up or down by the same amount at the same time.
4. Quantize timing
The same technique applies to altering timing, and the snap settings also apply. The difference here is that you can pick up either end of a blue slice and then drag left or right to alter the length of that sound, syllable or word. When you do this, the overall length of the clip will not be changed but the previous or following note (depending on which end you are dragging) will be lengthened or shortened (depending on which direction you drag) so that the gap is filled, and there is no silence created. This can be one instance in which you might want to turn snapping off or use a very fine snap value so that you can precisely control the points at which words or sounds occur.
5. Alter transition time
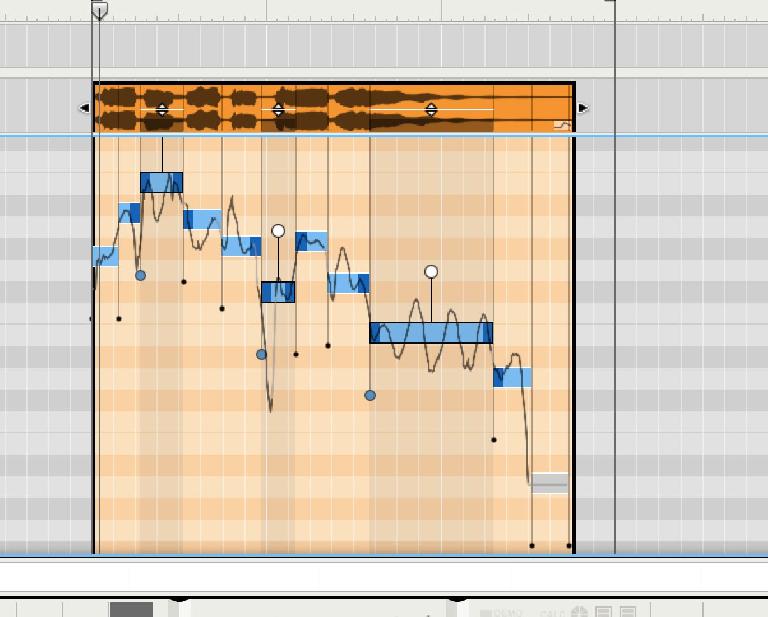
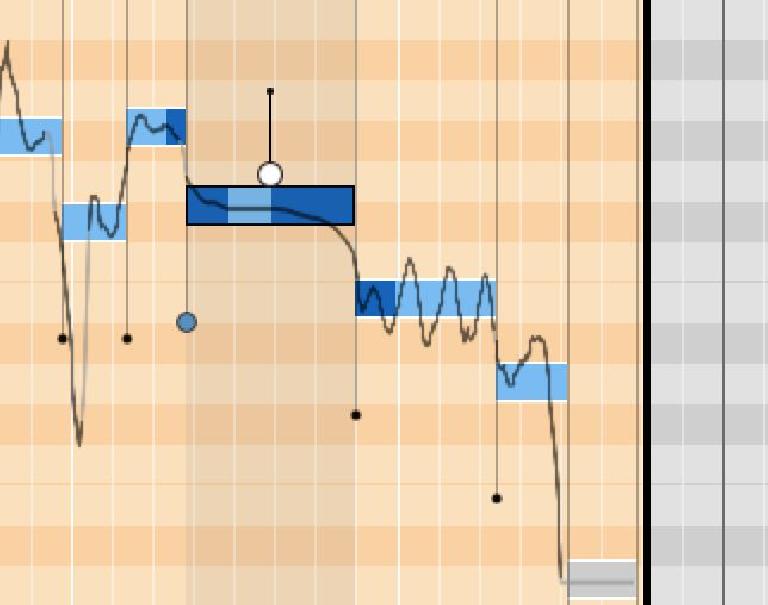
By picking up and dragging the blue “stick” between and below each slice, you can alter the transition between two slices. What this does in practice is change the time one note takes to overlap with another. A very short overlap and the jump between notes is very quick and robotic. A longer overlap means a smoother transition, and you can be flexible with how you set this. It’s particularly useful when editing the lengths of slices to ensure they don’t end up sounding artificial.
6. Work with vibrato
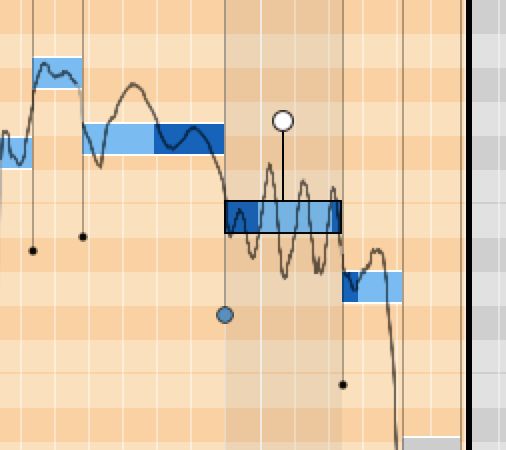
The white stick above a slice is used to control vibrato. The wavy lines you see in black behind a slice represent the vibrato of that note—vibrato being an important component of sung notes. An intense wave in the line means lots of vibrato and less waving or indeed a flat line means little or no vibrato. By dragging the white stick you can alter the vibrato, but bear in mind that you can’t add more than was originally present in the recording: you can only have 0–100% of the original vibrato. Still, this is handy for smoothing out vibrato when there’s too much in the original notes.
7. Choose a correction type
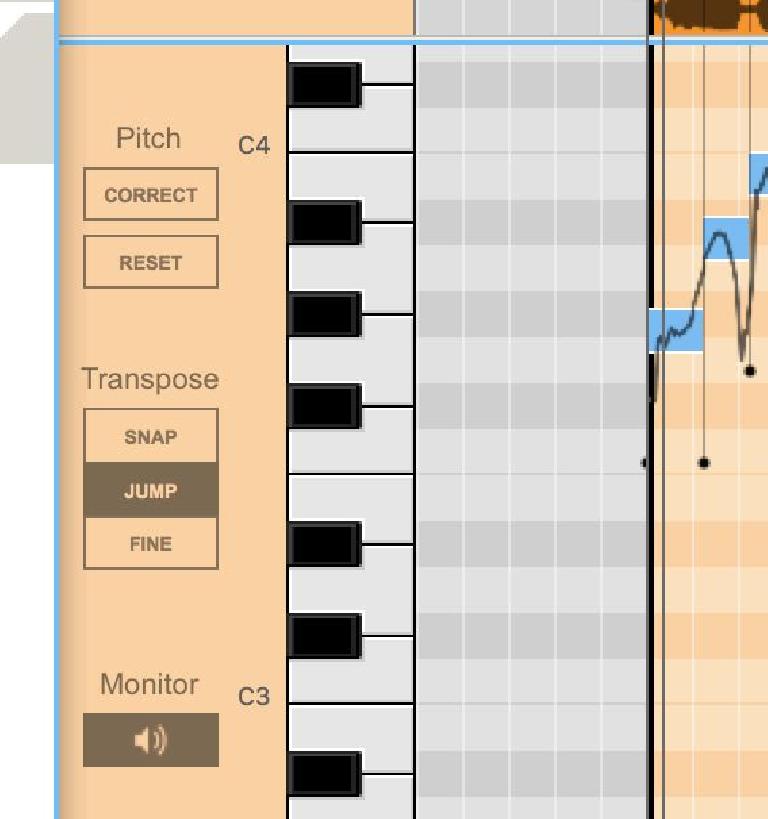
In the column on the left of this editor view, you can see several options. If you select one or more notes and click the Correct button, Reason will snap the pitch and timing of the selected slices to the nearest grid positions, effectively quantizing both pitch and time, based on the sequencer’s snap settings. The Reset button can be used to undo this and return both to their original state. The Transpose modes are Snap and Jump, which either snap to the snap setting or jump a whole note, and Fine, which gives you very precise control to move the pitch or position of a note using the mouse.
8. Get full control via the toolbar
The toolbar at the top of the pitch editor section allows you to make manual settings for any slices and in some cases, for groups of slices. These are mostly the same controls you can access by selecting slices with the mouse but here they allow you to be more precise by entering exact values, for example fine tuning one or more slices by exactly 25 cents. One interesting feature that may not be immediately obvious is the Level control at the far right, which lets you manually make any slices selected louder or quieter without affecting other slices or the level of the track in the mixer. This is incredibly useful for when an individual sound or word inside a vocal part is too loud or quiet, and saves you having to export the clip to a wave editor to make the correction. Simply change slice level directly in the pitch editor!



 © 2024 Ask.Audio
A NonLinear Educating Company
Discussion
Best,
Rounik
Want to join the discussion?
Create an account or login to get started!