
You might not know this but Cubase has a handy little feature that allows you to see two arrangement views at a time and this works really well to split up different tracks onto different views and give you extra means of navigating your project. For example, the one view can have your Arranger and Marker track, while the other arrangement can have the rest of your tracks. Let’s take a look at how this is done and how it can help your workflow.
View the Divide Track List
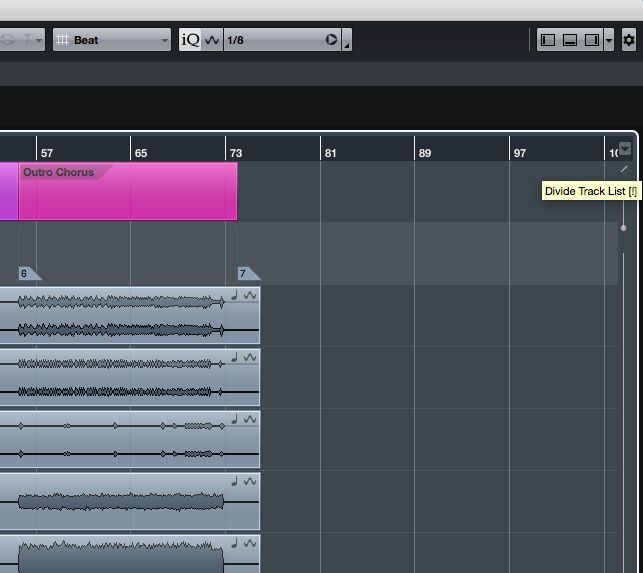
If you look over to the top right, just under your timeline, you’re see a forward slash icon. This is the Track Divide List. When you click on this see how it drops down another arrangement. So now there’s two arrangement views with a split line dividing the two. The top one is normally empty, and the one below has the tracks you have already added to it.
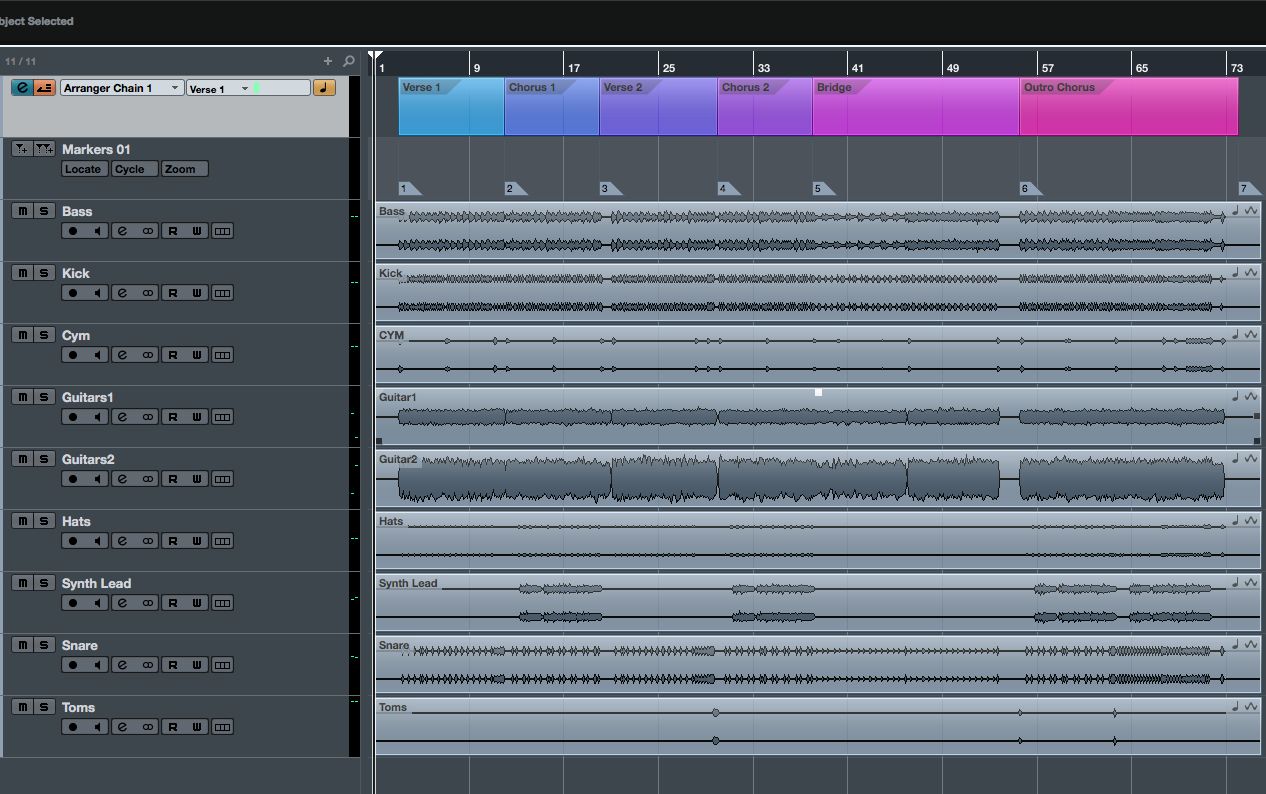
Here’s Before the Divide Track List is enabled
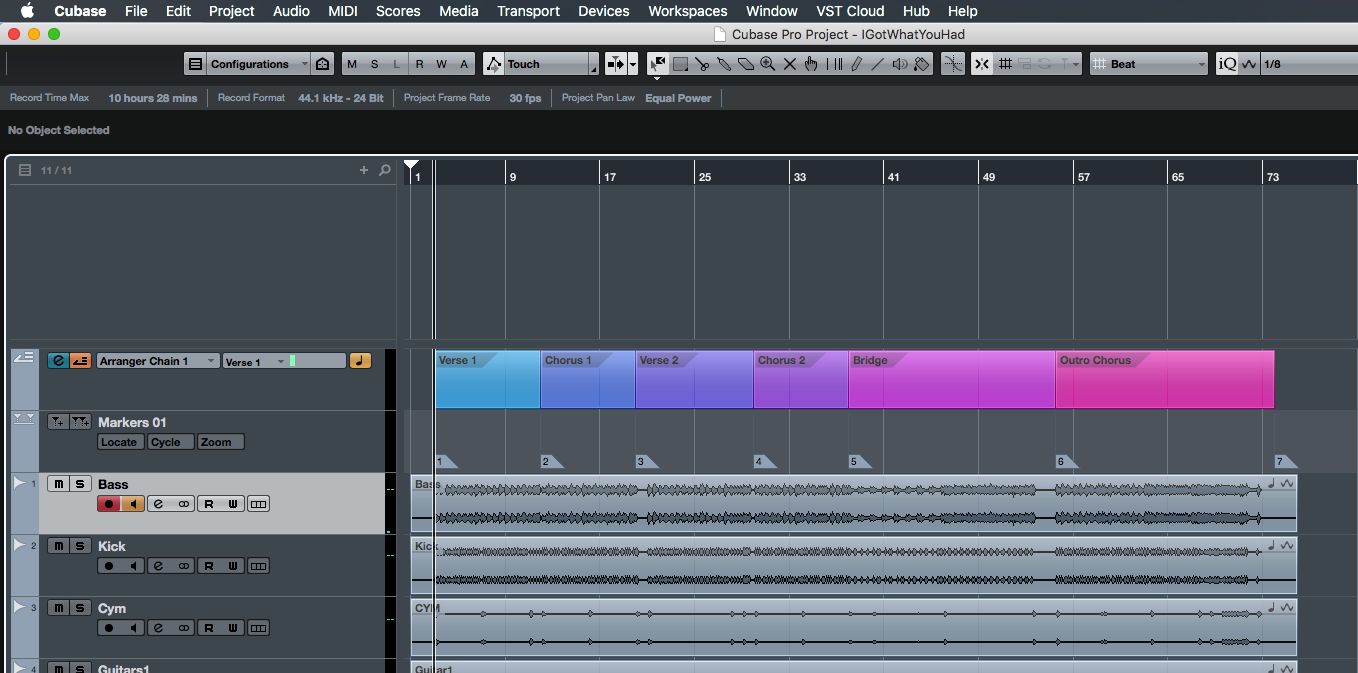
This is the Icon to use to enable it:
And here’s after it is enabled
Moving Tracks Between Arrangements
It’s very easy to add tracks to this new arrangement. Just select a track in the bottom view and drag it up to the new one, and it’ll move it there. That’s all it really is to it. Now let’s take a look at the benefits of having this extra view.
In a normal project you’ll have all your tracks, and then your other tracks like the Arranger track, Marker track and Chord track. I generally like to keep these types of tracks at the top of my list. But if you have a lot of other tracks in your project, when you scroll down you won’t be able to view these as you’ll scroll past them.
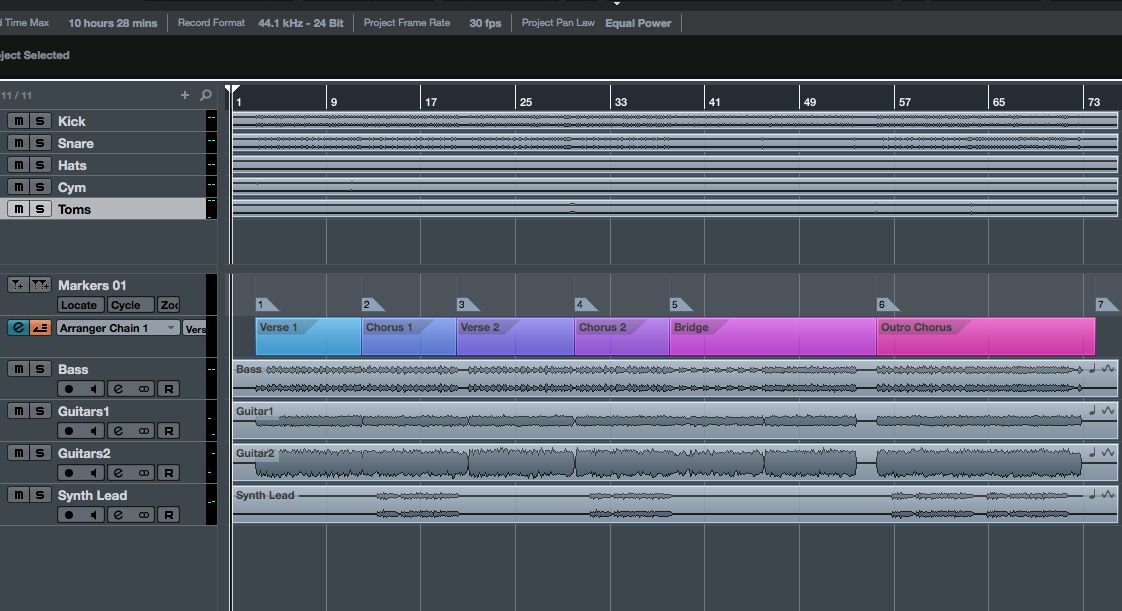
Cubase is pretty clever. If you already have Arranger, Marker and Chord tracks in your project, when you enable the track divide list it automatically puts these tracks up there. It assumes that’s where you want these. Now if I scroll down in my project they’re always in view which is a huge benefit. No need to keep scrolling back up to take a look at my markers. You see the benefit? So it works really well to place global functioning tracks like your Arranger, Chord, Marker, Ruler, Signature and Tempo tracks here. If you don’t want to see these tracks isolated at the top view any more, you can click on the Track Divide List icon again to make it back to one arrangement view.

That’s just one way of working with them. You could do other things like maybe you want all your drums and percussion in one view, and the rest of the tracks in the other. So it does allow you to work with your tracks in different ways. Each arrangement has its own zoom levels so your top arrangement can have smaller track heights than your bottom arrangement view for example.
Basically it’s a great tool to help streamline your workflow, especially if you are working in projects with big track counts. This little feature really helps.
Conclusion
So that is how to use the Track Divide List feature in your songs to be able to divide up the different types of tracks. It’s a great feature to use to always have access to these tracks when you need them.
Discussion
Want to join the discussion?
Create an account or login to get started!