
Cubase has always had good EQ plug-ins but in version 7 it really takes things to the next level in the way it lets you work with and manipulate frequencies in any part of a project. All the old plugs are still there of course but now you get so much more, like a tweakable EQ display available directly from the new MixConsole view, and a revamped Channel Inspector EQ as well. Even better, the Voxengo CurveEQ plug-in is now bundled and this impressive and powerful tool has some pretty handy tricks up its sleeve such as EQ spectrum matching, which allows you to take the sonic print of one sound and apply it to another. Read on to uncover Cubase 7's EQ features…
Step 1 - EQ directly from the sequencer

For any audio or MIDI track in a project you can go to the Track Inspector to the left of the Project area and locate the Equalizers tab. Click on this to reveal four EQ points that can be set quickly and easily without leaving this view. Click in the EQ grid area to add EQ points and drag them to change their frequencies. Any changes you make will be reflected in the four readouts below, each of which displays level, frequency and Q value for each of the four points. You can click on a power icon to turn a point on or off, and the Type icon to select an available curve type.
Step 2 - Try a preset

Click on the Preset chooser icon by the Equalizer tab's name and you can load and save presets. This is really useful because there are many cases in which you might want to recall an EQ setting. If you work with a vocalist whose voice always needs the same kind of EQ treatment for example, saving and recalling a preset can save lots of time. There are also handy presets for things like hum removal, or getting a guitar to cut through a mix.
Step 3 – Edit in more detail

If you open the Channel Edit view for any track you can get a larger representation of this same view. By clicking on the tiny green button at the top right-hand corner of this window you can switch views to get a grid-only layout or a grid plus controls view. This is a nice way to paint in and work with EQ curves for any track.
Step 4 – EQ while mixing

Yet another way to view the EQ settings for a channel is to go to MixConsole and make sure the EQ section is visible. Then click on the tiny EQ grid window and it will be expanded out to show you a larger, temporary view into which you can enter changes with the mouse. Underneath this, the frequency, gain and Q controls are still visible. Being able to draw EQ settings int the mixer like this is incredibly useful when you're busy mixing since it means you don't have to keep leaving or hiding the mixer just to fine tune the frequency of a track.
Step 5 – Open CurveEQ

New in Cubase 7 is Voxengo's CurveEQ, which is a pretty handy tool to have. Load it up as an insert. Let's say you want to sample the EQ curve of one sound and match it to another. So for example you might want to take one vocal EQ setup and apply it to a backing vocal, so the two sound more in keeping with one another. Start by clicking on the Static and Match button.
Step 6 – Sample an EQ curve

Click on the Take button to sample the EQ at a given point. Now click Reference to make this the curve that the plug-in will use as the basis of affecting the next curve.
Step 7 – View the curves

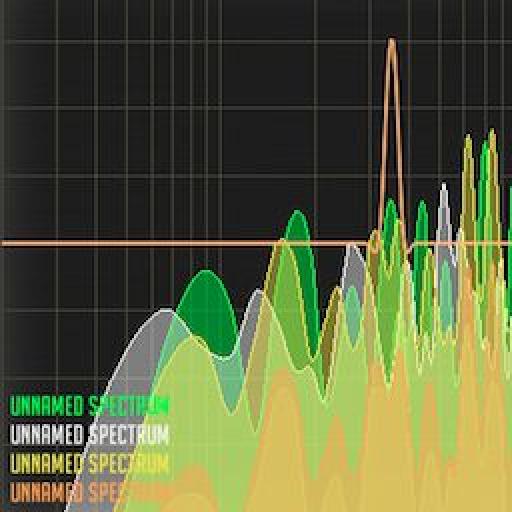
Return to the main CurveEQ screen and you will see that the curve you sampled has been overlaid onto the display. You can repeat this with multiple curves and groups in any instance of the plug-in and save curves out to your computer as presets. These can then be loaded into other instances of the plug-in on other tracks to apply the curve settings from your original sound to subsequent tracks.
Step 8 – Audition multiple curves

You can sample multiple EQ curves and prints into an instance of CurveEQ and then try saving them out individually or applying them to other tracks. Of course you can manually edit and adjust these curves too, in order to tweak them to your liking.
Step 9 – Keep it simple

For a rather simpler approach than CurveEQ takes, why not try loading up one of the more standard Cubase EQ plug-ins? The GEQ 30 and its smaller sibling the GEQ 10 are more straightforward graphic equalisers with a number of fixed bands that can be simply and easily adjusted to set equalization. These provide a more old school, hands-on sort of EQ for those who prefer this kind of approach.
Step 10 – EQ while mastering

So far we have looked at EQ during the mixing stage but you can also master in Cubase, and you will want to do some EQ'ing there too. Assuming you're not using a dedicated EQ suite like Ozone or T-RackS, you can build a mastering plug-in chain across your stereo output's insert slots. As well as compression and limiting (which is the final stage in the chain) you can add some EQ here too. This can be in the form of a plug-in or the channel's own integrated EQ: both work very well. You could also use a third-party EQ plug-in.
So you can see that Cubase 7 offers numerous new ways in which to take control of the frequencies in your projects, from basic shelving to detailed parametric EQ. It's accessible from almost anywhere in a project so however you like to work, your workflow is catered for. And with the powerful new CurveEQ thrown in too, it's never been easier to tweak, tune and shape your sounds in Cubase.

Discussion
Want to join the discussion?
Create an account or login to get started!