Vocoders are mostly known for making robot voices. And for good reason! It's hard to stop yourself from spending several moments making Battlestar Galactica voices, once you get one hooked up and functional. Musically, they also add a lot to voice production, when you need that extra harmony, or just want to add some other worldly coolness to your track.
Vocoders also assist in bringing in 'other worldly' into another aspect of music making: Pads. Nothing fills up a song like a really thick, really expressive synth pad. Vocoders excel at adding expression because of the additional modulation that they add to a pad.
In this exercise, I'd like to show you what I mean by setting up a quick pad. Let's get started.
Step 1 - Set Up Your Carrier...
To make a vocoder scenario work successfully, you need a modulator, carrier, and... vocoder! For the carrier, I'll use a Subtractor, if only because I'd love to show you how this technique can take the simplest of Reason's synth arsenal and make it complex.
I'll simply go with the 'Init Patch' (or Initialized patch), which is what you get if you right-click on the Subtractor, and select 'Initialize Patch.'
To make this patch more like a pad, I'll raise the Amp Envelope Attack and Release to about mid-way.

I would also suggest raising the filter frequency as well to about 86...
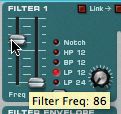
At the moment, it's pretty mediocre-sounding. Take a listen...
Step 2 - Set Up Your Vocoder...
Create a BV512 vocoder now.
Note: Doing this will cause some strange routing to occur. This is normal. However, it will stop you from hearing your Subtractor momentarily, as it will be routed to a vocoder setup that is incomplete.
Let's proceed to the next step to fix this by setting up our Modulator!
Step 3 - Set Up your Modulator
Remember, that the Modulator and Carrier both have to be running simultaneously in order for the Vocoder to work. With this in mind, let's set up a modulator that will never stop!
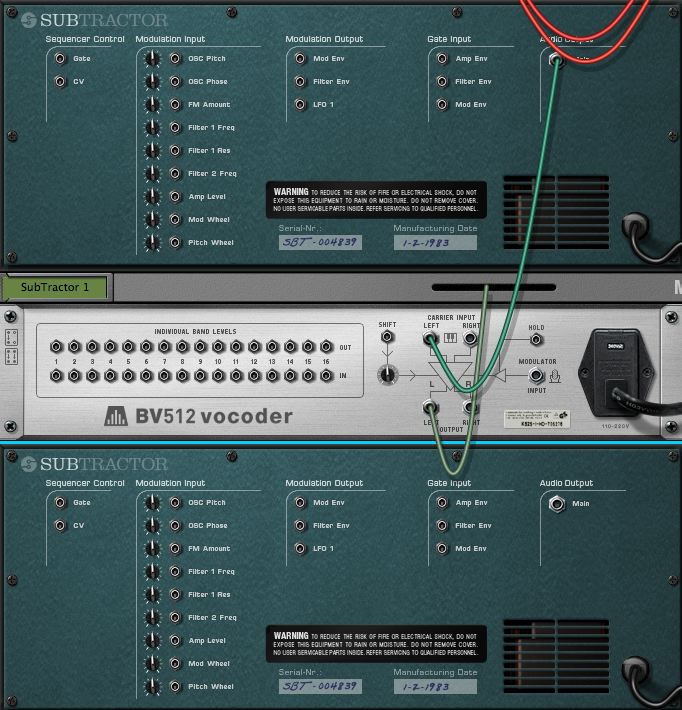
Hold down the Shift key while creating another Subtractor. This will keep the Subtractor from auto-cabling...
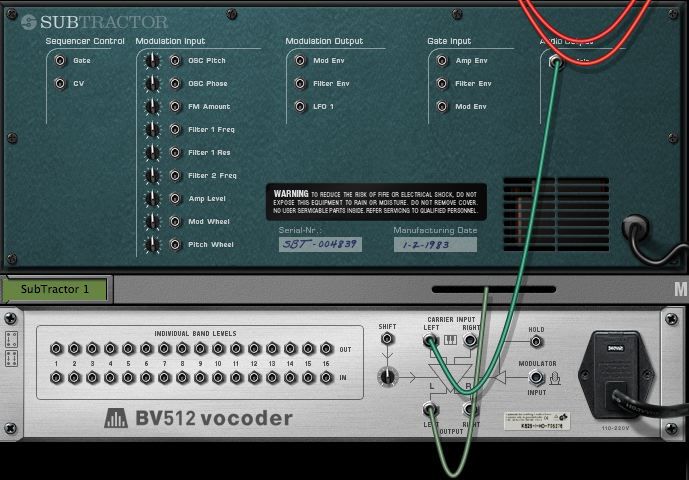
Route the Subtractor Audio Output to the Vocoder Modulator Input...
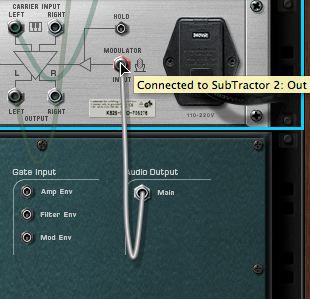
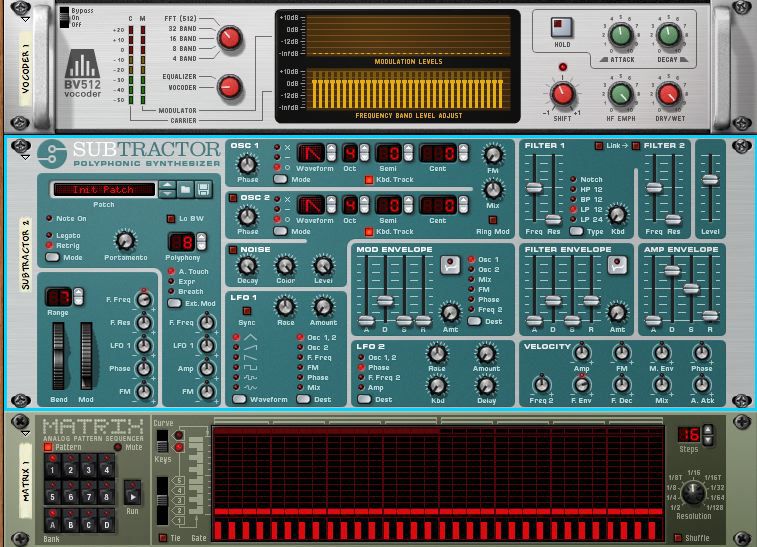
Now, add a Matrix underneath Subtractor 2. The reason for this is simple: We need to have the second Subtractor always running so that when we play Subtractor 1, we can hear it going through the Vocoder. The Matrix provides the endless looping that makes this possible.
Put your focus back on Subtractor 1 in the Sequencer now, so that you're controlling our Carrier input...
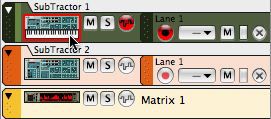
Using the Tie function of the Matrix, draw in 16 'Tied' notes in to the Matrix Gate/Velocity section...
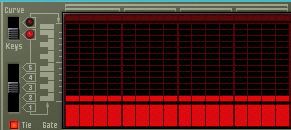
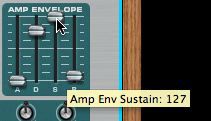
… then increase the Sustain all the way up in the Amp Envelope of Subtractor 2. This will keep the Subtractor from dropping out over time, while the Matrix plays tied notes.
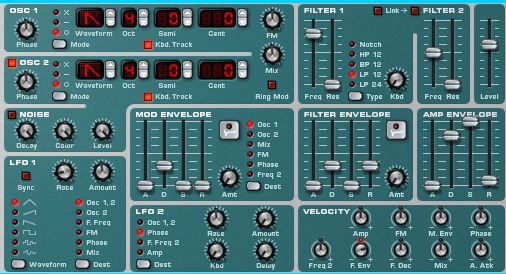
We're going to need to complicate our Modulator big time in order for us to get any real effect that's worthwhile. Try this:
- Raise the Filter Freq all the way on Filter 1 — This opens up the signal much more.
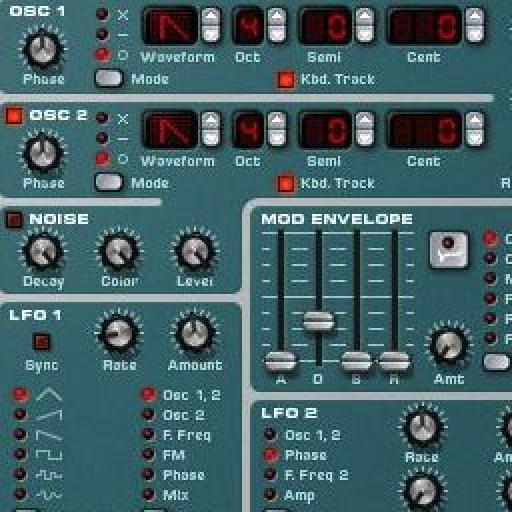
- Enable Oscillator 2 which adds depth to the Modulator by doubling it.
- Raise the FM Modulation to 12 O'Clock — This complicates the Modulator signal by adding internal modulation of the Modulator signal.
- Raise the Amount of LFO to add additional modulation, increasing complexity.
- Lower the Rate of LFO 1 to 9 o'clock to add a slower, building modulation that accentuates what we already have.
Finally, increase the HF Emph of the BV512 vocoder...

This will open up the High Frequencies of our vocoder patch, and allow you to hear all the complexities.
Conclusion
From here on, I'd encourage you to play around, add some effects and try adjusting the bands of the BV512 vocoder. Keep in mind, we are using some of the simplest Reason instruments there are to get some unique modulation. Imagine what you could do with complex sample loops as a modulator, or even a guitar. Try experimenting!


 © 2024 Ask.Audio
A NonLinear Educating Company
Discussion
Want to join the discussion?
Create an account or login to get started!