
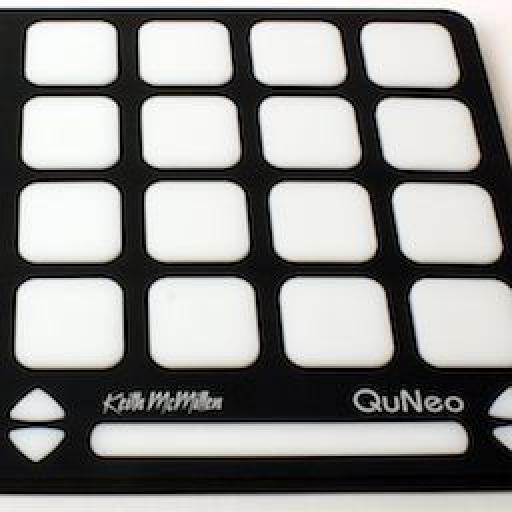
If Ableton Live is the controllerist's software of choice, then QuNeo may well end up being their hardware of choice. Its velocity sensitive pads along with its almost limitless programming possibility make it an ideal partner with Ableton, especially for the controllerists and live performers among us. Even though QuNeo comes with two excellent Ableton mapping presets (9 and 10) out of the box, you can easily customize your own presets to give yourself your own personalized performance setup. In this tutorial we will be looking at turning QuNeo's 16 pads into momentary FX controls.
To do this we will have to alter one of the QuNeo's presets using the QuNeo Editor. Considering preset 9 has been set up for clip launching and controlling Live's global parameters (among other things) we will alter preset 10 instead. Open up the QuNeo Editor and from the drop-down menu in the bottom right of the screen choose 'Preset 10'.

Step One
Next click on the top left pad. In the Edit Pane on the right-hand side, make sure 'Drum Mode' is selected by ensuring that the Grid Mode box is unchecked. As we don't require Note, Pressure or Y CC to be outputted in this example switch them off by putting -1 in the relevant boxes. We will be using the X-axis of the pad to control the effect so set the X value to 1.

Step Two
One of the many really cool features of QuNeo is the X/Y return setting. This means that you can set the value that X and Y will return to when you let go of the pad enabling momentary control over Ableton's effects. In this instance we want the FX to be turned off once the pad has been let go so we set the value here to 0.
For this example we are only using the pads to turn on effects, but it is possible to control the effect over a range of 0-127 using the X or Y Axis of the pad.
Continue to edit each pad as shown in Step One and Two. However increase the X value by one every time. When finished, click the 'Audition' button in the editor to implement the changes.
Now let's start mapping our FX to QuNeo. What makes QuNeo stand out is that each sensor can send out multiple MIDI messages at a time. Therefore, to avoid Ableton getting confused when mapping its parameters to QuNeo it is important to understand QuNeo's CoMA mode. To enter CoMA mode, hold down the Rhombus button on QuNeo until all the pads flash green. Then enter mapping mode in Ableton. Each Pad outputs four different MIDI messages, but as mentioned all we need in this case is the X CC. As shown in the picture below the X CC is outputted by pressing the bottom left corner of the pad. Press this corner once you have the relevant parameter in Live selected.

Repeat this step with the remaining QuNeo pads and assign them to Ableton's FX parameters. Exit CoMA mode on QuNeo by pressing the Rhombus button again.
When finished click 'Save Preset' in the QuNeo Editor. Now this 'Momentary FX preset' can be easily accessed on the fly along with any other customized preset you create.
Discussion
Want to join the discussion?
Create an account or login to get started!