I’m currently working on an entirely synth-based track, with some vocals from Fort Worth, Texas-based recording artists, the enigmatic Starbass. However, all of the synths we recorded were audio—No MIDI ever came into the recording, outside of Sync. Of course, Ableton, itself offers Convert Melody, and Harmony to MIDI, but this means going through and matching the synth, or even trying out something new, and hoping the guys I’m producing this for, like what I did.
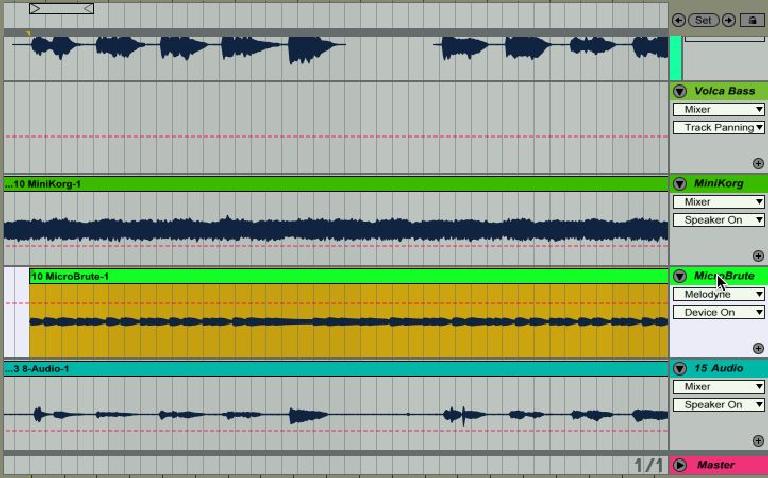
Thankfully, Melodyne 4 works very, very well as a plug-in, now. I go ahead and bring it up as an Audio Unit plug-in on the Bass track I was given—In this case, an Arturia Micro-Brute.
Now, the bass synth, so you know, was hand played. It’s not sequenced. And these low frequency bass tones are all being played in 1/4 notes, which are creating some conflicts with the kick drum, and we can’t have anything jacking up our kick drum.
Because there are timing issues, and the note lengths are presenting a problem (and there’s some possibility I may need to adjust a few notes here and there), Melodyne 4 is a great choice for correction, as it can fix all of the above. With the new Sound Designer, I can also play with the Envelope, Formant, and Spectral Harmonics... Even edit audio polyphonically. Geez!
Step 1—Transfer it In!
The first step is transferring the Micro-Brute recording in Melodyne. I do this by cueing Ableton to start from the spot where my bass comes in, within the Arrangement view... Not, session view! Celemony themselves recommend this mode, and I can tell you from experience: take their advice! Melodyne does not loop the way that Clips in the Session view do. So, you’ll just find it as an exercise in frustration, unless you’re just doing one pass through, and it’s a quick edit.
Once cued, I press the transfer button, followed shortly by the Play button in Ableton. The transfer has begun. I let it run all the way till the end of the Mini-Brute recording, as there are a fair amount of filter changes, and change ups in the way the part is played. So, I can’t just make one loop.
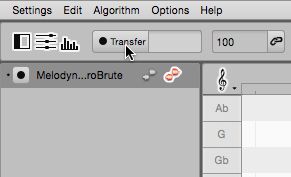
When I’m finished, Melodyne analyses what has been recorded, and breaks everything into their appropriate pitches, as they correspond with musical notes. I’ve been using Melodyne for years, and it still amazes me to watch it do this.
Step 2—Quantize
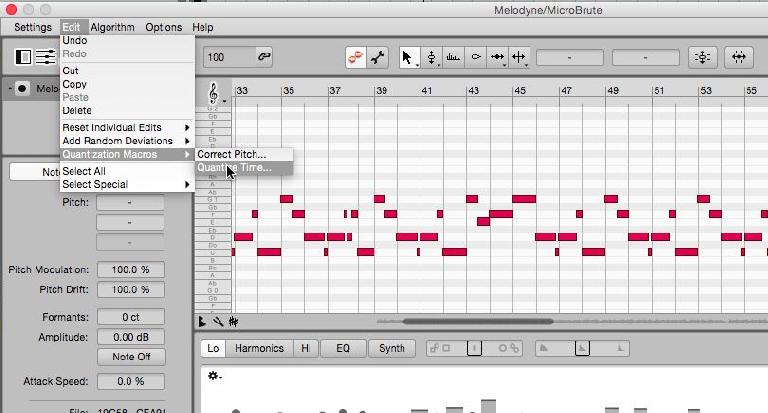
Now that everything has been analyzed and broken down, I can start tweaking.Though, before I do anything, I should nip those timing issues in the bud. To do this, I use the Quantize function, within Melodyne. As the synth parts are not at all complicated, I just let the Auto Quantize do its thing. But, just to make sure it’s major tight, I turn the intensity all the way up.
Keep in mind, not every take is going to react well to quantizing. After I use quantize, I always go back and take a listen through the entire song, if the stem, in fact, runs through the entire song. You never really know what artifacts audio quantization can introduce. But I can tell you in this instance, Melodyne is on point.
Step 3—Definition
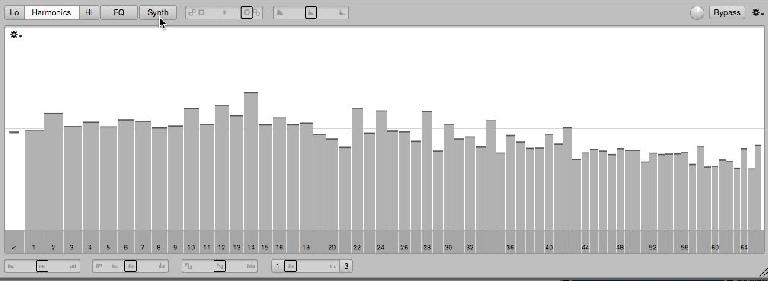
Alright, this is the part that makes all of this worth it. Technically speaking, the new Sound Editor places my bass synth audio track into an additive environment, where I have access to all of the partials, or harmonic partials, or harmonics that are being used to recreate the sound. Melodyne analyzes and determines the ‘mean spectrum’, and in doing so, the harmonics contained within each note.
This is amazingly exciting, as you can now enhance and decrease harmonics as they occur within each note, from within one area of Melodyne, as opposed to having to go and edit partials for each broken down note. Every Harmonic Displayed can be modified, though Melodyne will still give you a representation of the original Mean Spectrum determined from the original recording.
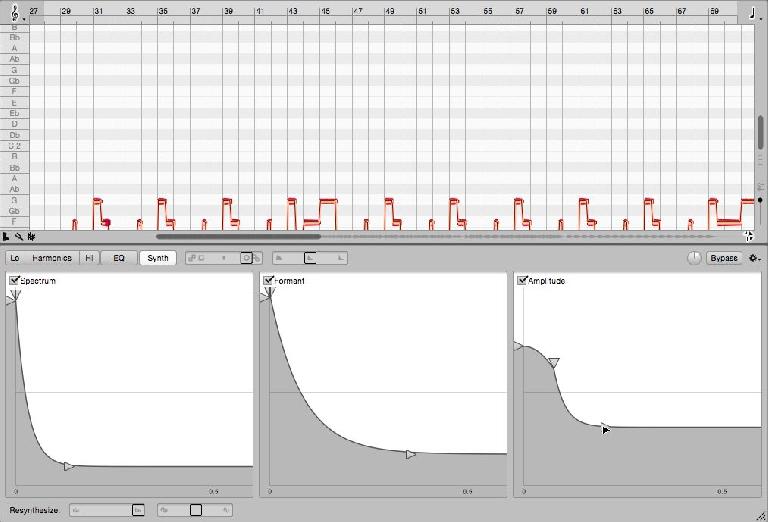
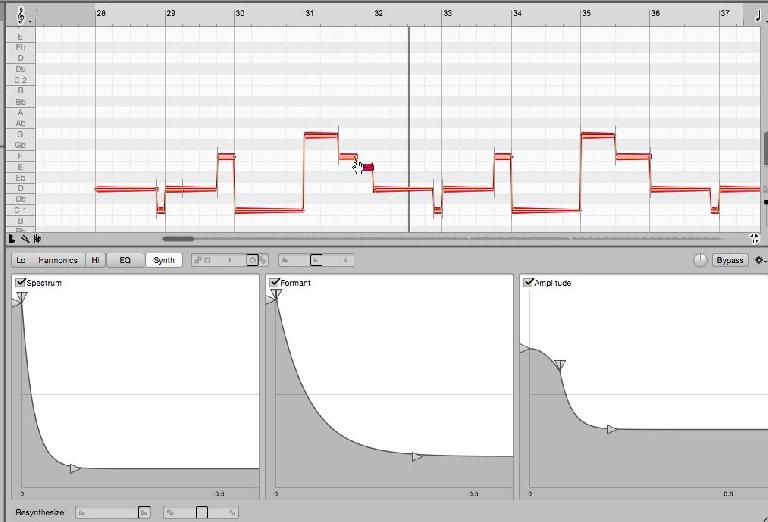
But, for synth guys, the Synth Page of the Sound Editor is something you really need to see. And, this is the main area of my usage, in this tutorial. By adjusting the Envelopes within the Synth Page of the Sound Editor, I can add an attack, and decrease those long sustains...
Of course, this can be done with a simple filter plug-in, but doing this through melodyne has one more fringe benefit. If I happen to go through and use the Note Separation tool to break up notes within my audio file, thus making two or more notes, and shift them to different pitches, Melodyne will still apply the Amplitude, Spectral and Formant Envelopes even to bass notes that are cut in half, and coming in from the middle... This is something very difficult to achieve when editing audio, normally. Normally, I’d have to copy the attacks, over and over again. With Melodyne 4, new attacks, decays, and even the original partials, as they occur for every note, are reapplied to the broken down tones that have no attack, outside of Melodyne.
So, I can keep breaking down the 1/4 notes into 1/8, 1/16, and even 1/32 note resolutions, on, using the Note Separation Tool. Suddenly, my very basic bass part becomes much more complex.
Tying it Up
Of course, once I’m done, I’m going to need to either keep Melodyne running as a plug-in on my Bass Synth audio track, so that the changes stay, or I’m going to need to Freeze/Flatten or just Resample and tweak the Harmonics while I’m recording... which is highly possible. It’s suddenly like having the Razor from Native Instruments, or Harmor, from FL Studio, take over as your DAW, with additive processing for everything.
Check out our review of Melodyne 4 here.




 © 2024 Ask.Audio
A NonLinear Educating Company
Discussion
Want to join the discussion?
Create an account or login to get started!