
Guitar Rig is an incredibly powerful suite of effects that's now in its fifth incarnation and as well as some of the more obvious amp, speaker and stompbox models that you might expect to find, it has a number of very interesting controller devices. These actually serve to make Guitar Rig far more capable than simply a guitar processor, turning it into a true multi-effect unit. Let's delve into what some of these modules can do.
Step 1 – Load a preset
You might want to begin by loading a preset that already contains a controller module so you can play with it and see what it does. Later you can try modifying it or building your own from scratch. Try the one called Eimerketten Salat (I know, I know… I don't make up the names.)

Step 2 – Check out the modules
Look in the rack and you will see an Analog Sequencer module. If you play back a sound through the effect, either a loop or a guitar or vocal, you will hear that the sequencer is actually affecting the feedback of the delay unit at the top. You can see this because the sequence lights correspond with the fast movement of the feedback knob.

Step 3 – Change the sequence
If you change the Resolution setting on the sequencer you can alter the speed at which the sequencer runs and thus the speed at which it modulates the delay effect. Also try changing the number of steps in the sequence using the Seq Length section, and using the sliders to set an amount for each step. You will find that you can get quite different effects by performing each of these changes.

Step 4 – Change the assignment
The reason the sequencer is affecting the delay feedback knob is because the two are linked. If you right-click on the feedback knob you will see the option to either set a different amount for how much the sequencer affects the feedback, or to clear the modifier entirely, which will unlink the two.

Step 5 – Reassign the sequencer
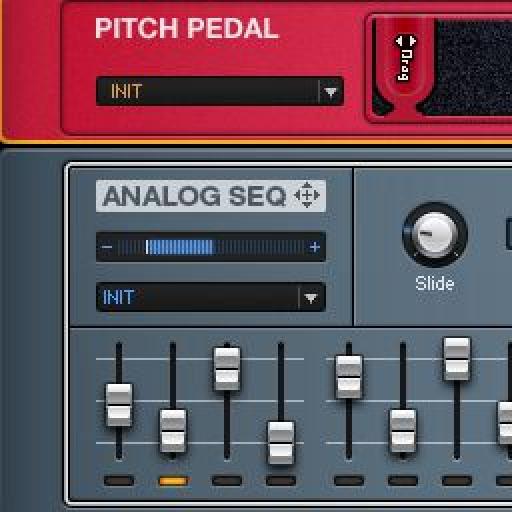
Move the mouse to where it says Analog Seq with a four way arrow next to it. Click and drag and you can pick up the assignment and drag and drop it onto another parameter. Drop it into the Time knob for example and you can create some really cool effects like this sort of vocoder effect:

Step 6 – Make a second assignment
Try adding a new module to the rig and assigning the same sequencer modulation to it by dragging and dropping like you did before. Here, for example, I've added a Pitch Pedal and dragged the sequencer assignment to its pitch slider. The resulting effect is pretty weird but a good example of what you can do with a few simple assignments of dynamic, “moving” envelopes like this:

Stay tuned to MPVHub for Part 2 of this article coming very soon...

Discussion
Want to join the discussion?
Create an account or login to get started!