
You may well have ventured into Cubase’s Audio > Process menu or right-clicked on an audio clip in a project to access the same tools. Here you will find “offline” processing that gets applied to a whole clip, the same basic principle as batch processing a bunch of WAVs into MP3s. Plugins process sound in realtime, but these offline tools render a change, and then the file has been altered. There are many good reasons to use offline processing, such as when one or more files need their volume changing permanently, their stereo phase altering, their direction reversed and so on. Process them once and then forget about them.
So far, so conventional. But you may not have been aware that these same tools, as well as performing regular, everyday processing like a wave editor would do, can also be used to mangle audio files into entirely new shapes. Usually this involves taking settings to a rather more extreme place: pitch shifting a long way, resampling to a much lower rate and so on. Mostly these are deliberately destructive – you’re trying to make audio grittier and more weird, not shinier or more polished. There are plenty of other tools for that. The aim is to make new, unusual textures and soundscapes out of what could be very mundane sources. Here are some ways you can do it.
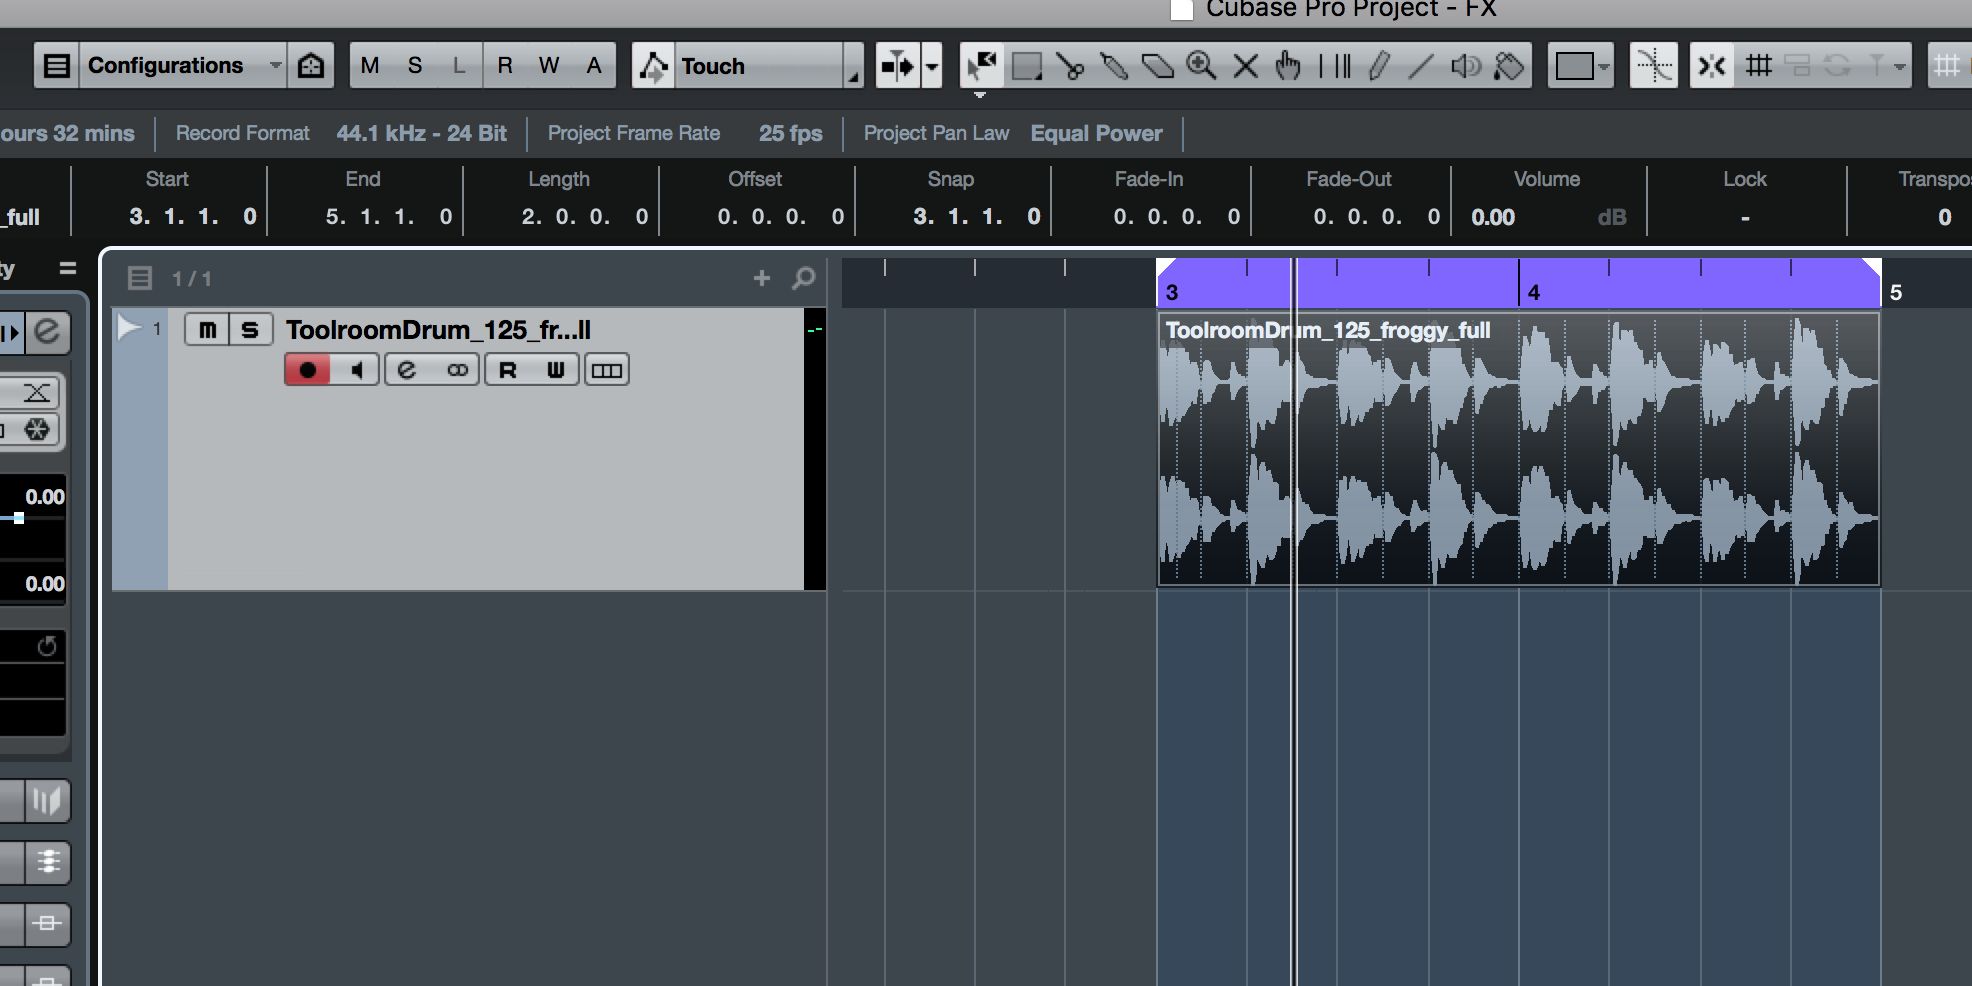
1. Start With A Source
Here’s a simple drum loop that we’re going to use as the source for our experiments. You could use any audio really, and although the source will have a bearing on the results (a choir is going to come out sounding different to a drumbeat even after processing), we’re looking to move pretty far away from our source anyway.
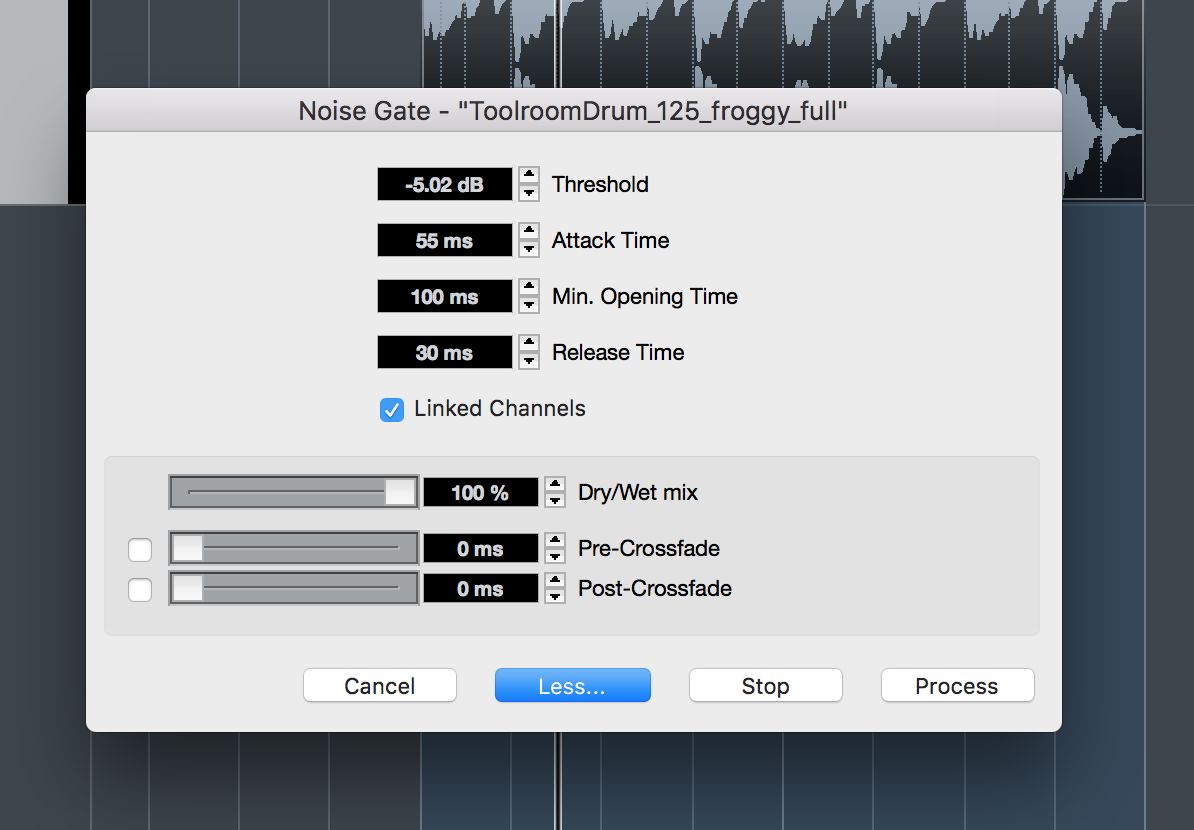
2. Apply Noise Gating
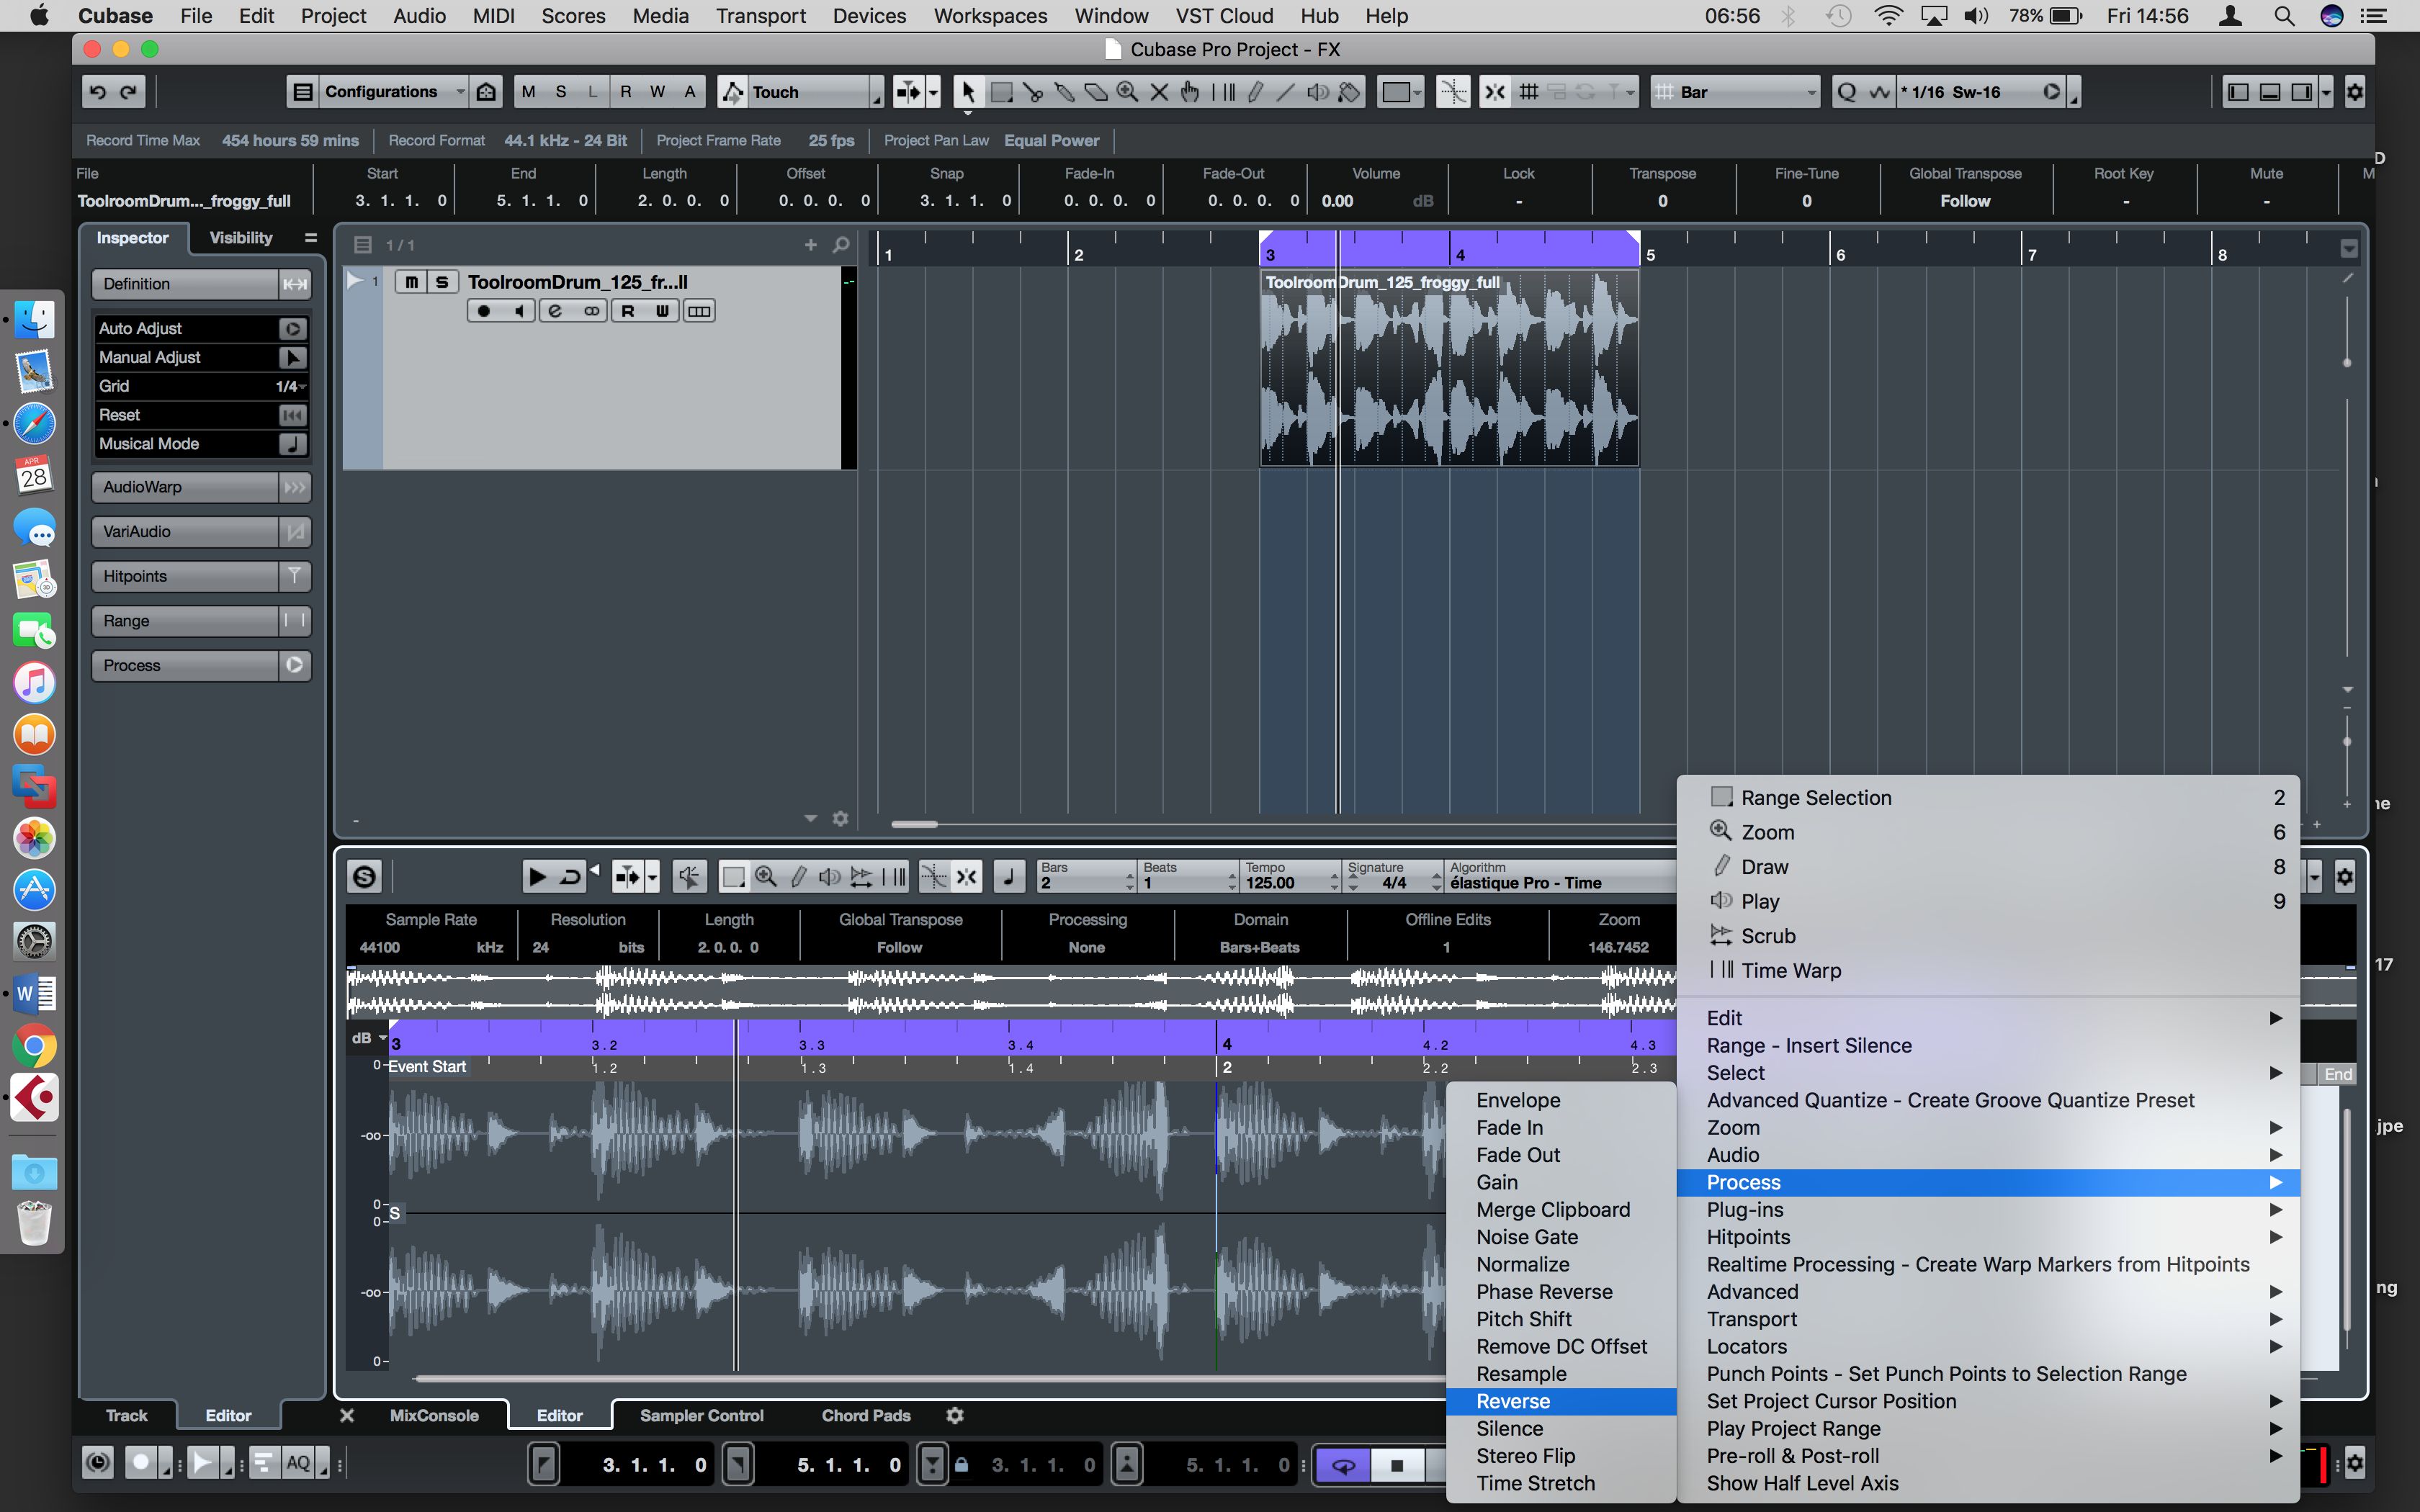
If you go to the Audio > Process menu or right click on the audio loop and choose the same option (provided your preferences are set to allow this shortcut) you will see a list of processing options. Some are not suitable for our purposes: gain, fades and normalization for example all just really deal with volume, which isn’t going to change the feel of our loop, only make it louder or quieter. So we can ignore those.
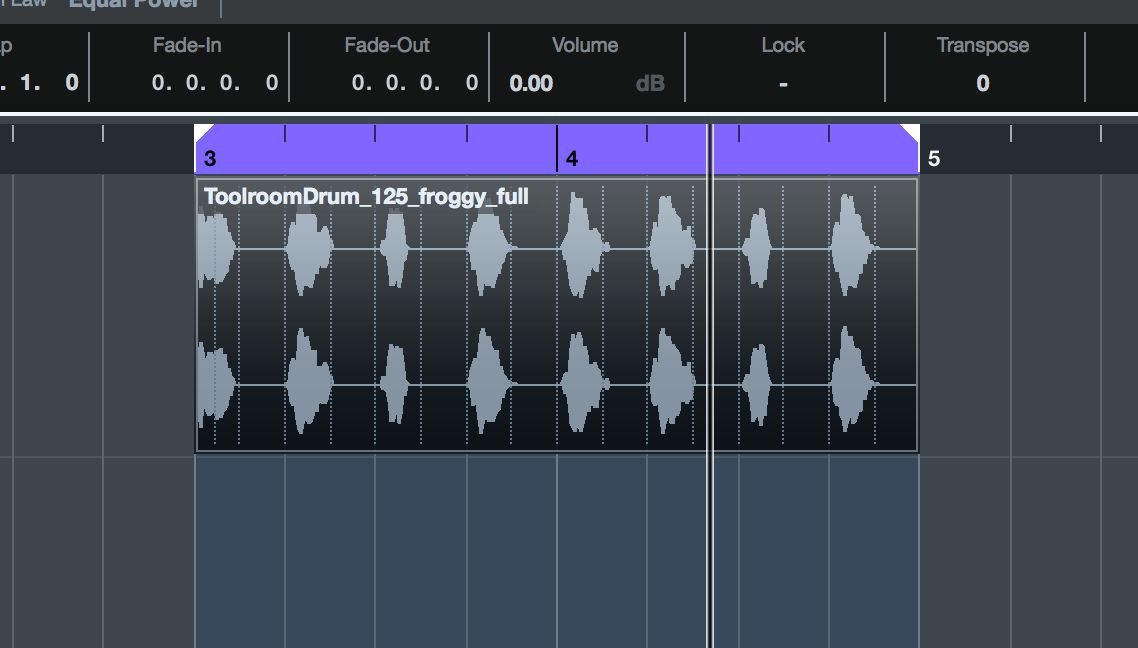
To begin with, go to the Noise Gate option. Gating is a process that only allows signal to pass when it exceeds a certain threshold. Typically used for cutting out background noise, we can abuse it here to “chop up” our drum loop since the loop has definite peaks and troughs as far as its waveform goes. Try setting a threshold between -3 and -7 and a slightly slower attack time. Hit the Preview button to hear what it’s going to sound like. When you’re happy, hit Process to render down the loop. What we have done here is blocked out the quieter parts of the loop and made it sort of pulse instead. You can see the change reflected in the clip’s waveform.
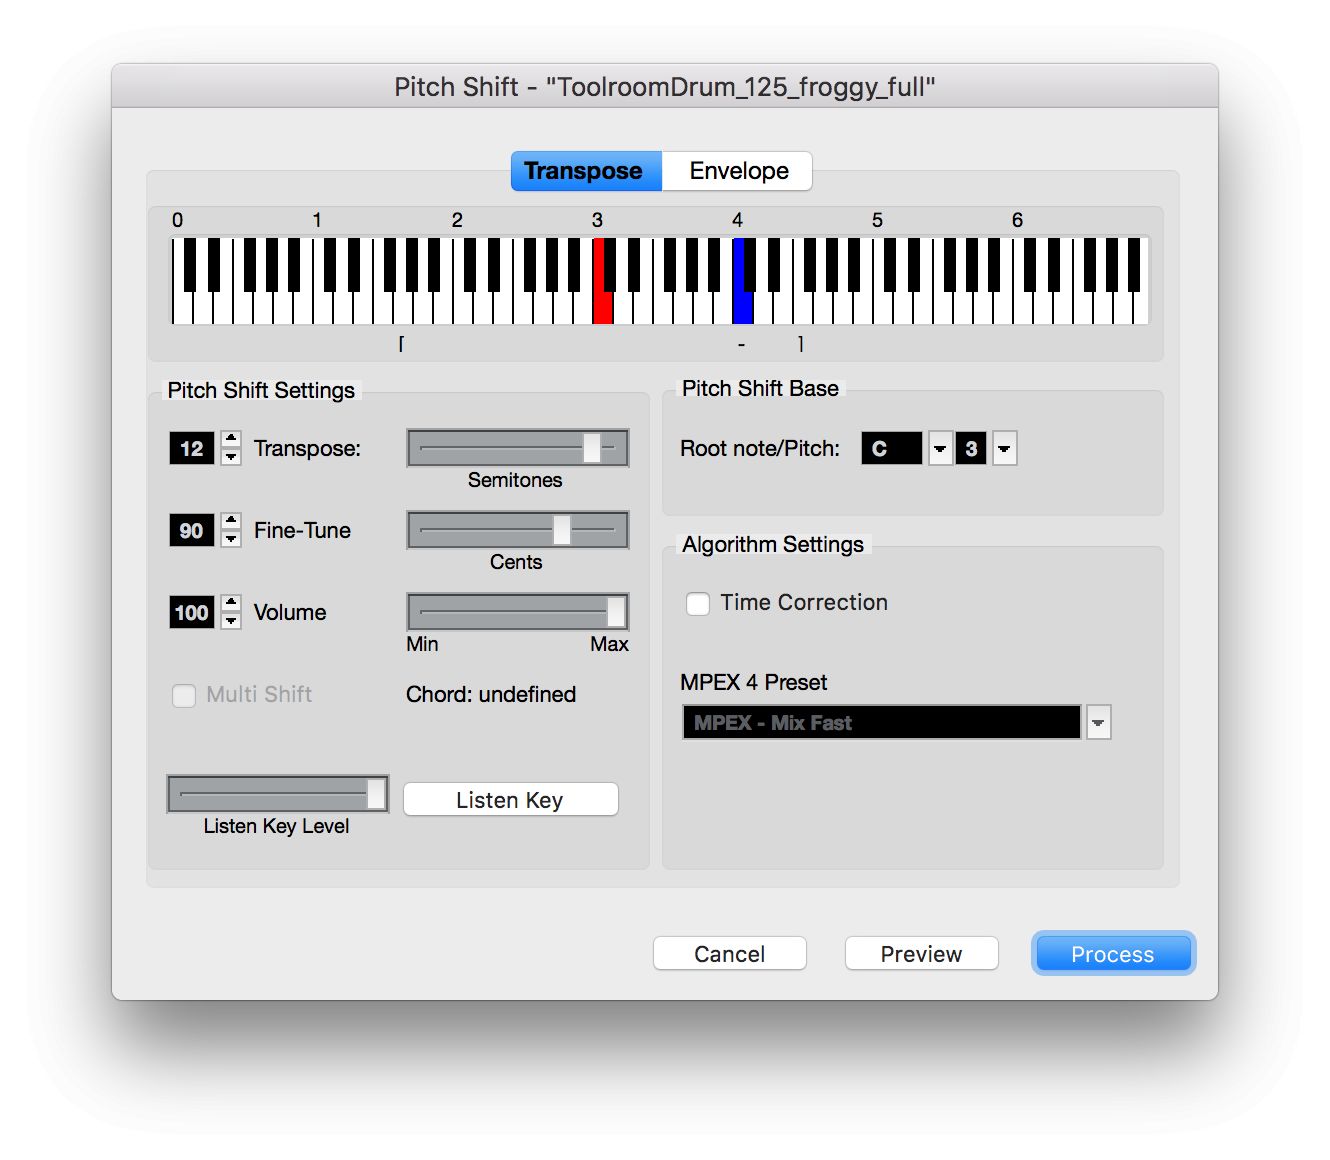
3. Pitch Shift
Undo this change, or re-drag the original clip in from the pool. Remember that processing in this way creates a duplicate of your audio file. This time from the Process menu, choose Pitch Shift. Select a note on the onscreen keyboard (blue) that is different to the root note (shown in red). With the Preview button active you will hear the loop pitch shifted. This behaves differently with melodic and rhythmic sounds as well as with simple or complex clips.

4. Undo Time Correction
By default, the Pitch Shift tool is set to maintain the original tempo of a clip so that timing doesn’t suffer. But if you untick the Time Correction box, you can massively slow down or speed up the sample just like you used to get in old hardware samplers. Here’s some pitch change but without any tempo correction.
5. Resample Down
Again, undo the change to revert the clip. Now, choose the Resample option. Change the values in the boxes to raise or lower the sample rate of the audio. Here I have dropped the rate so that the clip is degraded, lengthened and massively slowed down. You can play with extreme values here to really mess with clips.

6. Reverse Parts Of A Clip
The Reverse option simply reverses a whole clip – however it can be more creative when applied to sections of clips, say individual beats inside a loop for example, to make them more interesting. To do this you could identify sections of a clip in the sample editor and then use the processing tools on them. This is a good technique for applying processing to parts of a sound but not the whole clip.
7. Stereo Flip
The Stereo Flip option doesn’t always have radical results but one interesting option is to change the Mode setting to Subtract. This seems to remove certain parts of the signal based on where they sit in the stereo field on either side. In the case of this drum loop, the result is as if I had filtered and perhaps gated the clip.

8. Extreme Time Stretch
The Time Stretch processor is where you can have a lot of fun. Essentially this lets you speed up or slow down a sound in really creative ways. Use the Ratio slider to compress or expand the speed of the source, and experiment with different algorithm types from the uppermost menu while previewing the results. You will find that different algorithms have wildly different results. Some are meant to offer “clean” results, for forensic audio editing, but others can be made to get really gritty by for example massively slowing a clip down. The resulting clip will be long of course, but you can then proceed to cut it up, move it around and generally use it as a texture, atmosphere or sound effect.

Wrap Up
Those are just a few examples of what you can achieve by mangling sounds with the Process tools. You can achieve similar results using some plug-ins of course, but the benefit of processing offline like this is that your audio clips exist in their new form on the timeline. So they’re really using no CPU power, and can be further cut up or edited in the sample editor.

Discussion
Want to join the discussion?
Create an account or login to get started!