Previous articles in this series: Part 1: An Overview of Room Issues Part 3: Reflections I: Phase Interference & Comb-Filtering Part 4: Reflections II: Flutter Echoes & Ambience Learn more about acoustics in Joe Albano's Audio Concepts: Acoustics video course at AskVideo. |
For the final instalment in this series on Studio Acoustics, I'm going to talk about the issue that's often the biggest problem for small studio and home studio operators—soundproofing. Isolating a studio space—both for recording and mixing activities—can be key to achieving an optimal working environment, but it's not always so easily accomplished. Keeping outside sound out of the studio's delicate microphones is a must—planes, trains, and automobiles, as well as sirens, jackhammers, and the other day-to-day noises of the modern world, are all potential deal breakers. But the sound inside the studio must also be contained—that cranked-up mix may be sweet music to our ears, it can still be an unwanted intrusion on the business next door, or neighbors who are just looking for a little peace and quiet.
Keeping the studio and the real world apart.
In really small studio spaces, isolation problems may be more localized. Even when overall music levels are not loud enough to cause problems, and the outside world is politely staying outside for the most part, there's still the need to control sound, especially within a one-room studio, for recording vocals and other relatively quiet instruments (like acoustic guitar). Keeping general room sound (rustling, shuffling, machine noise) out of the mics will require some effort, or the resulting recordings will suffer.
Baffling issues
The simplest kind of sound control that many one-room studio operators may do involves trying to isolate a small area around a mic with baffles (in commercial studios they're often called “gobos”). People have tried hanging heavy blankets or even propping up mattresses, and if the leakage is minimal, this may work, to some degree. If the budget allows, various companies (like Taytrix) sell lightweight baffles that can be assembled into a mini-enclosure around the performer and mic, and they're surprisingly effective. If the budget is more restrictive, and you're even minimally competent at construction, you could also build your own iso (isolation) booth, using the same methods and materials as would be employed for bigger studios (see below), and more demanding situations. I've always had a hand-built iso booth at home, and it's come in very handy many times.
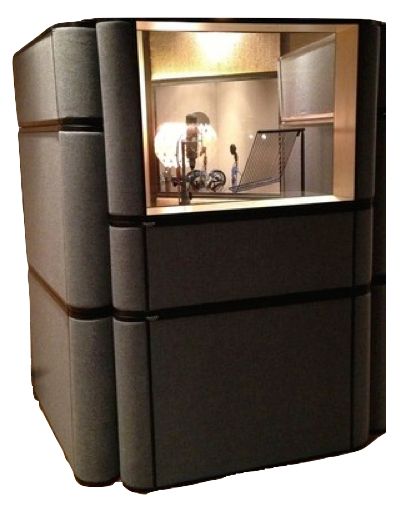
Some lightweight baffles (from Taytrix) arranged to isolate a performer and mic from the rest of the room.
Of course, with somewhat larger studio setups, sound transmission issues become more critical. The traditional two-room studio layout (control room and live area)—even if it's a relatively small studio—requires more isolation, to keep control room sound (monitors, conversation) and live room sound (instruments and voices on mic) separate, to maintain the expected studio environment and workflow.
At the high end of the spectrum, studio spaces are almost completely isolated from each other, and their surroundings, but this requires a significant investment of both money, and space—a certain amount of square-footage may need to be sacrificed to achieve that isolation, and the methods and materials used may be beyond the skills and budget of the typical small-studio guy. But it is still possible to get reasonably good results on a budget, with nothing more than standard construction materials, and the basic carpentry skills of the average weekend warrior, if those materials are applied optimally.
Setting boundaries
Just as with sound inside a studio space, it's much easier to control high frequencies than low frequencies. Highs are blocked relatively easily by traditional wall, ceiling, and floor construction (except for the cheapest designs—those paper-thin walls you sometimes find in newer buildings). It's typically the bass that tends to come through—low frequency vibrations cause the walls to flex, effectively transmitting those waves to the adjacent space.
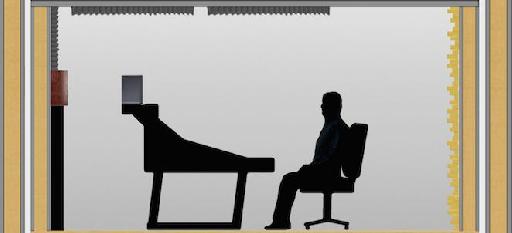
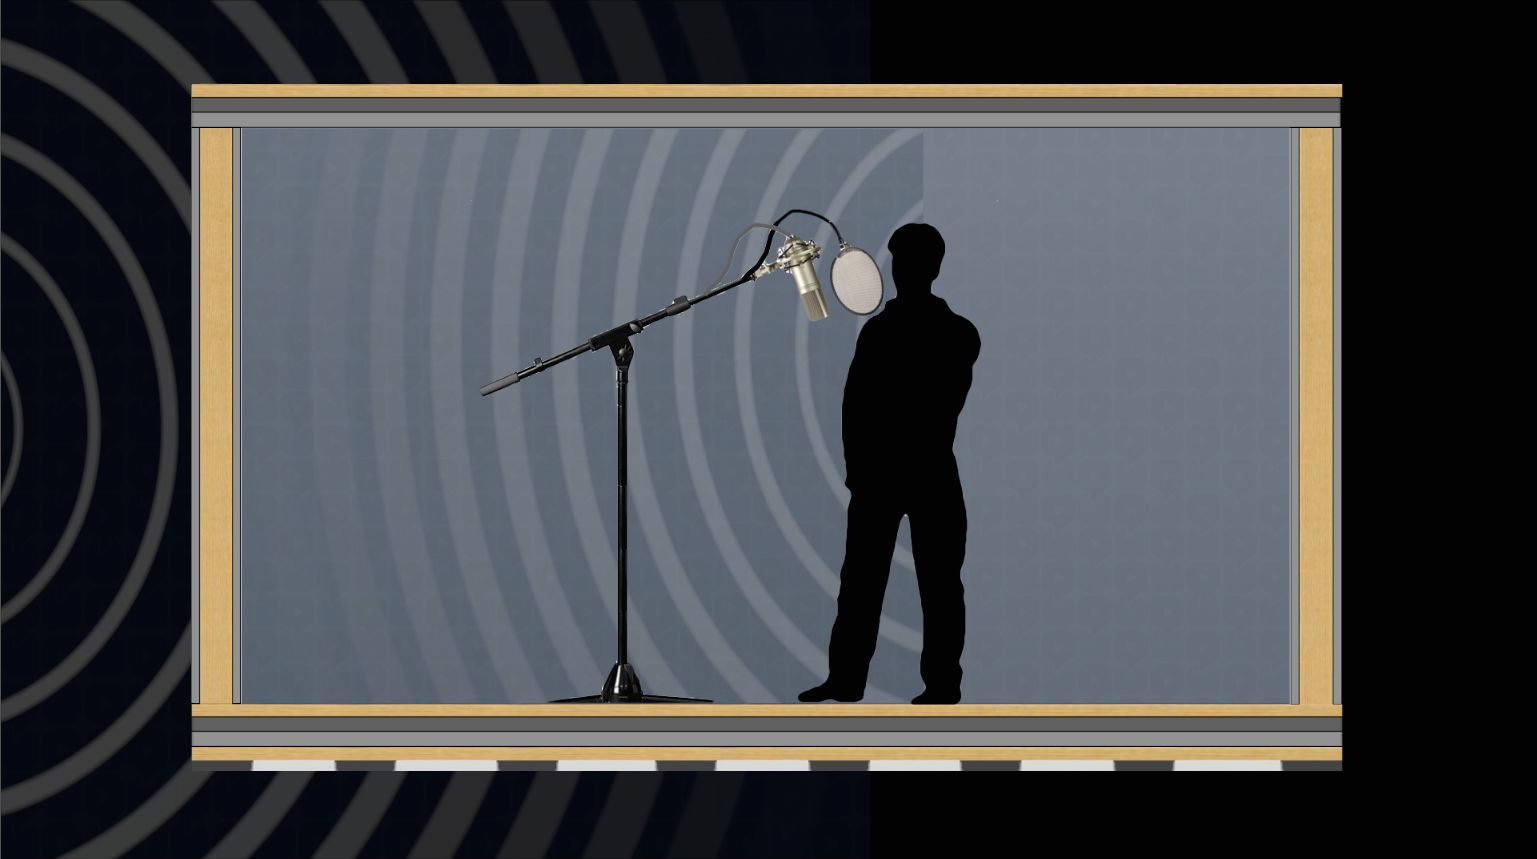
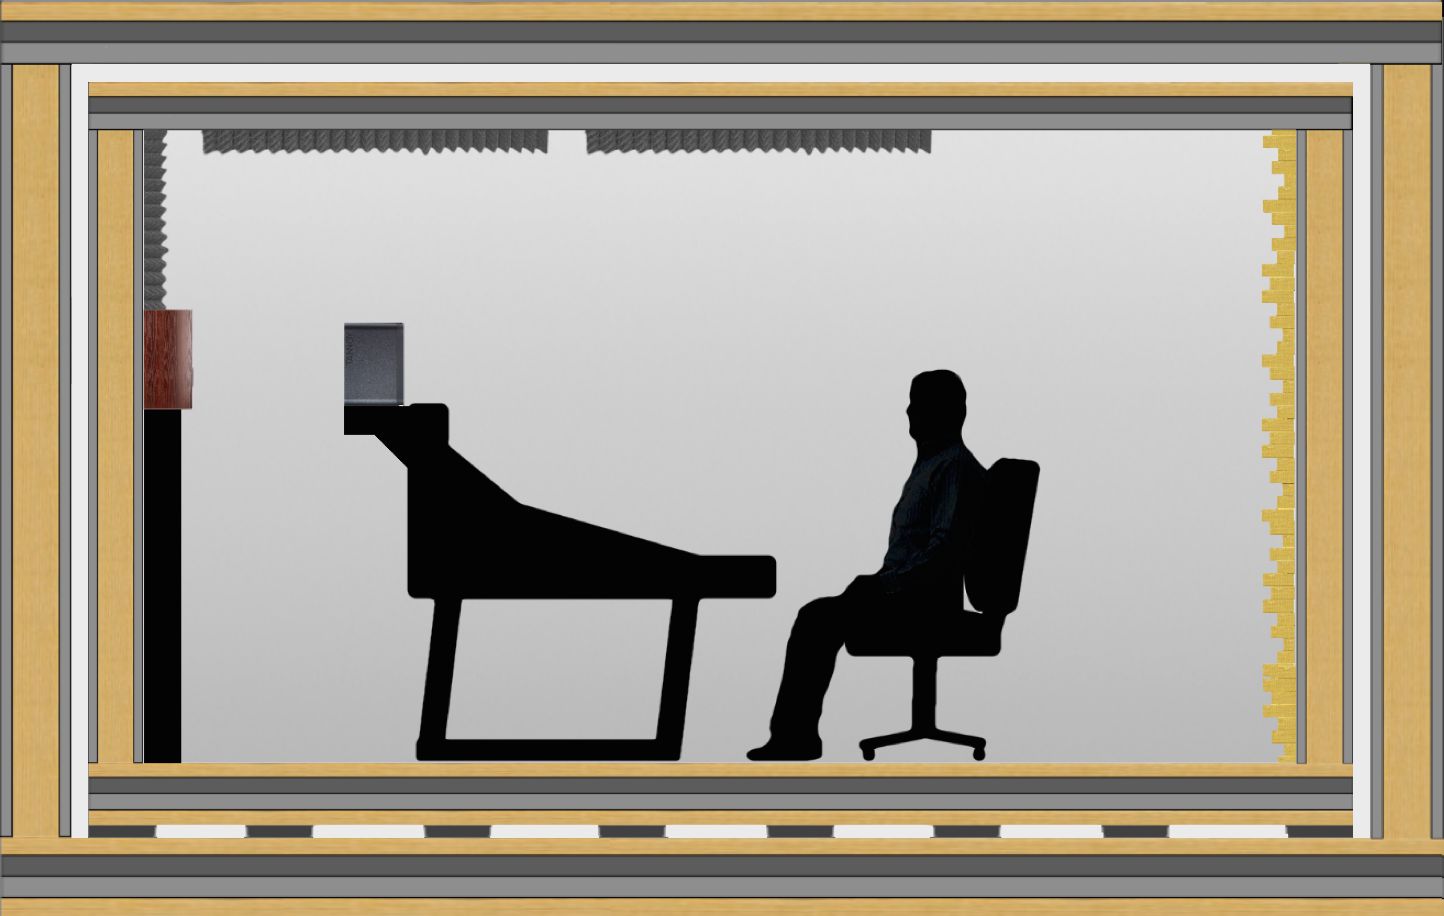
You can try to reinforce existing room boundaries, to better protect again unwanted transmission of sound, but for more serious needs, the best results can be achieved by the room-in-a-room approach, where you construct a new space within the existing space. This is referred to as a “Floating Room”, and the key is that all surfaces are isolated form the existing room boundaries (the floor is mounted on vibration-resistant supports), separated by a few inches of airspace. Except for sacrificing a foot or so of each room dimension, this can be very effective, even for recording loud instruments, and this is what I'll focus on here.
Floating ideas
For our small production room years back, we built two adjacent floating rooms in one large room—a control room, and a live space. We used traditional materials (the stuff you can get relatively inexpensively in any Home Depot), and did the labor ourselves (to save big $$). The isolation was very effective—the only sound that got through in most situations was a little bit of low end. Even if you don't have the space (or the wherewithal) to construct an entire room, the same materials and construction techniques can be applied to building an isolation booth.
A (conceptual) diagram of a typical floating room within an existing room.
These are, of course, available commercially, and they can be highly effective and very convenient to assemble, but the bigger sizes, and most well-isolated models, are fairly costly. The DIY approach lets you customize the size, shape, and design of a room or booth, to fit optimally in the existing space, and will save some $$$ to boot, as long as you have the time and tools to get the job done without too much difficulty.
Rolling your own
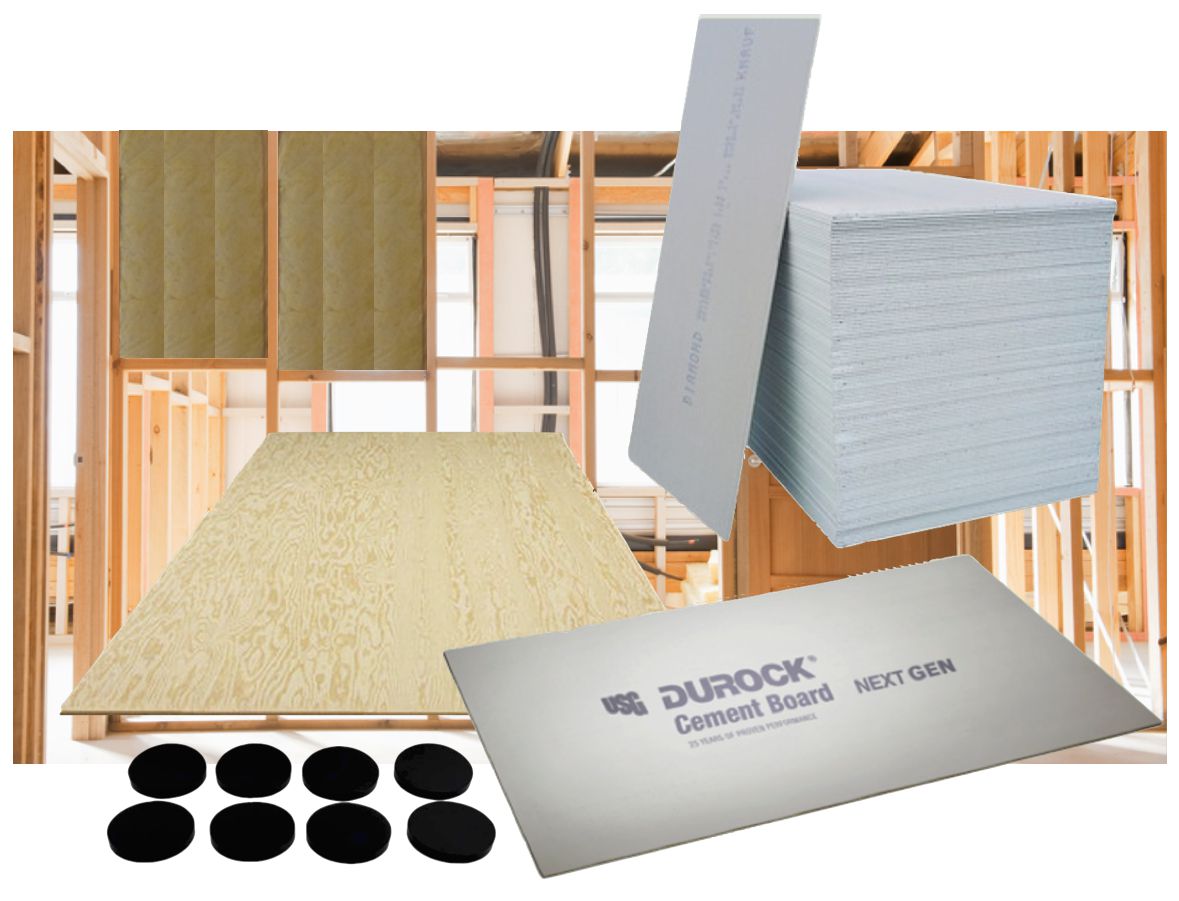
Building a floating room or iso booth from scratch can be done with standard construction materials—drywall/sheetrock panels, wood or metal studs, and insulation.
Traditional 2x4 wooden studs usually supply the frame—they're easy to work with, and effective—but if building codes require it, lighter-weight metal studs can be used. Wooden studs have greater mass, and greater mass (a heavier wall) is more effective at blocking the transmission of low frequencies, but either will be fine for most situations. 5/8” drywall (sheetrock, wallboard, etc) panels are also standard. One trick for more effective soundproofing is to double up on at least one side of the wall—add a second sheet of drywall, with a different thickness (maybe 3/4”). This will help suppress the transmission of vibration.
Insulation is important. Typical (pink) fiberglass batting is probably cheapest, but the slightly heavier, brown, rockwool (mineral wool) is not only more fire-resistant, but a bit better for blocking sound, as well. Don't pack it in too tightly, but do fill the entire cavity between the front and back wall boards.
Ceilings can use the same design, but floors may benefit from an extra, heavier, layer or two. Plywood panels work well, sometimes with a another layer of dense material sandwiched between. I've used a product called Durock—lightweight cement boards—but you should find many options in the aisles at the local hardware store.
Various construction materials for building a floating room or iso-booth.
The floor is the one surface that must come in contact with the existing structure, and that's where the possibility of structure-borne vibration comes in, which can seriously compromise the effectiveness of all of this. You won't be able to completely prevent it—professionals resort to pouring new concrete floors, and this probably is the only way to really contain that low-end vibration, but you can do a reasonable job of effectively de-coupling—floating—the new room with easier and less costly solutions. The preferred option, for budget-conscious DIYers, is a set of neoprene “pucks”, which are inexpensive and readily available. These will be sufficiently vibration-resistant to adequately maintain the integrity of the isolation. Don't skimp on them—remember, they'll be supporting the weight of the entire structure, and everybody in it!
Seal the deal
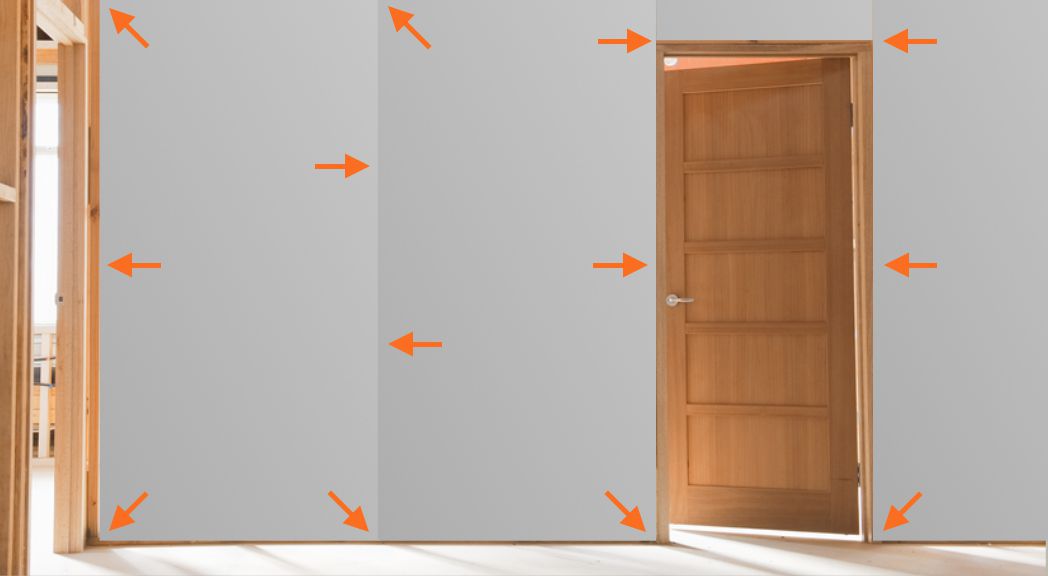
Most importantly, it's critical to thoroughly seal all cracks! Even a tiny opening can negate all this careful construction, so be diligent in checking and treating all seams and edges with the appropriate sealant (I can't stress this enough).
Don't forget to seal all cracks and openings in the room!
The weakest links in any floating room or iso-booth will inevitably be the openings—doors and windows. Glass—the clear kind that lets you actually see properly through multiple sheets—is pricey, and plexiglass is less effective at the same thicknesses. Doors have an even greater potential to scuttle the effectiveness of the soundproofing. Unlike the doors in normal rooms, studio doors must seal when closed (no air gaps), and yet still open and close easily. This means, at the least, using solid-core doors (the cheaper ones are hollow-core), and adding weatherstripping to the edges (windows too), to achieve a proper seal. Real studio doors use special hinges that lift, to make opening and closing easier, and then drop into position for the tightest seal when closed.
Doors and windows are one of two areas where I would think of using commercial products even if the rest of the room was DIY. To do it right, the cost difference won't be as big as with other aspects, and the labor can be daunting. So, what's the other area, you ask?..
Just breathe
With all this talk of isolation and effective seals, it should be obvious—air! You'll need to breathe in your floating room or iso booth, and this is another potential problem area. I've seen various approaches, from adapting window AC units, with flexible ducting (not so effective) to the better choice of a split system AC (external compressor, internal airflow unit). But the key is not only getting fresh, cool air into the room, but also exhausting warm, stale air out of it. Without proper exhaust vents and fans, all the AC rigging in the world won't keep the room comfortable. And the ductwork is another potential source of sound transmission (peaky upper midrange usually, based on the size of the ducts). I don't have the space to get into any more details (I'll spare you the horror stories!), so I'll just leave it here, with the suggestion that, if you have no experience with airflow, the DIY approach can be a penny-wise-pound-foolish choice, and having a pro do the HVAC may be the far better option, in the long run.
Wrap-up
And with that, I'm out of space, so I'll wrap up with the observation that, for simple leakage issues, even modest solutions can be helpful, but when isolation is more critical (for any studio operation, large or small), a floating room or iso-booth can be just the ticket. Commercial offerings are great, but a DIY project can result in much more bang-for-the-buck, and the resulting quiet can enhance not only the studio workflow, but the lives of everyone within earshot!
That brings us to the end of this series on Studio Acoustics. I hope it's been helpful, or at least provided some food for thought. Isolating and fine-tuning a studio space can be a daunting proposition, but it is well-worth the effort—after all, nothing should get in the way of the music..
| Learn more about acoustics in Joe Albano's Audio Concepts: Acoustics video course at AskVideo. |


 © 2024 Ask.Audio
A NonLinear Educating Company
Discussion
Want to join the discussion?
Create an account or login to get started!