
Most Maschine users will be used to programming their beats by playing notes in via the pads or even drawing events in directly. There is an alternative to both of these methods though. Step sequencing has been available in Maschine from the get go but it is often overlooked.
The Standard Route
The usual approach to programming beats and patterns in Maschine involves hitting record and playing things in using the pads. This works really well most of the time and when used in conjunction with quantize produces really tight results.

Programming patterns in the traditional way.

A standard sequence played on the pads and quantized.
You don't really have to activate any modes or do anything special to perform this sort of recording. You will be ready to go right out of the box. The only real issue here is that if you are not the greatest pad player in the world, you may end up performing some pretty heavy edits to get things in line.
Of course you can draw events directly into the sequencer. This is much more accurate and can give you results very close to that of a step sequencer. The real solution here is to use real-time step sequencing.
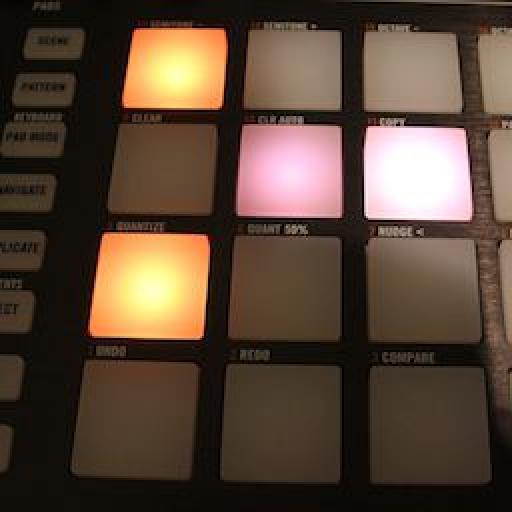
Activating Step Mode
To get into the step sequencing mode it's simply a case of hitting the 'Step' button that resides at the top left of Maschine's front panel. Once in this mode (and in playback) you should see a single illuminated LED running through the pads in sequence.

Step Mode engaged!
If the illuminated pad runs through the pads too quickly or not through all of them this can be fixed by hitting the 'Grid' button. While this is depressed you'll see a choice of musical measures on the right hand display. 1/16th is a good place to start and will give you that authentic drum machine style step grid.

The white LED shows the position of your step based pattern.
The animated LED should now scan across the pads in a nice uniform way. At this point you can select how long your pattern is going to be. One or two bars is generally a good starting point.
Programming Your New Pattern
To program your new step based pattern, select your sound in the usual way in the 'Control' mode. You can do this by hitting a specific pad. Now when you enter Step mode, that sound will be selected for programming.

A finished step pattern.
You can highlight any of the 16 steps to activate it and you should hear your chosen sound being triggered in that spot. Continue inputting new steps for that sound until a pattern is complete. You can now repeat the process using different sounds.
A pattern I created using this method:
It's really easy to build up a pattern in this way and just gives you a really great alternative to either playing the pads or drawing the notes in. I tend to use this in conjunction with the other methods, as opposed to a complete replacement.

Discussion
Want to join the discussion?
Create an account or login to get started!