
Sample libraries are a great resource when in need of a different kick sample, or some different sound effects to throw into your compositions. But they can also be a hindrance. I found it was very easy to accumulate different sample libraries, but I always wasted a lot of my time finding the right samples when the time came to be productive. I spent more time sifting through samples than being creative. Here are a few steps you can take to reduce the amount of time you spend looking through your sample libraries and get down to what is more important… making music.
Step 1 – Create a New Sample Library Folder
Your samples folder may be in a bit of a mess, or it may be neatly managed. Or you may have hundreds of different folders that are still time-consuming to work through. I decided I wanted to create a new folder and move only the wanted samples across to this folder. So let’s go through the same steps.
Create a new Sample folder. This will be the sample folder we will work with from now on.
Step 2 – Create the Sub Folders
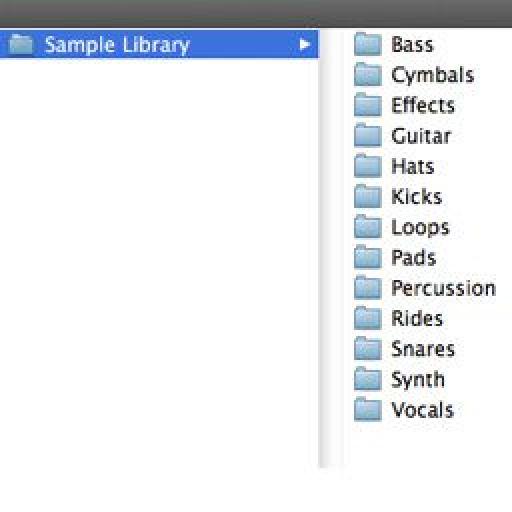
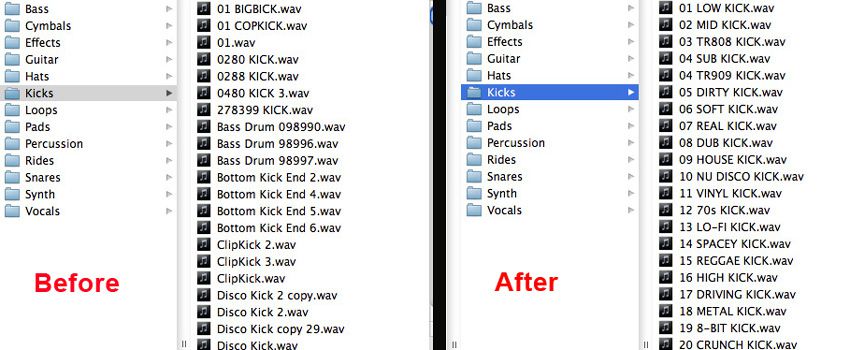
Create only the necessary sub-folders that you will need in this folder. Sometimes when you build up your sample library you just copy across the samples you have purchased with the company product’s naming conventions. These may not be conducive to your working environment. I like to keep my sample library quite simple so that it makes for easy browsing when I need to. I have created only a few folders: Kicks, Snares, Cymbals, Hats, Loops, Percussion, Rides, Bass, Effects, Guitar, Pads, Synth and Vocals. Depending on your style of music your preference of folders may differ, but try to keep what you need to a minimum.
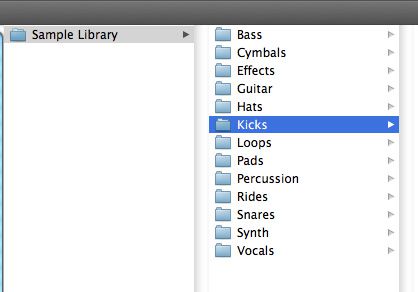
Next, I will show how to work through these samples and keep only what you will need. I will be working with my Kicks folder, as one can easily accumulate many different kick samples.
Step 3 – Start Selecting Samples
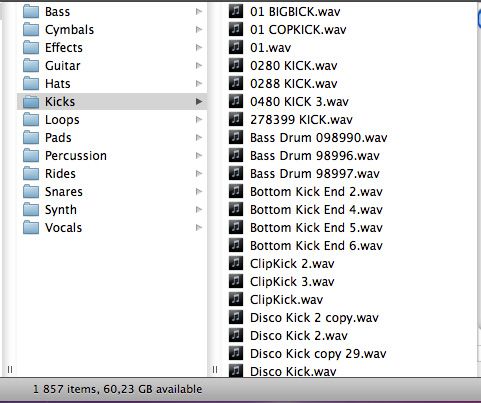
As you can see, I have accumulated quite a few different kick samples.
1857 to be exact! But there is no way I will ever use all these different samples, and much time will be wasted by trying to audition these samples every time I work in a new project. I want to minimize the amount of kick samples I have, so that when I work in a new project I will browse through only the best kick samples I have. Next I will recommend some steps to take to sift through these huge amounts of samples.
Step 4 – Sift Through Samples
What I recommend is putting some time aside to go through each folder and be ruthless and trash what samples you really don’t need. Don’t try going through all your samples in one day. You may go crazy. Put some time aside as “studio cleanup” time and go through some samples.
In my Kicks folder I have decided to go through each sample and decide which ones I would like to keep. Have some variety with the samples. Such as with kicks you will want some samples with some low-end, some others with a more mid-range feel and some others with a more high-end sound catching the click-sound of the kick. In my future projects, I will choose three kicks that I will layer together for a bigger, and rounded kick sound.
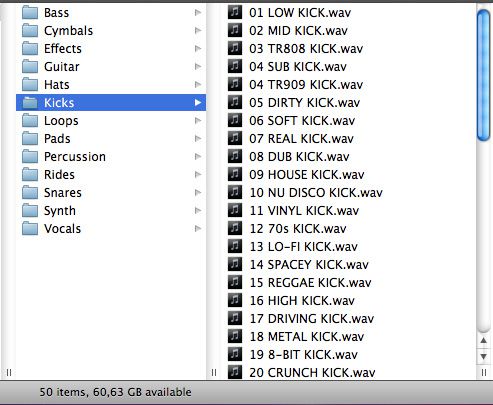
This is a process, so it will take some time. I first narrowed the kick samples down to a 200 that I liked, and then finally down to 50. You could even narrow it down further to 10 ultimate kick samples that you like.
Proceed with the rest of your sub-folders. Eventually you will have a fine-tuned sample library where you will be quick to browse through to get the sounds you desire.
Step 5 – Rename Samples to Appropriate Names
Another thing I would recommend is to rename the sample files to names that will make more sense to you when you are composing. Some of the sample library packs use quite unusual names for their samples, which doesn’t make for a productive session when you are working through these samples.
By renaming them to something that makes sense to you, you will easily find the sample you are looking for during the producing process. Therefore minimizing the downtime you will have when you trying to search for the right sample.
Conclusion
I hope this tip helps you fine-tune your sample library and create a better working environment for your future music productions. Time spent sifting through your samples and fine-tuning your sample library definitely pay back. So get cracking and tidy up your sample library!
Discussion
Want to join the discussion?
Create an account or login to get started!