
For this tutorial article, we'll take a look at sidechaining in FL Studio. In its simplest form sidechaining uses a source to modify another. A classic example is the radio DJ ducking effect. When the DJ speaks the music volume is dipped. So the music uses a lookahead function to hear when the DJ speaks and then drops the volume level. There are a couple of ways as to go about sidechaining in FL Studio, so let's explore the options.
Choose Your Source
I have a simple kick on the bars pattern. And I also have a Harmor instrument playing a sustained chord progression. It's a very simple chord progression: I, IV, ii, V (C, F, Dm, G). So we'll use this for demonstration purposes for the sidechaining techniques.
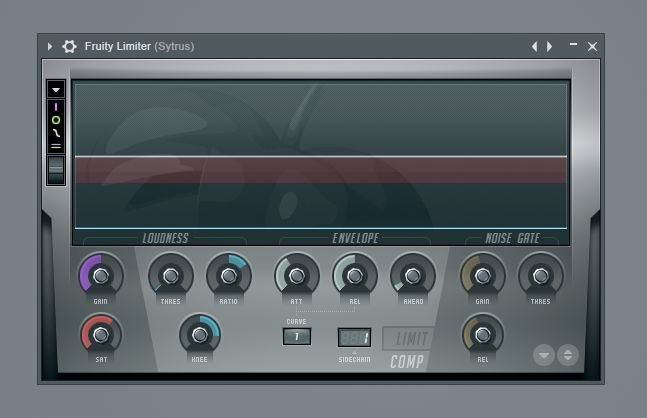
First let's create the sidechain channel. Choose an empty channel insert. Rename it to SC Compressor. Then insert a Fruity Limiter onto this. Set it to Compression, not Limiter mode.
Routing the Source
So what I want is for the Harmor synth to duck in volume each time there is the presence of a kick hit. So first go over to the Kick track and then route this to the Sidechain compressor track, the Harmor track with the Fruity Limiter.

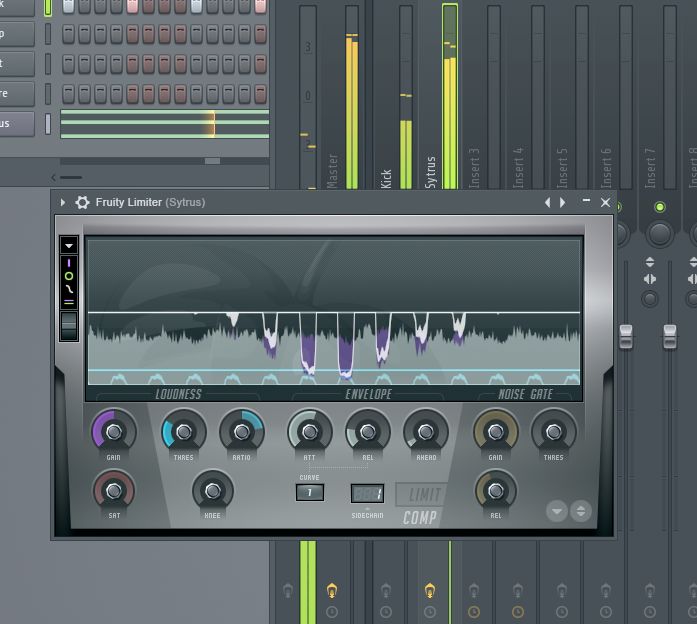
Now when you play back your audio, hear how the sustained chords duck in volume whenever there is a kick hit. You can even see on the Fruity Limiter waveform graph how it ducks the volume at those points.
To customize how this sidechain works you can tweak the attack and release times for different ducking effects. Try with a long attack and short release, and then switch it and listen to it with a short attack and long release. Also, try using different Threshold ratio, and knee amounts. For example, a threshold set to 0, and a high ratio will give you quite a drastic sidechaining effect. You'll find a nice middle ground of where you want it to sit. This form of ducking works great in EDM tracks to really get the pump from your kick.
Using the Fruity Peak Controller
The other way to sidechain in FL Studio is to use the Peak Controller. This effect is an internal controller that can be used to automate targets in response to the Peak Controller's volume envelope. The setup is slightly different in this method. Let's take a look at how it's done.
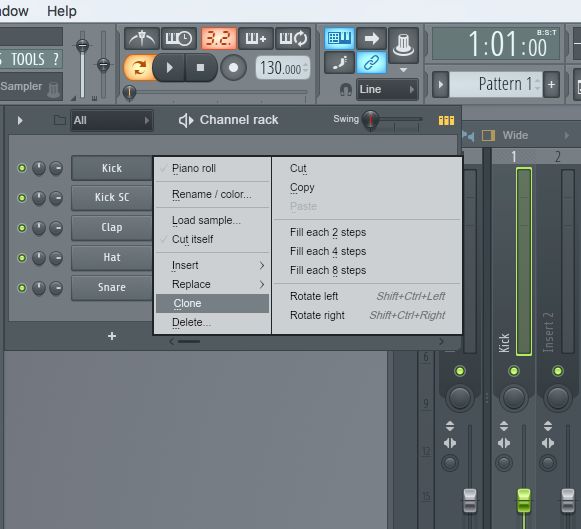
Let's make a clone of the channel that you want to use as the source. I'm going to be using my Kick, so right-click on the channel and choose Clone. I'm going to call mine Kick SC as the sidechain reference. Add in the same step sequencer pattern.
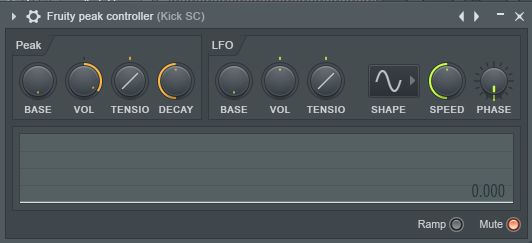
On this sidechain channel insert a Fruity Peak Controller.
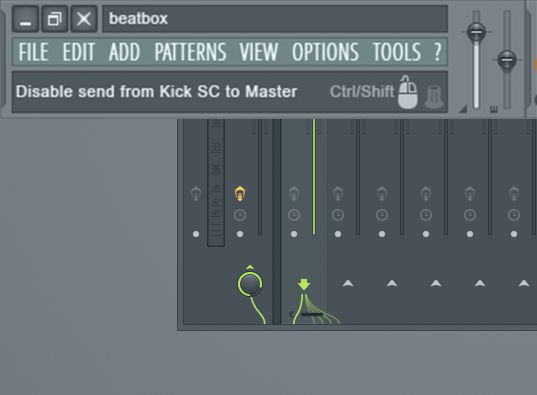
Disable the out of this track going to the master output.
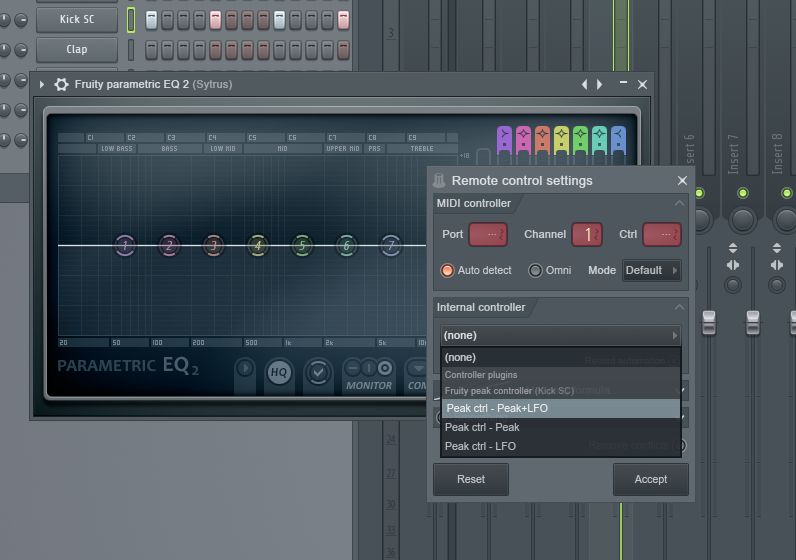
I have a long sustained Sytrus pad on another channel. On this channel add a Fruity Parametric EQ 2. I want to use the peak controller to duck some of the EQ bands in this effect to create a filtered ducking volume effect.
On this parametric EQ right-click on the 2nd band on the left and choose Link to Controller from the contextual pop-up window.

Then in the Remote Control Settings window under the Internal Controller tab, choose Peak Ctrl – Peak and LFO, and click Accept. Do the same for the next two EQ bands following this.
Now when you playback your song, see visually how it's ducking the bands, plus hear how it is altering the sound.

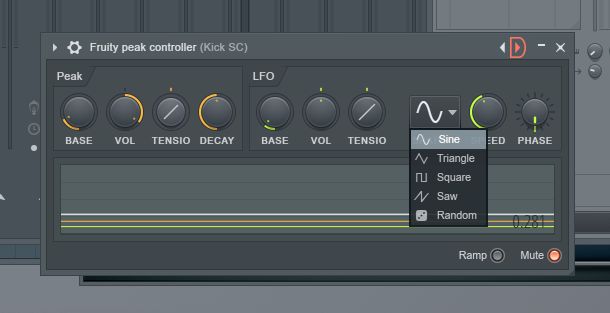
You can go in deeper on the Peak Controller and adjust some of the parameters, like the Base and Volume, plus you can even use the LFO to shape the ducking on these bands. Maybe you want to try a Saw waveform shape, and then adjust the Base and Volume parameters to hear how this changes how the sidechaining reacts to these bands.
What's more is that you can link to multiple parameters with this Peak controller. Add some other effects onto your instrument, maybe a chorus and flanger and link some of those parameters to the Peak Controller. You can even invert the shape so that the parameters move in opposite directions to each other creating even more complex sidechaining effects.

3rd Option: Gross Beat
One more way for applying sidechaining to your audio is to use FL's Gross Beat plugin. This plugin is included in the Signature Edition, or you can purchase it separately if you have the Fruity or Producer Editions. With this plugin, you don't have to set up a source and sidechain input, but you can achieve similar volume ducking results with this plugin. How Gross Beat works is that it has a 2-bar buffer, and with the audio buffered you can manipulate the volume, and pitch using the time and volume presets or by drawing in your own volume pitch waveform in the graph on the right.
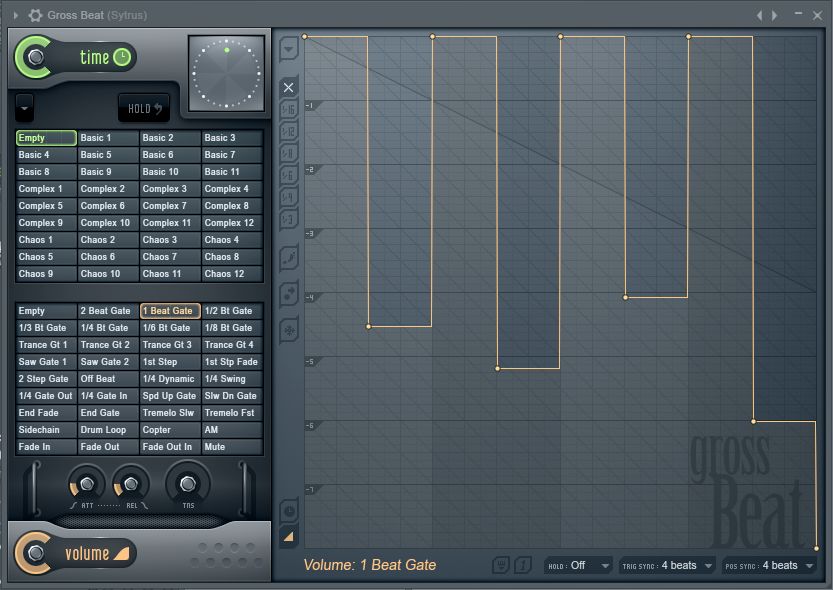
Let's try out some of the presets and see how it works. I'm going to add the Gross Beat to a sustained sound like a synth pad. In the volume presets section choose 1 Beat gate, and you'll see in the graph that it's created a volume gate for every beat for the 2 bars. What I like is you can go in and customize the graph. With the node points at the bottom, you can raise these for differing amounts of volume drops through the 2 bar buffer.
Try out some of these other volume presets and hear what they sound like. For example, the Saw Gate 1 preset is very cool with a fast, gated pattern using a saw waveform gate shape.

Also, test out some of the time presets that manipulate the pitch of the audio. You can get some really interesting gated stutter effects by combining these sections.

Conclusion
That's how to create sidechain effects in FL Studio. Like most things in FL Studio there’s always more than one way of doing something, which is thanks to FL's super open-ended architecture. So you can either use the Fruity Limiter set to compressor mode and choose a sidechain source, or you can use the Fruity Peak Controller and link it to a parameter to control such as the parameters on an EQ, or you can use the Gross Beat plugin to achieve volume and pitch ducking effects. Test these sidechaining techniques out in your next productions and see how they can spice up your track.
Discussion
Want to join the discussion?
Create an account or login to get started!