
Track automation is a fantastic tool for creating dynamic mixes, for fine control of performances where parameters such as volume are 'too dynamic', for capturing real-time performance parameters like filter cut-off, and so on. But, once track automation has been written, it is sometimes the case that you need to adjust the overall level of that parameter. For example, bringing up the overall level of the vocals, but leaving the written automation changes intact. This is called scaling or trimming automation and this quick tip will show you how to achieve this in Logic Pro and Pro Tools.
Automation in Logic
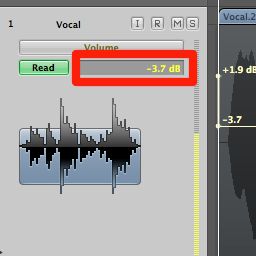
Scaling automation is achieved in the Arrange area (not in the Mixer). With Automation View enabled hold down the Command key and adjust the automation fader (the yellow vertical scale on the track header) to scale the automation. Adding the control key gives you finer control.
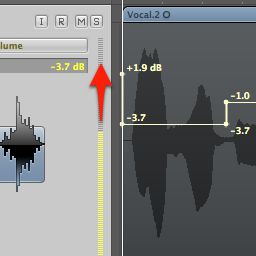
You can also achieve this affected by Command-dragging on the numerical field in the track header. Command-clicking the numerical field in the track header selects all the automation for that track.
'Compressing' Automation in Logic
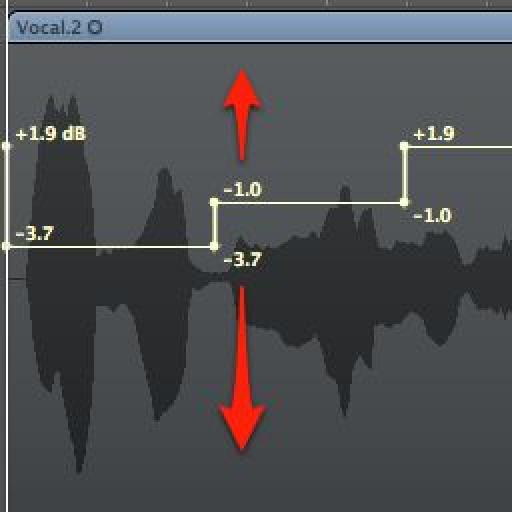
One thing that users often complain about with Logic Pro's Automation Select Tool is that you cannot select just the lower nodes of automation it will always select them all (which is odd as you can do this in GarageBand!) So the workaround here is to select all the automation nodes, then move the automation up (or down) by scaling. At the upper (or lower) limit the automation compresses in range and you can then move the compressed version back to the appropriate level by scaling.

Push the automation up to the top to compress it it, then scale it back down again
Automation in Pro Tools
In ProTools, as you might imagine, you have several options. To start, what we're trying to achieve here has the name that audio professionals who grew up with mixing desks will recognise i.e. trim. The direct equivalent of the process we saw in Logic Pro is to select all the automation (in the appropriate track view) that you wish to trim, then use the Trimmer tool to move it up or down.

Using the Trimmer tool to 'scale' automation
Volume Trim in Pro Tools
If the automation in question is volume then Pro Tools offers a track view called 'volume trim' which allows you to adjust existing automation by editing an additional line (which is yellow). Edits can be made in the usual ways i.e. by adding breakpoints with the Grabber Tool or trimming with the Trimmer tool. The resulting automation will be the sum of volume automation and volume trim.

Volume trim track view - the original automation is in blue, the trim in yellow
Trim Mode in Pro Tools
If you have Complete Production Toolkit 2 installed or ProTools HD then you also have 'trim mode' available from the Automation Mode Selector. This allows you to record trim automation using one of ProTools write modes, which again adds to existing automation, but can be edited independently. There are a whole series of advanced actions associated with this method of editing automation and these will form the subject of a future tutorial.

Automation in Trim mode - note the fader button is yellow
Need to learn more about Pro Tools? Check out these Pro Tools 9 video tutorials now.

Discussion
Want to join the discussion?
Create an account or login to get started!