
A NonLinear Educating Company
Review: Shantea Controls OpenDeck '" Custom MIDI Controller Platform
Liam Lacey on May 04, 2017 in Review | 0 comments
Building your own MIDI controller has never been easier. There is currently a small but varied selection of dedicated hardware/software platforms available for developing DIY MIDI controllers, such as the Livid Instruments Builder DIY platform or the Doepfer Musikelectronic DIY Series, however most of the popular general purpose hobbyist hardware/software platforms - such as Arduino or Teensy - also make it easy to develop MIDI devices. I’ve discussed all of these platforms in a previous article of mine.
Source: http://www.instructables.com/id/A-Framework-For-Making-Affordable-Stylish-Modula/
However there is now a new kid on the block – the OpenDeck platform by Shantea Controls, described as “a platform suited both for prototyping and developing custom MIDI controllers compatible with any MIDI software on any OS”. Like the Builder DIY platform and the Musikelectronic DIY Series, the OpenDeck platform is specifically designed for making MIDI controllers without needing to do any electronics or coding, and it is comprised of a hardware board and a web-based software editor. How does OpenDeck compare to these similar platforms though? To find out, I built a customer MIDI controller from scratch using OpenDeck and documented the process.
What is OpenDeck?
The main part of the OpenDeck platform is the 10x10cm hardware board that various components used to build a MIDI controller can be connected to, with the following supported components – buttons, encoders, LEDs (single color or RGB), potentiometers (e.g. dials, sliders), and FSRs (force-sensitive resistors). OpenDeck has 64 digital inputs, which would allow up to 64 buttons or 32 encoders to be connected, and 32 analogue inputs for connecting potentiometers or FSRs; however the 32 analogue inputs could instead be used for connecting 32 extra buttons. OpenDeck also has 48 digital outputs for connecting up to 48 single-colour LEDs or 16 RGB LEDs. The board can then be connected to any MIDI software/hardware via class-compliant USB-MIDI or traditional DIN-MIDI, however due to their being no dedicated power connector, the board has to be powered via USB.

The OpenDeck hardware board
The OpenDeck board costs €111/$117/£95 and comes with all the needed cables. Its price point and hardware specs put it right in the middle between the affordable Livid Instruments Brain Jr. and Brain V2 boards; so if you need more than 16 inputs/outputs, or need both DIN and USB-MIDI, the OpenDeck board means you may not need to stretch all the way up to the more expensive Brain V2 board. Compared to the Musikelectronic DIY Series, OpenDeck is more affordable for its feature set.
The second part of OpenDeck is the web-based configuration utility that allows you configure the exact MIDI messages that the hardware board sends and responds to, which I’ll go into more detail later on. Being a Web app allows the utility to run on any OS or device that has a Web MIDI API supported browser (such as Google Chrome), and also means you don’t need to download any extra software; however you do need an Internet connection to access it, which may be problematic in certain situations.

The OpenDeck Configuration Utility
Using OpenDeck: The Hardware
The first part to building my MIDI controller was to connect the needed components to the board. Each of the three interface types (digital inputs, digital outputs, analogue inputs) are grouped together and clearly labeled on the board, so along with the extensive documentation this makes it straightforward to get started. All I/O’s are accessed through male headers/pins, making it easy to make solder-free connections by using female connectors – great for prototyping. You also don’t need to connect any extra components (e.g. resistors, diodes) or child boards (unlike with the Brain V2 board), as all needed circuitry is built directly into the OpenDeck board, making it quick and easy to get a functioning MIDI controller up and running.
The only exception to this is when using FSRs, which do require external resistors. OpenDeck supports all of the controls you’ll find on most common MIDI controllers; there are a couple of unsupported controls you may want to use (e.g. piezo sensors, accelerometers), but they could require different circuitry or software processing that could be unfeasible to build into something like OpenDeck.
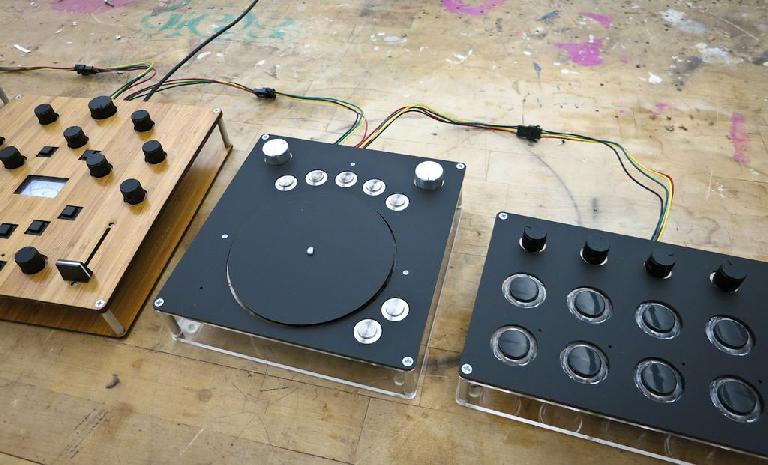
For my MIDI controller I’ve chosen to use one or two of each of the supported components to fully test the features of OpenDeck. All components were attached using female wire connectors to make it easy to remove them afterwards, using the connections documentation to guide me on the pins to use.

Connecting components to the OpenDeck board
Using OpenDeck: The Software
Once the board was populated with components I was ready to start editing the MIDI messages it would send and respond to. I connected it to my computer via USB, opened up Google Chrome and went to the configuration utility webpage. Almost instantly, and without needing to install any drivers, the website connected to the OpenDeck board via Web MIDI and I was able to start configuring it (though you may need to allow your browser to have access to your MIDI devices first, depending its current settings).
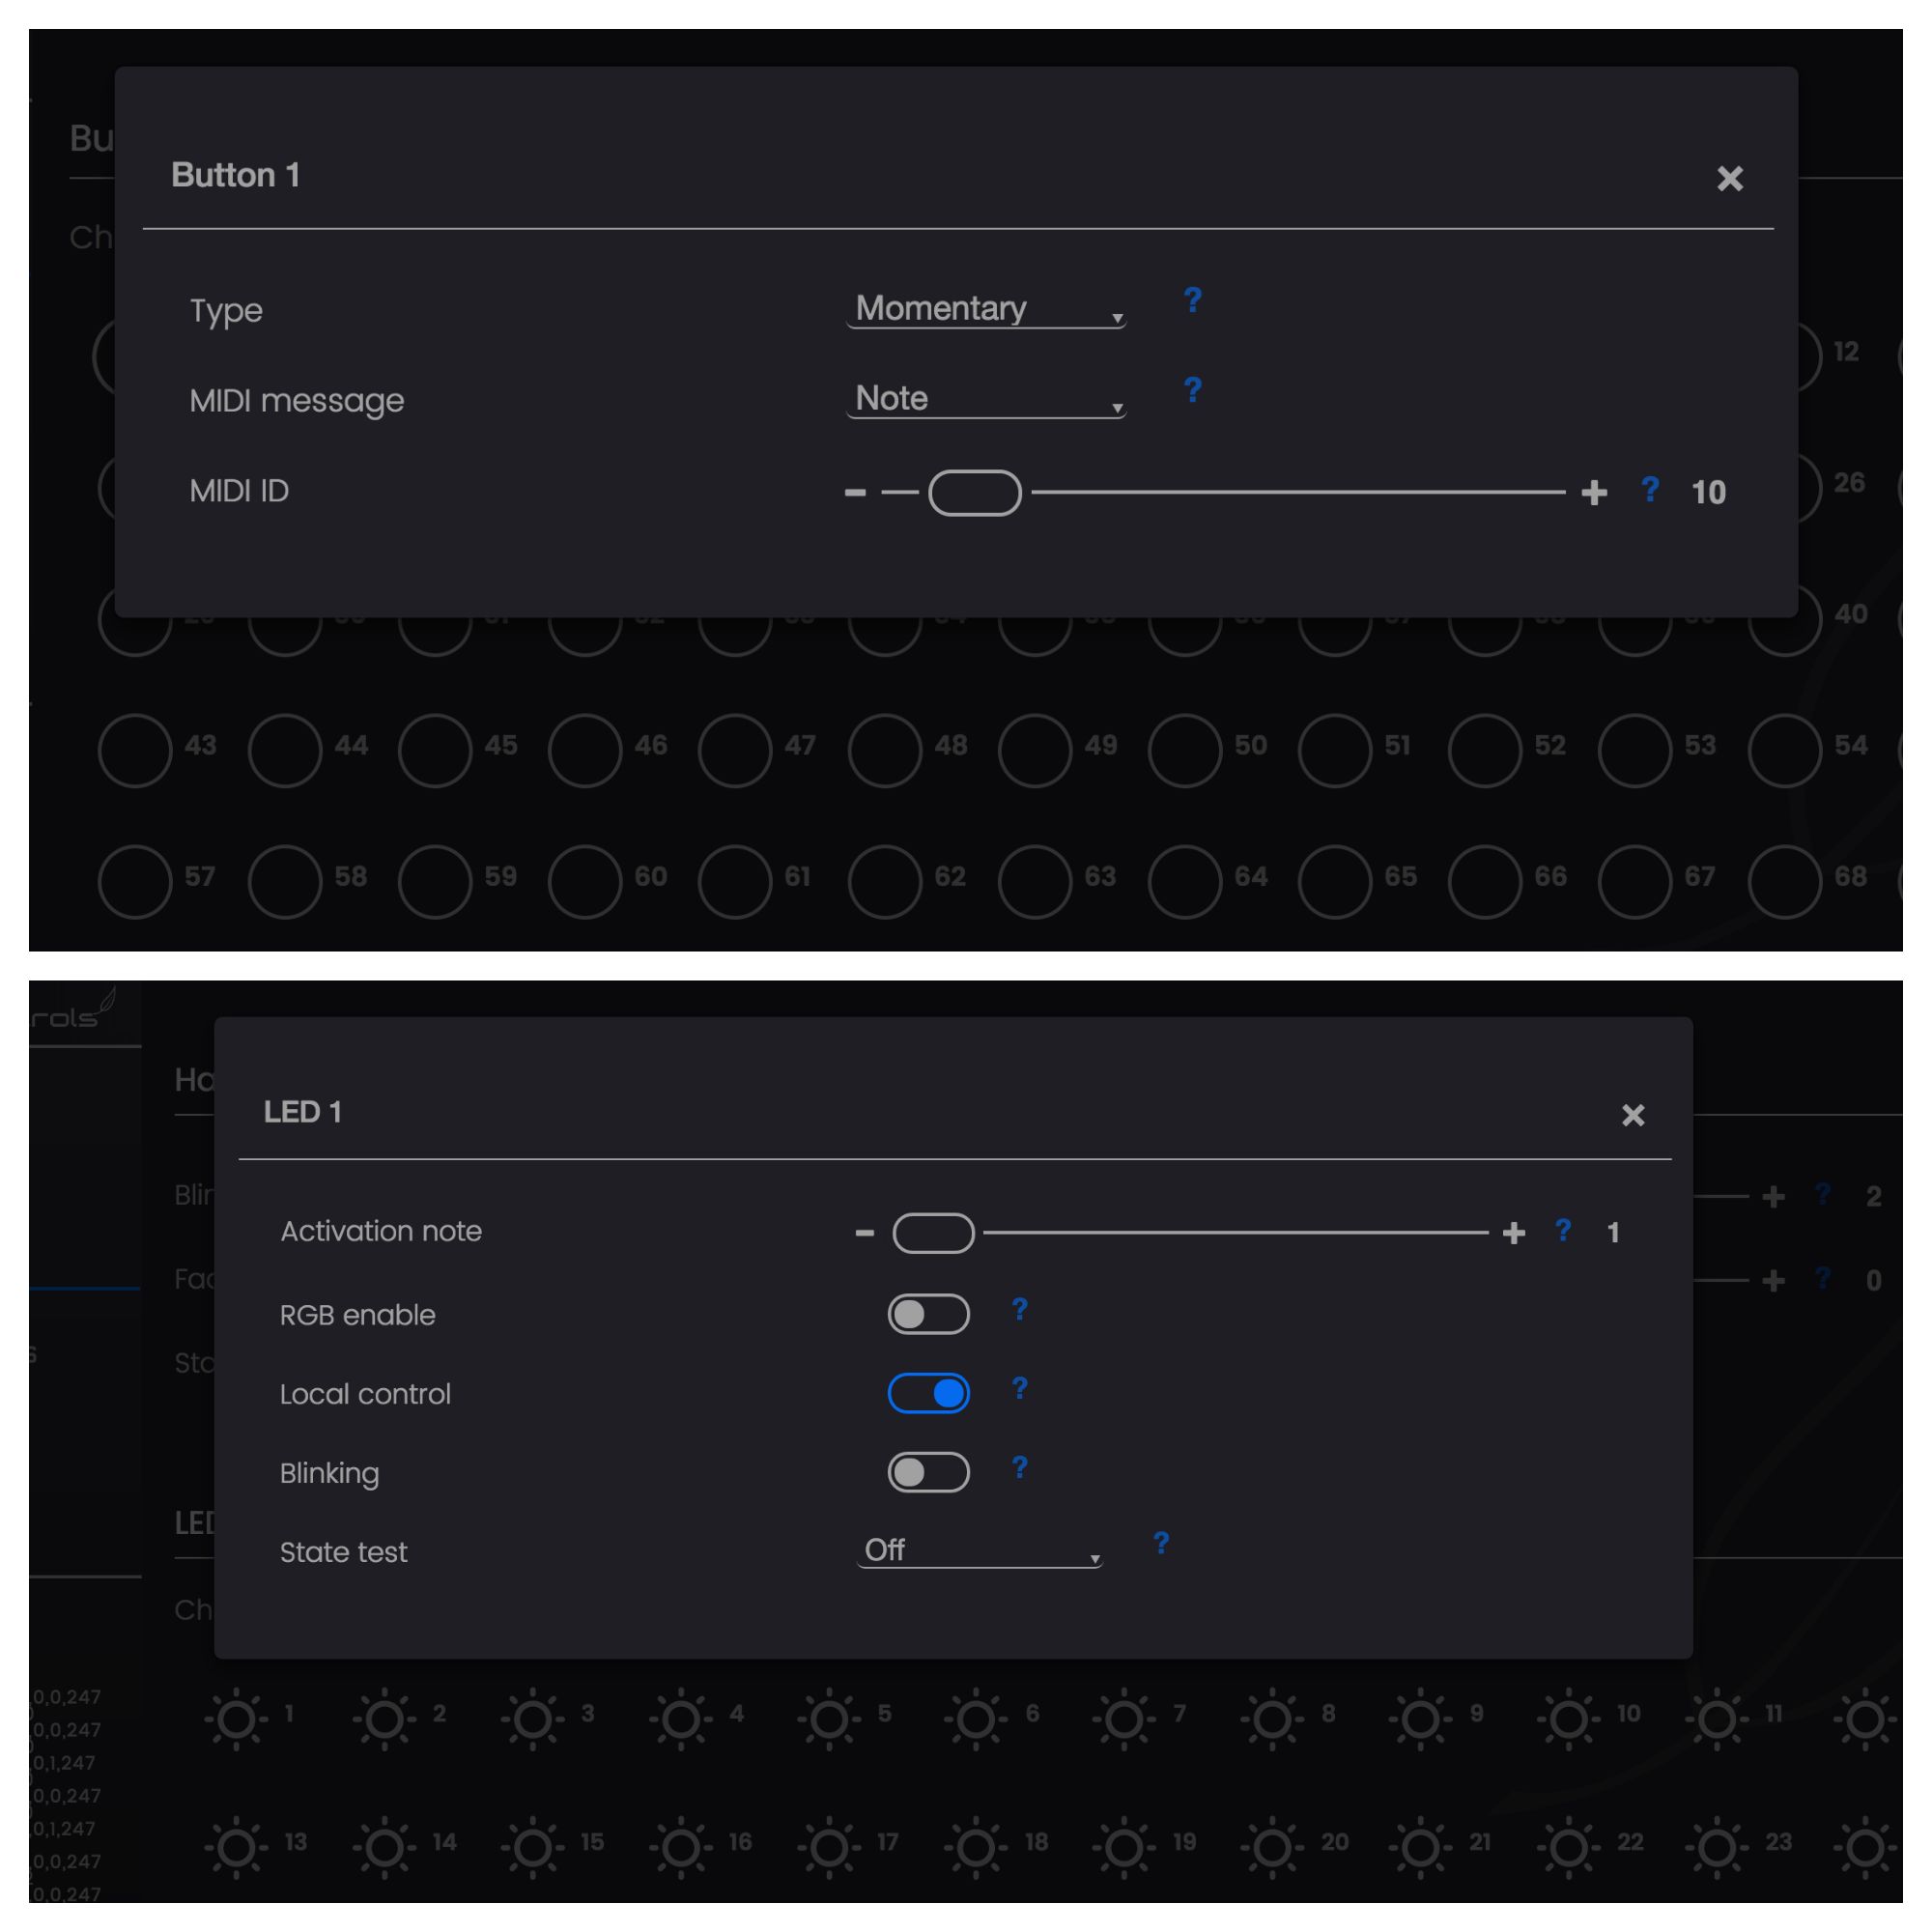
Overall the editor has an attractive interface, and it is immediately clear to understand how to use it. The general idea is that you chose a type of component (buttons, LEDs, analogue etc…) from the sidebar, and then choose the exact input/output you want to configure. All options are set using sliders (with +/- buttons for fine control) or dropdown menus, and all controls have a tooltip to tell you exactly what each control does, which is very useful.
First I wanted to configure my buttons and LEDs. Each button can be set to either be momentary or latching/toggling, and can send either a MIDI note message or program change message with a dedicated note or program number. Unfortunately you can’t currently set buttons to send MIDI CC messages, which is a surprising omission, however I’m sure this could be added in a future software update. (EDITOR'S NOTE: It now is possible to send MIDI CC messages from buttons!) LEDs can only be activated with MIDI note messages, however the specific note number can be configured for each one. LEDs can handily be triggered from local note messages (sent from OpenDeck buttons/FSRs) instead of just from external note messages, can be set to blink with a global configurable blink time using external CC messages, and can also have a global fade-in time applied too. When using RGB LEDs, the notes velocity value determines the colour of the LED, which allows for great control of interactive visual layouts.
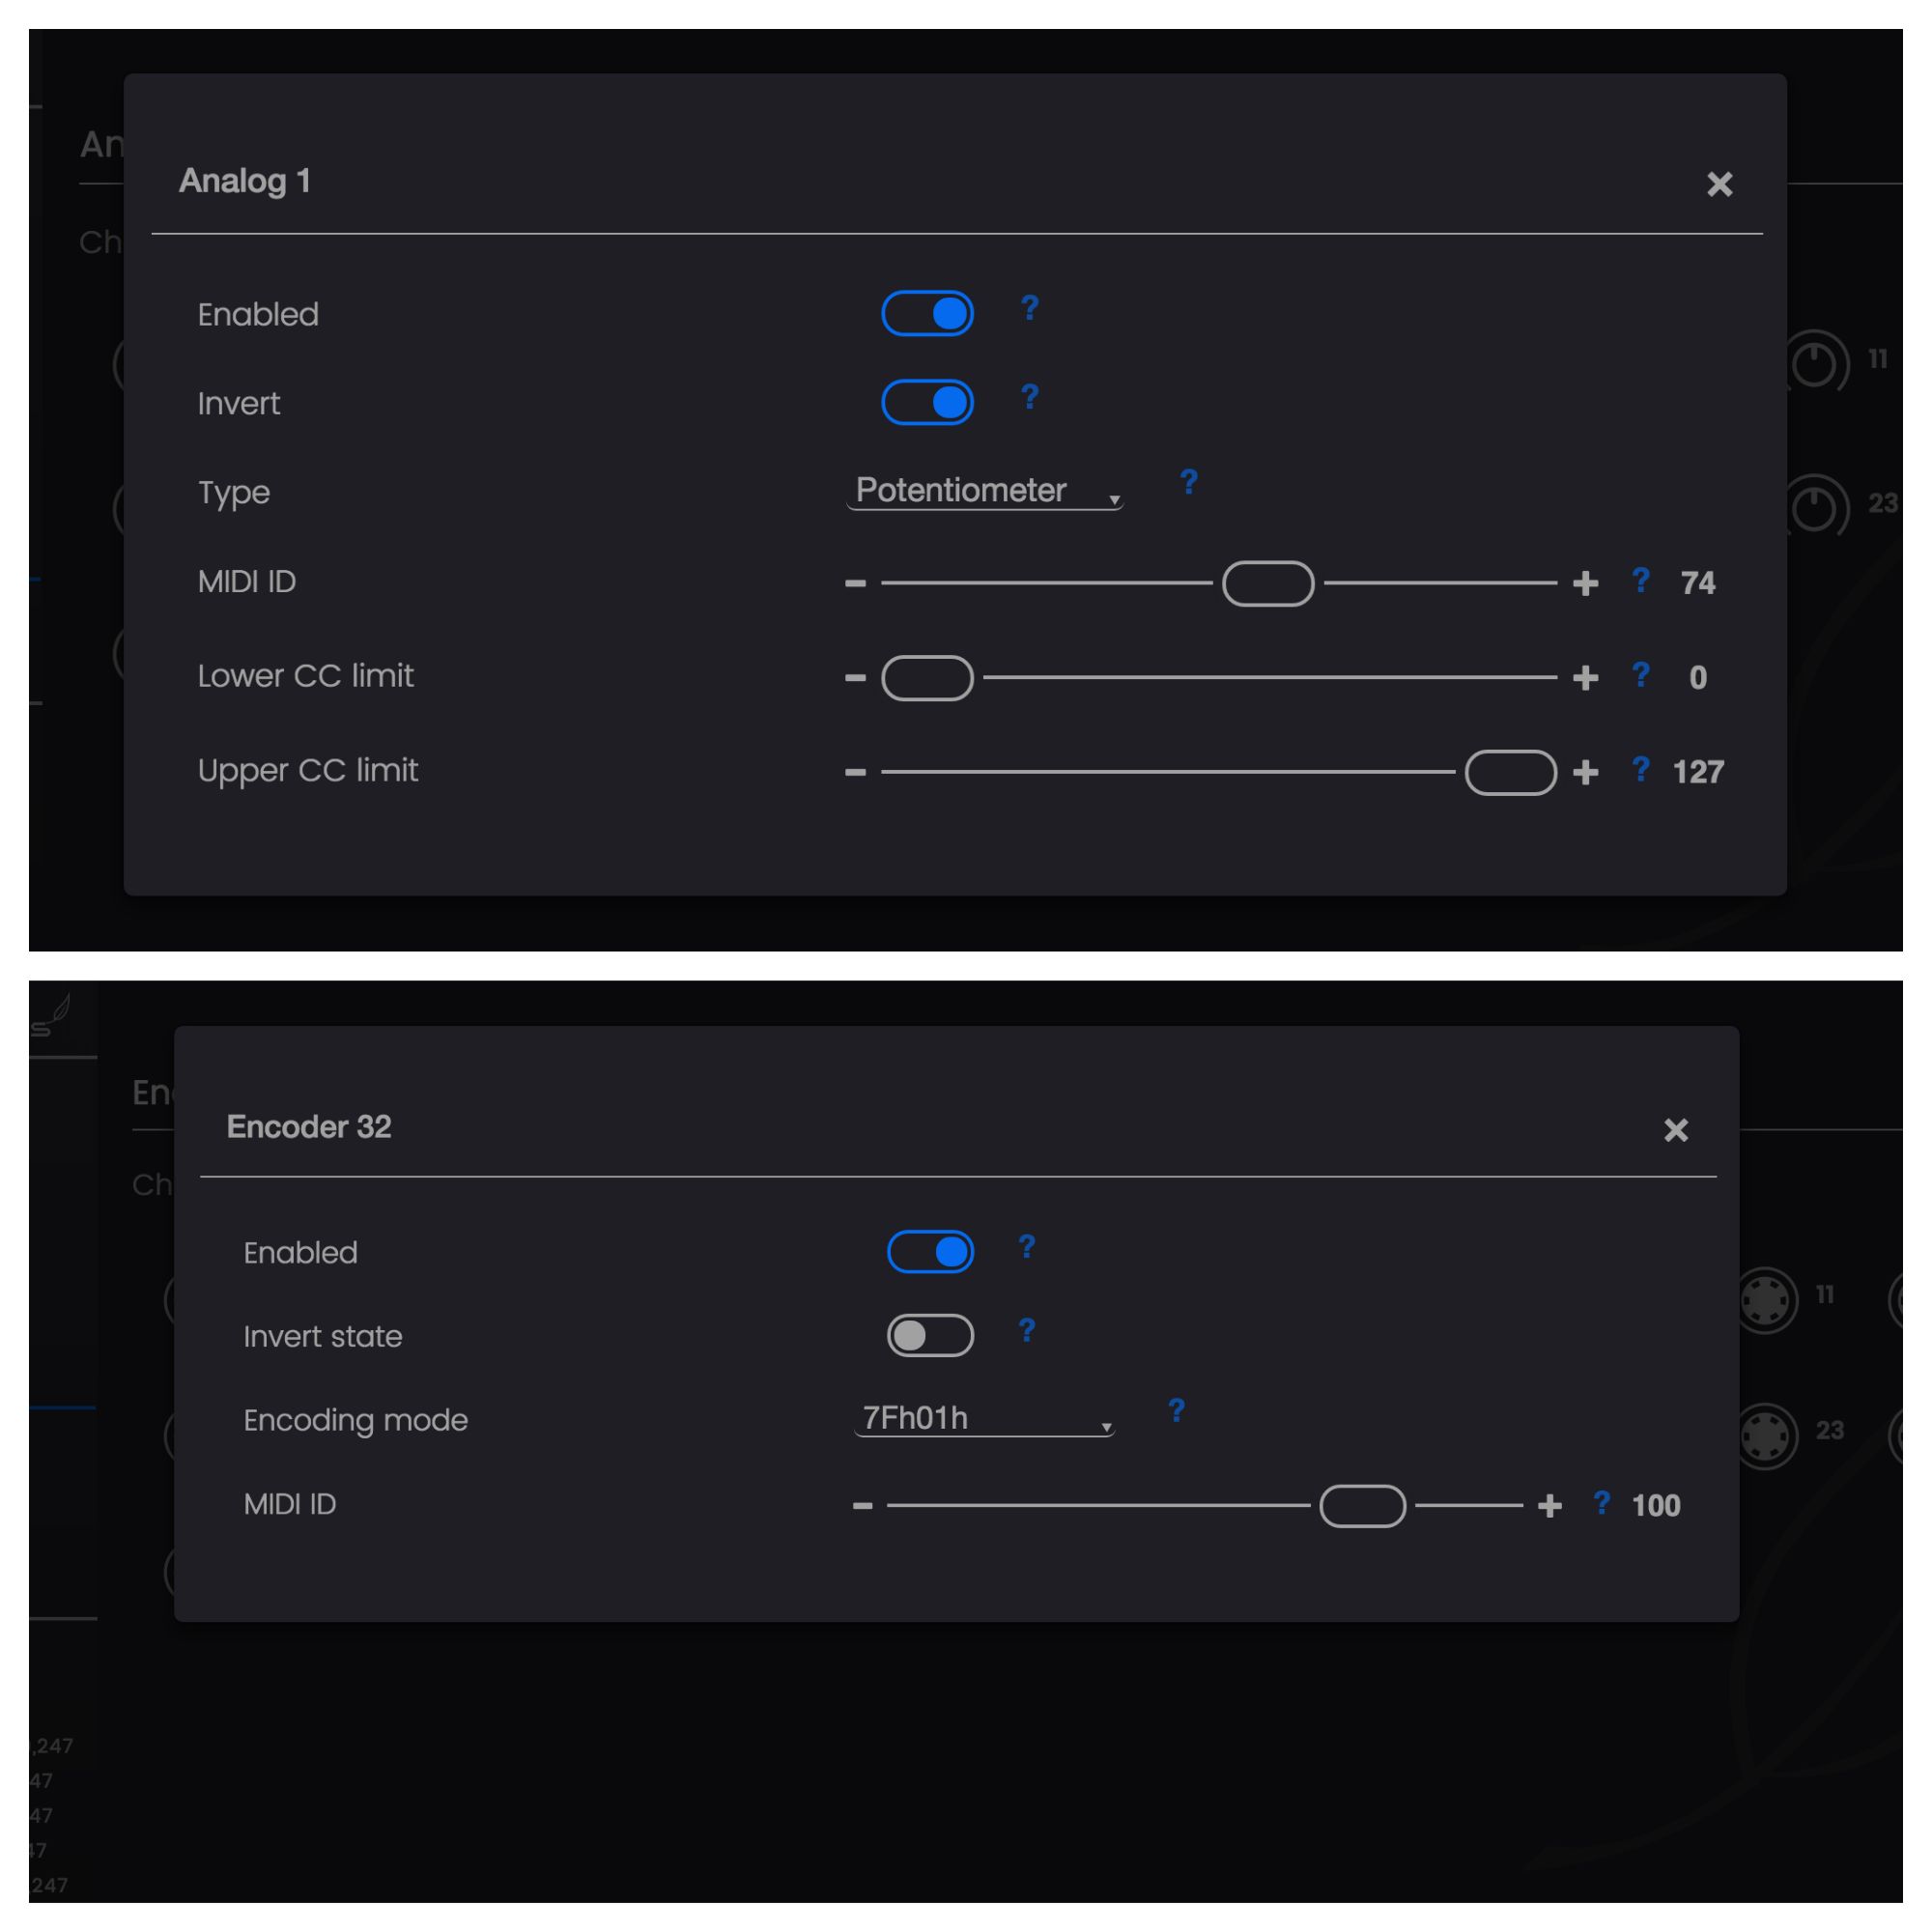
Next I needed to configure the analogue components, which was just as easy. Potentiometers can only send MIDI CC messages, but the configurable CC value range is a useful and unique feature within DIY MIDI platforms. FSRs, which are pressure sensors, can be set to send CC messages too, however more interestingly they can be configured to send notes with a velocity value depending on how hard to press the sensor; another unique feature to this kind of platform.
The final component to configure was the rotary encoder, which send relative (increment/decrement) CC values instead of absolute values. OpenDeck supports two encoding modes, which between them should allow integration with any MIDI software/hardware that can respond to relative CC messages. One very useful configuration option for both analogue and encoder components is the ‘Invert’ option, so that if you happen to connect a component the wrong way around (which is quite easy to do with rotary encoders and potentiometers), you can fix this here instead of having to rewire it.
Overall OpenDeck’s configuration utility is a well designed editor with improved usability and configuration options over existing DIY MIDI controller platforms. Its integration with the hardware board is seamless – all settings are sent and synced between the two parts in real time, meaning you don’t need to save settings to files and then separately upload them to the hardware (though you are conveniently able to backup settings to files if needed). The editor also usefully has real time visual feedback of all hardware controls, so that if you’re unsure which input/output you need to configure a simple touch of the control with show you. The only real issue I have with the editor is that the slider controls don’t update their number boxes in real time, making them a bit tedious to use, however I’ve been told that this is something that could be fixed in a future update.
Using OpenDeck: Connecting to MIDI software
Once my DIY MIDI controller was all configured I could now test it with some MIDI software. Below is a video of my OpenDeck controller (enclosed in a cardboard box) connected to Ableton Live on Mac OS, where I’m demonstrating all supported components by triggering loops and notes, adjusting parameters, and turning LEDs both on/off. In use my OpenDeck MIDI controller behaved well – there were no latency issues or missing messages. I also tested it connected to an iPad Mini and an iPhone 6s, and was able to play and control iOS MIDI apps with it with no power issues.
An OpenDeck MIDI controller in action, connected to Ableton Live on Mac OS
Conclusion
Based on my previous experiences around MIDI controller development, using the OpenDeck platform has definitely been the most straightforward process of building a DIY MIDI controller. The hardware board provides a large number of easily accessible inputs/outputs for connecting controls and LEDs, and the software editor offers a level of usability and configurability beyond that of other DIY MIDI platforms.
There are a few minor bugs and issues with it, but most could easily be fixed with firmware and Web app updates; even just within the time I spent testing OpenDeck the developer issued a couple of updates, and it was great to see the platform being so well maintained. Unless you’re willing to build circuits and write code, OpenDeck is the most affordable and flexible platform for building your own custom MIDI controllers quickly and with ease.
Price: €111/$117/£95
Pros: Makes it very quick and easy to build DIY MIDI controllers without needing to build circuits or write software. Includes a range of MIDI configuration options not found on other DIY MIDI controller platforms. Affordable compared to its competitors. Well maintained and easily updatable. Completely open source, allowing for custom modifications.
Cons: Need an Internet connection to run the configuration utility.

Discussion
Want to join the discussion?
Create an account or login to get started!