
After the last several tutorials I've written on Reaper, you're hopefully starting to enjoy the application as much as I am. I'm finding that it's highly flexible, but still has that look and focus I need when working on a project, in terms of GUI, feature set, and more.
And, with the last tutorial on using Rewire applications with Reaper, you now have a good grasp as to how you can really explode your creativity by using two programs at once.
In this particular tutorial, I'm going to focus on not only setting up your own template tracks, as they are called in Reaper, but also strategies for employing template tracks.
What is a Template?
First, let's just examine what a template is, in the developer/user sense. We all have ways of working, instruments that we use all the time, instrument settings that we use all the time, audio routings that are specifically applicable to our setup, audio tracks that have specific plug-in settings... Whew! I could go on for a while.
Templates, in regards to most applications, are generally song files that are loaded up with all of these specific settings. It's like walking in to a virtual studio with the cable ties exactly where you left them, the Sharpie in its last known location, patch cables draped lazily over the engineer's chair (just to bug him), and the coffee cup that you always use in its proper location... This template can also include all of your preferred settings on the mixer, tube compressor, etc.
Template song files are great: I use them, love them and will preach them on mountains high. But, there's always room for new ideas.
What is a Template Track?
Let's imagine that you just loaded up your good old song-type template that has all of your goodies lined up in a row. You start cranking out your song, everything is going lovely. You reach this one point where you really wish that you had some custom settings that you came up with the last time you created a song.
You load up the other song file, and locate the synth patch (for example) that you made last time that really sounds great. At this point, you have to copy over all the FX settings, synth patch settings (if you didn't save the patch), etc.
In Reaper, you can actually save this track as a template track. This will include your synth patch settings, and all of the effects that you slapped on in the song prior. If you have particular input/output configurations for a specific track, and you get tired of setting it up over, and over again... Make a template track!
The bottom line is this: Reaper gives you a ton of routing possibilities... Almost to a fault. If you have to go through multiple steps over and over again... These would include the many steps illustrated in some of my earlier Reaper tutorials. You'll begin to understand that template tracks dramatically speed up the whole Reaper experience! Let's create a template track together now!
Creating Your Own Template Track
Before we begin, I'd just like to mention that you don't necessarily have to follow this tutorial step by step. I may be using a plug-in that you do not have in your arsenal. If this is the case, use a different plug-in, it won't hurt anything!
Step 1 - Launch Reaper
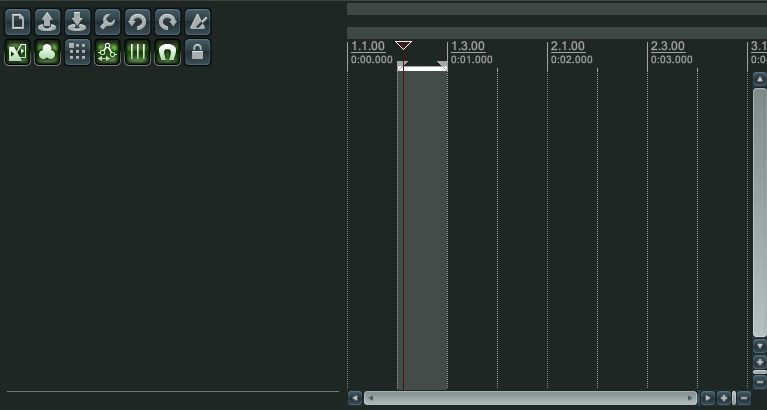
When you open up Reaper, for this exercise, choose a startup template that is empty. This will eliminate any potential confusion.
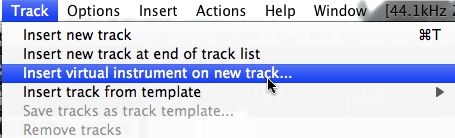
Step 2 - Create an Instrument Track
Go to the Track Menu and choose 'Insert virtual instrument on new track...'
This will open a selection box, which will showcase all of your instrument plug-ins. One thing I like is that the Instruments filter is already selected, and it shows all of your instruments rather than just showing AUi, VST distinctions. They are all in one place. Peachy!
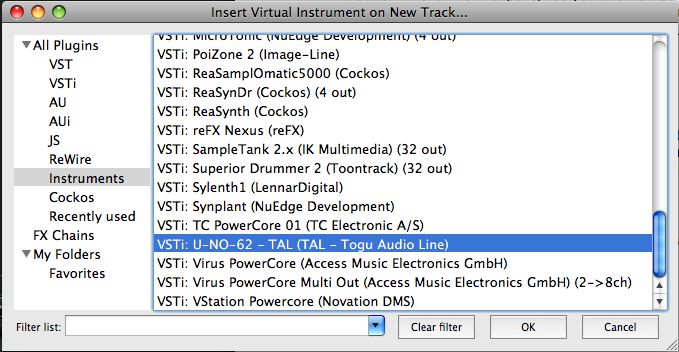
I'm going to choose the TAL U-NO-62, as it's one of my faves. I'll simply double-click it, or just hit OK at the bottom right of the window.
Step 3 - Customize Till Your Heart is Content
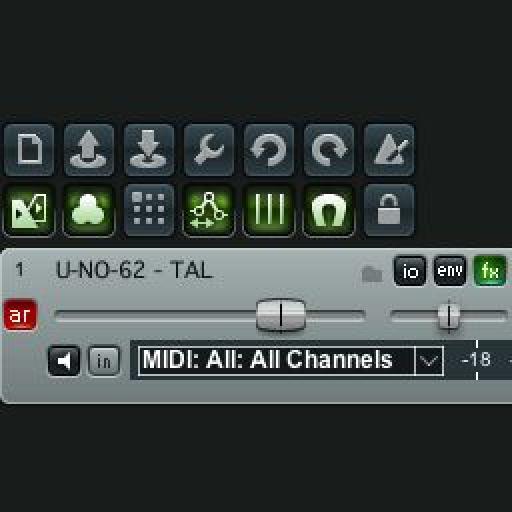
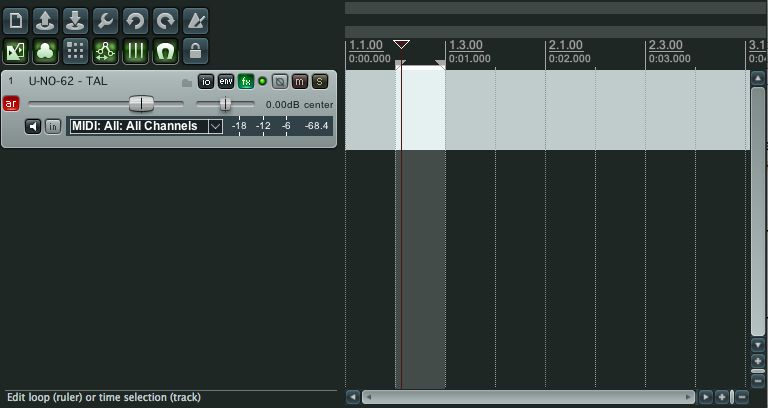
After I hit the OK button at the bottom, Reaper will display the U-NO-62 interface for me. Here I can choose to open up a U-NO-62 preset, or I can just start tweaking the patch by moving knobs around. I think I'll do the latter, just to show you how cool this can be.
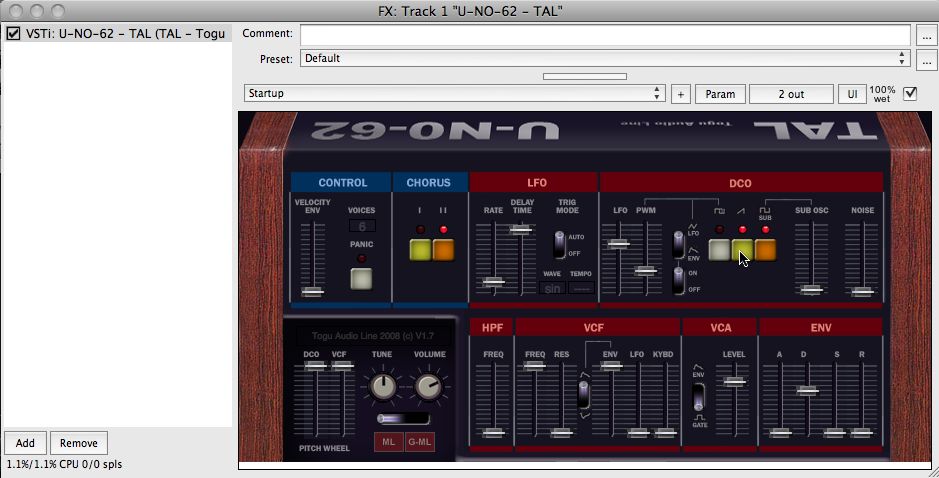
Step 4 - Why Not Add Some FX?
After pushing buttons, moving faders around, etc., I have my Reaper patch where I want it. I can also choose to add some FX by pushing the Add button at the bottom left of the page.
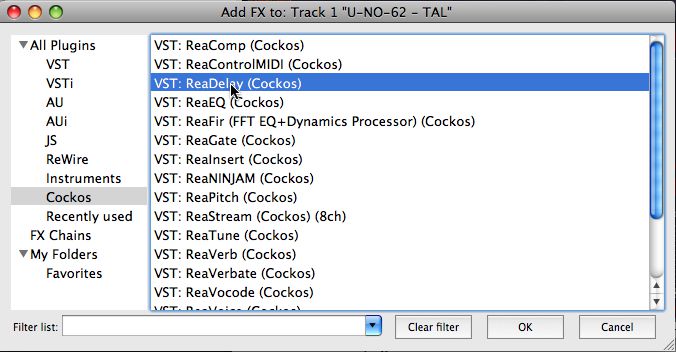
I'll press it and select the 'Cockos' filter. This displays all of the plug-ins made especially for Reaper, by the guys that made Reaper. I'll choose the ReaDelay.
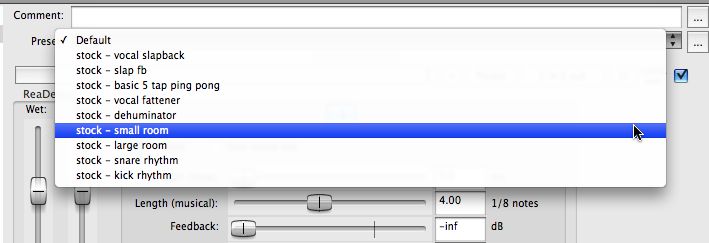
I'll be less creative on this plug-in and choose the good ol' Small Room preset. I'm sure the Cockos guys know what they're doing!
Step 5 - Save it as a Template Track
Alright, now for the part that we're all here for. I'll leave a comment at the top, for a future 'me' to know how to use this...

Then I'll close up the plug-in dialogue so that I only see one track in my arrangement screen.
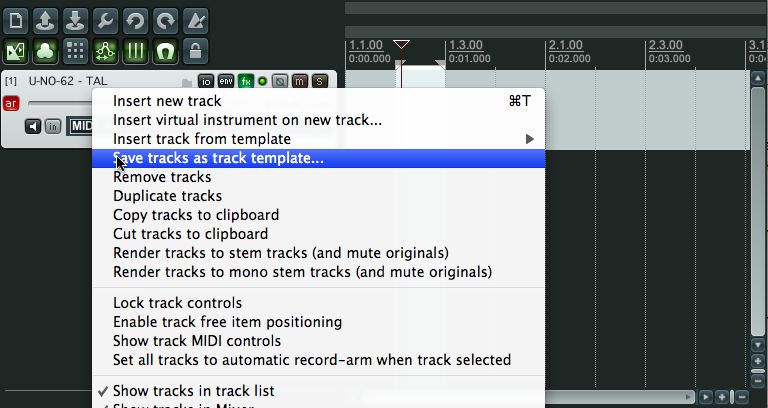
Next, I'll right-click on the track that I created, or Control-click on my track and select 'Save tracks as track template...'
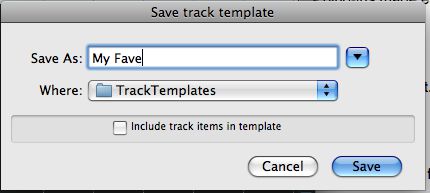
I'll give my patch a name...
Step 6 - Locating Your Template
And, we're good to go! If I need to bring up my template again in this session, or in a future session, go to Track > Insert track from template, and choose my new template from the sub-menu...
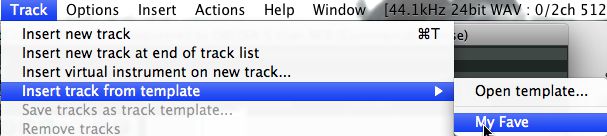
It's that easy!
In the next Reaper Tutorial, we're going to get in to a regular production workflow and see how Reaper performs. See you there!

Discussion
Want to join the discussion?
Create an account or login to get started!