
Ask the majority of sound engineers or producers and they'll tell you there is no substitute for real double tracking. Saying that not all of us have the time (or the vocalist!) to create authentic double tracking effects. If this sounds like you then read on for a super quick, virtual double tracking technique.
This Quick Tip is based on Cubase 5.5. However, you can emulate this double tracking technique in any DAW of your choice.
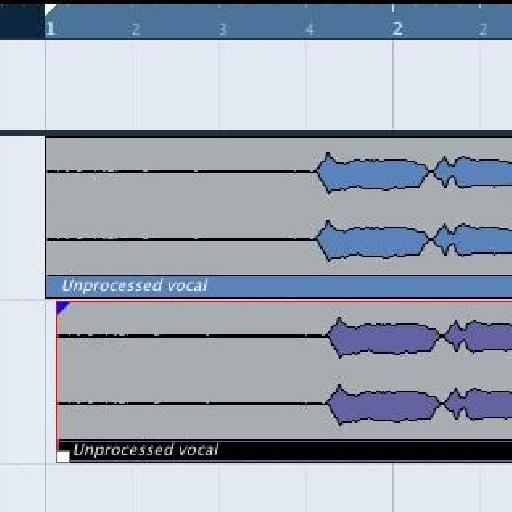
01 - Load up your Vocal Sample or Recording
First up you'll need to select the vocal you want to use. I'd suggest you only try this pseudo double tracking technique with vocals that are relatively untreated and mono in nature. If you try to apply it to a vocal that is already pretty heavily treated you could end up with a bit of a mess!
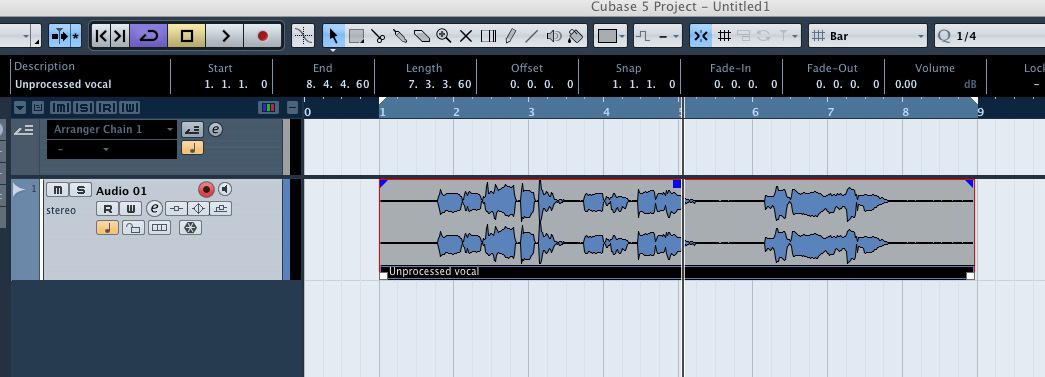
02 - Duplicate the Channel and Audio
Next up you need to duplicate the vocal track. You need an exact replica so its a good idea just to copy the whole thing. At this point make sure the tracks are playing at the same level, are being sent to the same buss and have no effects applied.
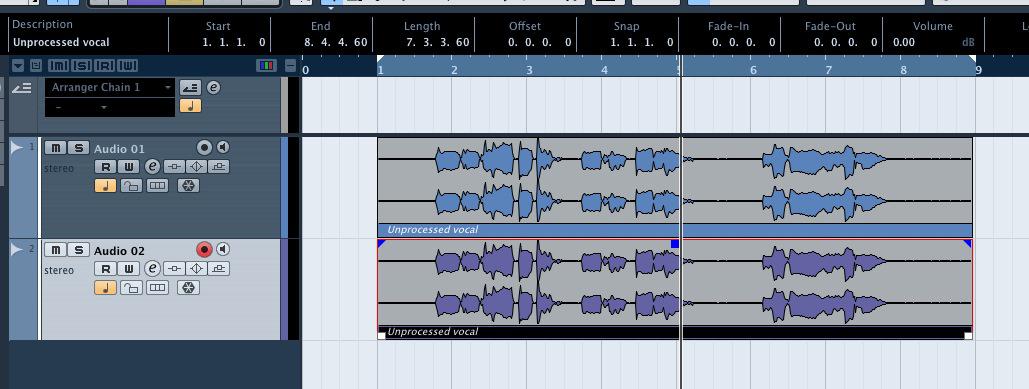
03 - Shift One Side of the Vocal
Now we are ready to start creating the actual effect. The first step is to delay or 'push' one of the vocals ever so slightly. Essentially this makes it play a little later but only by a very short amount of time. The amount of delay introduced will deicide on how intense the effect is. What you will be hearing at this point is actually a form of chorus effect.
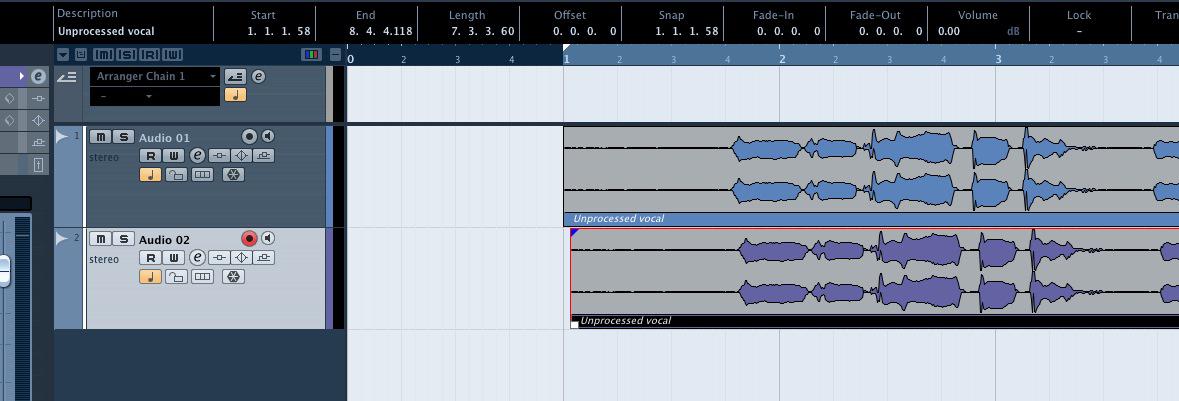
The process for shifting (or delaying) one of your audio regions will depend greatly on the DAW you are using but as we are using Cubase 5.5 here I simply turned off the 'snap' function and shifted the vocal manually.
You can also apply other processes to your audio to increase the difference between the two files. Try using two different subtle EQ patches, the differences don't have to be major to make the effect more convincing.
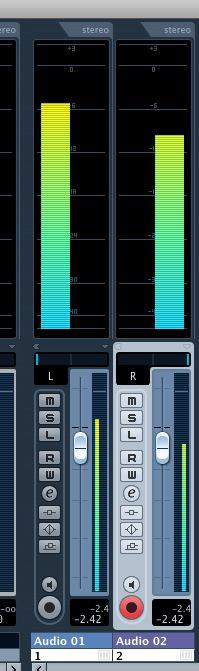
04 - Pan and Mix the Two Vocal Streams
Now finally, pan the two vocal streams hard left and hard right. This will give you a stereo effect and you should really hear the differences we created in the previous steps. Of course true double tracking relies on two totally different performances and we won't see those subtle changes here but the effect created is a nice wide, expansive vocal sound.
Want to learn more about Cubase? Look no further than these tutorials.

Discussion
Want to join the discussion?
Create an account or login to get started!