
Reason has always been the perfect environment in which to create your beats but with the arrival of Kong in version 5 the Propellerheads have really upped their game.
Now Reason users are armed with Kong and Redrum, programming the perfect beat is well within reach. In this tutorial we'll take a look at how to layer kick drum sounds in Kong...
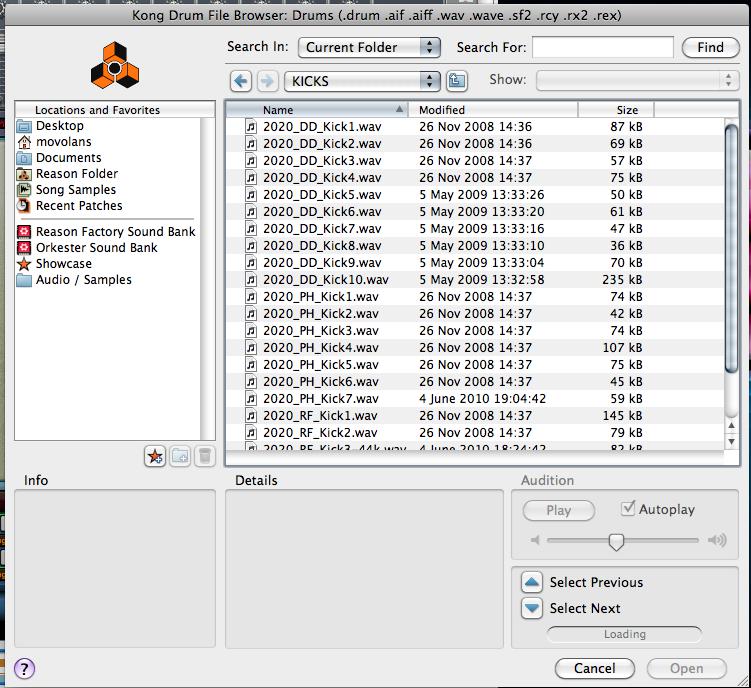
Step 1 - Choosing your Kick Sounds
So, why would you want to layer kick drum sounds? Well sometimes you may pick a sound you love that may lack certain sonic characteristics. These short comings will become really obvious once the sound is in the mix and one way to fix this... You guessed it, is layering!
The aim of the game here is to pick contrasting sounds that compliment each other and contain differing sonic qualities. For instance you may initially pick a sound that is very deep, with plenty of low end. A great accompaniment to this would be a kick that has plenty of high end bite, with a more aggressive tone.
Get the right balance during your sound selection and you should find that combining the different samples should be nice and straight forward.
Step 2 - Loading the Sounds into Kong
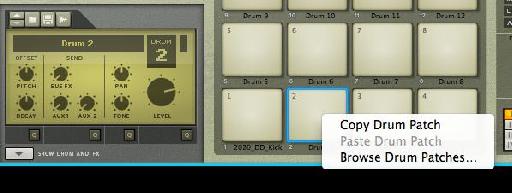
The actual process you'll use to combine your kicks will differ depending on which device you choose. If you go with Kong you will actually have a few options. You can have the two sounds play back on the same pad, on two independent pads or two linked pads, the choice is yours.
I prefer to use two linked pads as I think this gives you the most flexibility in the mix. Start by loading your two sounds onto two separate pads, this can be achieved using the dedicated load buttons or simply dragging and dropping the samples onto the appropriate pads.
Audio 2 - The first kick drum loaded:
Audio 2b - The second kick drum loaded:
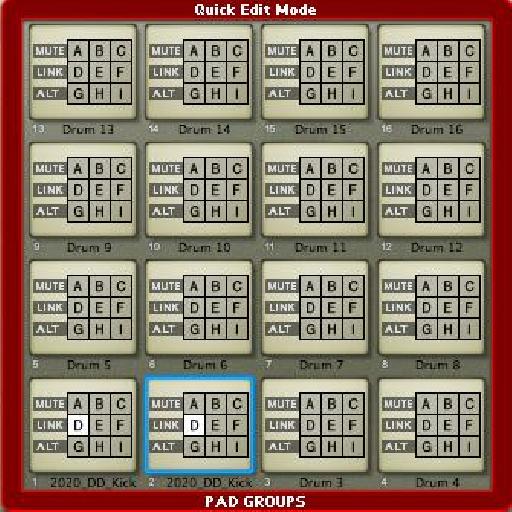
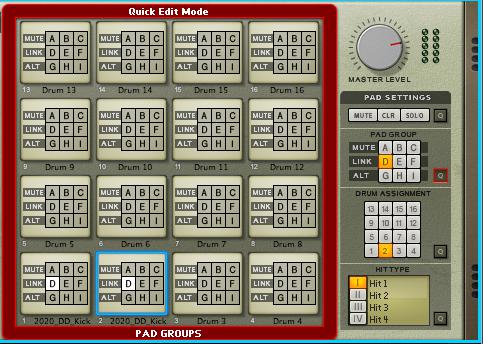
Step 3 - Creating a Linked Pad Group
Once loaded we need to link the pads, this is done by using link groups. Hit the magnifying glass symbol in the 'Pad group' area and select the same link group on each of the pads you want to use. Now the two pads will play back together which ever is played.
Using this method allows you to play back your two kick sounds with one MIDI note, whilst retaining the ability to mix the two sounds separately if needed. Nice and simple.
Audio 3 - The two kicks are blended:
Want to learn more? Check out these Kong and Live Sampling in Reason tutorials.

Discussion
Want to join the discussion?
Create an account or login to get started!