

Unfortunately latency is something that effects everyone who creates and mixes music in the digital domain. Although it's something that's ever present it can be managed and if dealt with correctly it shouldn't effect your workflow too badly.
The latency present in your system at any one time is generally governed by a few choice settings. Although the menu systems will obviously differ from one DAW to another, the theory remains the same. I have used Ableton Live here but you can apply this to your preferred application.
01 - A Quick Note on Buffers
In pretty much every DAW latency is controlled by adjusting 'buffer' values. Simply put, the buffer is a small amount of memory that is used to store audio data in your stream, before it is processed by the digital to analog converters in your audio hardware and outputted though your speakers.
Ultimately this means that low buffer settings will produce very small amounts of latency in your system. This will give you snappier response when playing virtual instruments and less delay when playing back audio. Unfortunately the payoff here is that these low latency values come with a high CPU load.
These higher loads on your CPU can manifest themselves as data bottlenecks and you may experience clicks, pops and distortion. This can be resolved by increasing your buffer value but of course this will also increase your latency.
So really it's all about having the right buffer settings at the right time.
02 - Starting your Project
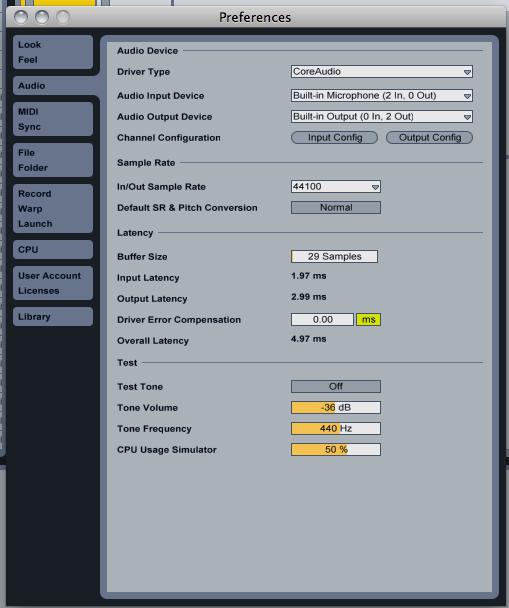
At the start of a project you need low latency more than ever, you maybe recording live instruments or using virtual synths to build your sound, either way delay here is extremely annoying.
With this in mind, it's generally a good idea to have your buffers set with a low value when you start the writing process. Usually the higher the CPU load these settings induce won't be a problem, because at this stage as you should only have a few elements in your mix.
03 - As Things Progress
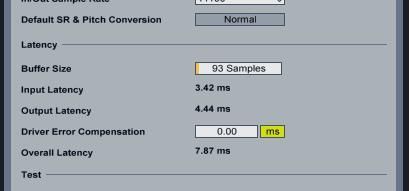
As your project becomes busier and more complex in nature you may find that your initially low buffer settings will cause problems. These issues will come in the form of pops and clicks (as mentioned earlier).
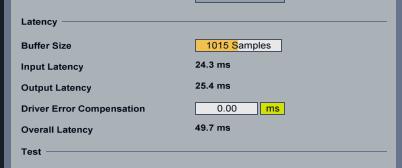
It's at this stage you can afford to up your buffer values and increase your system's latency. Most of your live and MIDI recording should be complete and the overall increase in delay shouldn't be too much of a problem.
'Riding' the buffer in this way throughout your project should give you an efficient way to manage latency and give you a perfectly usable system at any given point in your project.
Want to learn more essential Studio & Recording Techniques? Check out these excellent tutorials here.

Discussion
I just did it at my setup and found the solution for the mainstage and ableton latency.
Thanks again.
Want to join the discussion?
Create an account or login to get started!