If you are a Pro Tools user and want to speed up your workflow, the Commands Keyboard Focus shortcuts will help you substantially in that department. The great thing about Keyboard Focus shortcuts is that they are all single key commands. No modifier key combinations to memorize here.
The Commands Keyboard Focus mode can be enabled by clicking on the little 'az' icon at the top right corner of the edit window. You'll know it's enabled when it's lit yellow. It can also be enabled by the key command Option-Command-1.
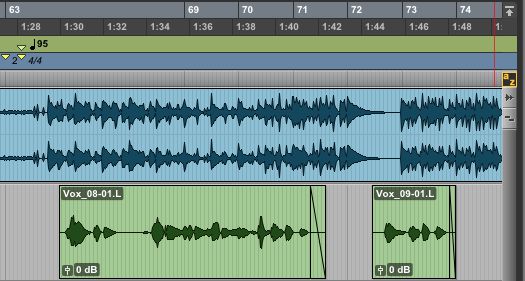
Pro Tools Enable Commands Keyboards Focus Mode.
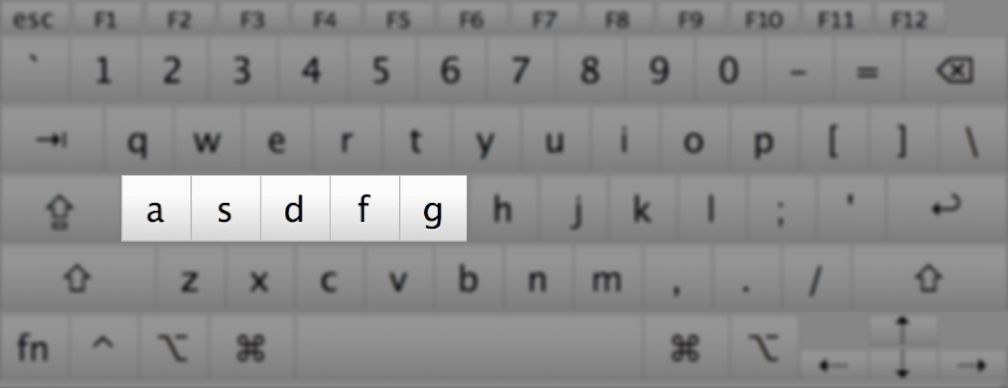
Editing Clips - A S D F G
These keys are the first five in the middle lane of your ASCII keyboard. The first two, A & S are for trimming a clip from the front or the end to the current cursor location. Skipping F, the next two keys D & G are for creating a fade in/out on the clip to the current cursor position. F creates a default fade in/out on a clip or if the boundary of multiple clips are selected, it will create a default crossfade.
So to summarize:
- A will trim the front of a clip to the current cursor position.
- S will trim the end of a clip to the current cursor position.
- D will add a fade in from the front of a clip to the current cursor position.
- G will add a fade out from the cursor position to the end of a clip.
- F will create a fade in/out on the selected clip or a crossfade at the boundary of multiple clips as long as there is a selection.
Editing Commands.
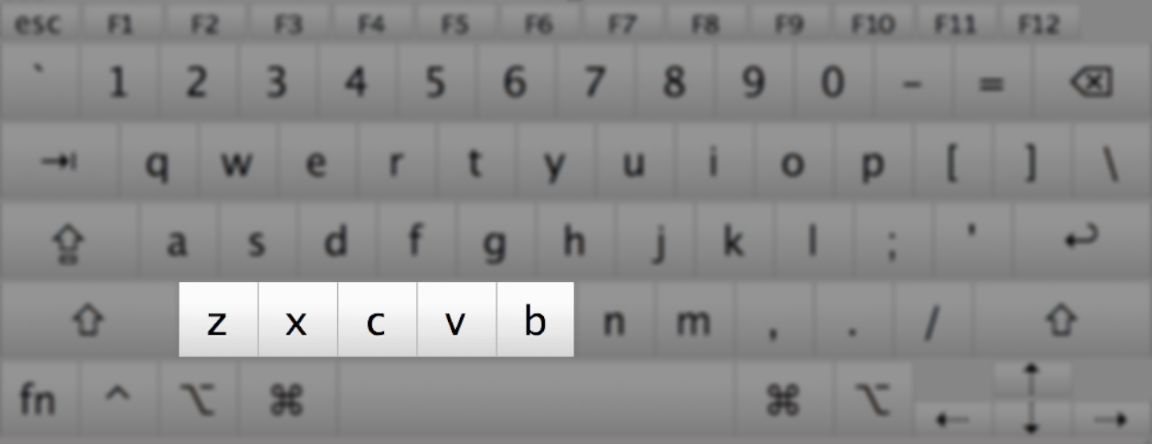
Edit Menu Commands - Z X C V B
These five keys are just below the previous five keys we looked at. They trigger some of the common edit menu commands like undo, cut, copy and paste.
- 'Z' will trigger the undo command.
- 'X' will trigger the cut command.
- 'C' will trigger the copy command.
- 'V' will trigger the paste command.
- 'B' will create an edit in the clip at the cursor position or even edit a selection.
Edit Menu Commands.
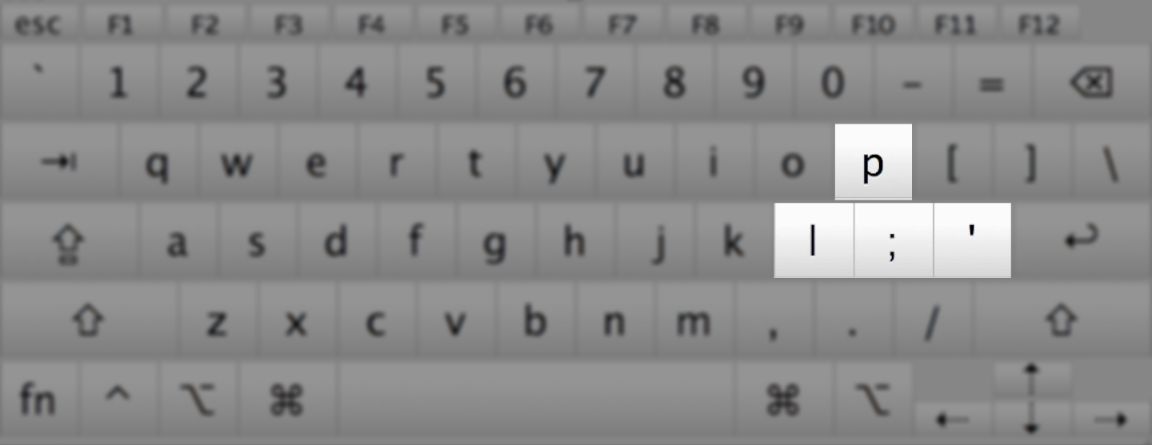
Cursor Navigation - P ; L '
P and ; will navigate the cursor up or down a track respectively. If you have a selection on the track, it will navigate to the other track, keeping the same selection duration. Keep in mind, this will not move the content from one track to another.
If you are a fan of the 'tab to transient' feature you will love the L & apostrophe (') key functions. The L key will navigate the cursor to the next transient in the clip while the apostrophe (') will navigate the cursor to the previous transient in the clip. If the cursor is not within a clip, these keys will navigate to the clip boundaries. This will work irrespective of whether the 'tab to transient' mode is ON or OFF.
The combination of keys here may not seem intuitive but if you look carefully the semicolon/colon (;/:) key is just below the P key and the L & apostrophe (') keys are on either side of the semicolon (;) key, creating a kind of a triangle, similar to the arrow keys on the keyboard.
Cursor Navigation.
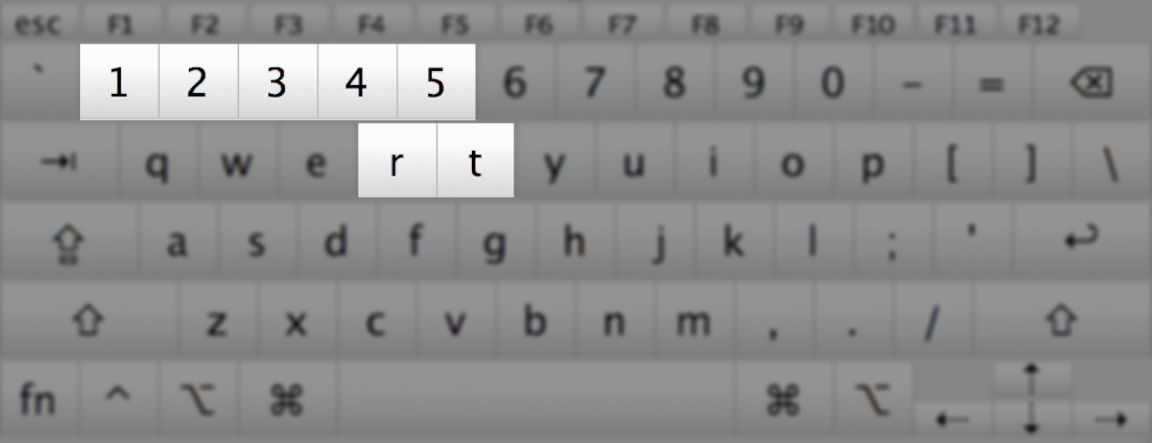
Horizontal Zooming - 1 2 3 4 5 R T
The numbers 1-5 will trigger the five horizontal zoom presets. In its default state, 1 is set to a low zoom value and 5 is set to the highest horizontal zoom possible. These default settings can be overridden by zooming to a desired value and Command-Clicking on any of the five preset buttons. The button should blink for a while, indicating completion of the overwriting process.
R & T will initiate the horizontal zoom key commands that is normally executed by holding down the Command - { & Command - } respectively.
Horizontal Zooming.
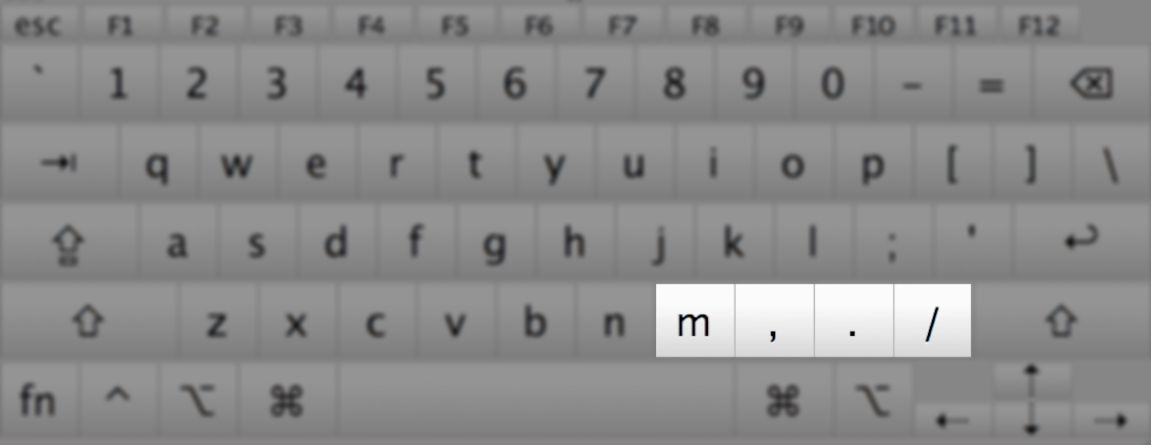
Nudge Cursor/Selection - , . M /
An edit selection or the cursor can be nudged earlier or later in the timeline with comma (,) period (.) respectively. The nudge value can be defined in the edit window toolbar. The M & forward slash (/) keys also nudge the cursor or edit selection but the nudge amount is one value higher than what is selected in the edit window toolbar. For example, if you set the nudge amount to 100 samples, the M & forward slash (/) keys will nudge by 1000 samples instead. So this way you can switch between a fine nudge value and a larger nudge value.
Nudge Cursor/Selection.


 © 2024 Ask.Audio
A NonLinear Educating Company
Discussion
Want to join the discussion?
Create an account or login to get started!