
Using Logic Pro's Pitch Correction plug-in to "force" the pitch of a vocalist's melody creates a sound that is currently fashionable. With a response time set to 0 ms you can predetermine the notes in a melody or even change the key of a performance by selecting pitches in the plug-in. Even a pitchless performance (a rap, for example) can take on melodic qualities using this technique. To take this one step further, how cool would it be if you could play the notes in the Pitch Correction plug-in in real time?
Step 1
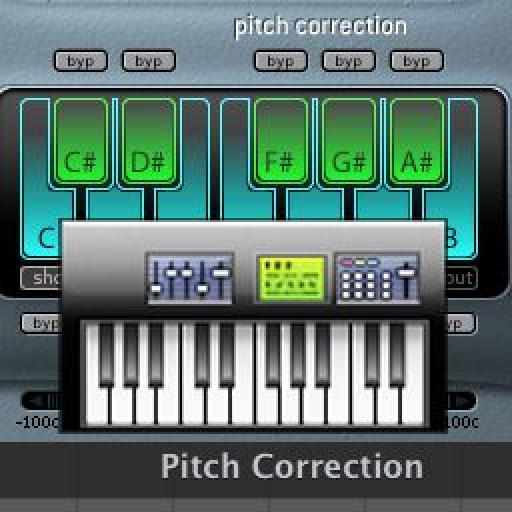
Load Logic's Pitch Correction plug-in as an insert into the channel you wish to affect, and bypass it.
Step 2
Open Logic's Controller Assignments window: Logic Pro > Preferences > Control Surfaces > Controller Assignments (Command-K). Ensure that the Controller Assignments window is in Expert View then arrange the plug-in window and the Controller Assignments window so that you can see both.

Logic's Controller Assignments window in Expert View.
Step 3
If there are any assignments already listed in the Controller Assignments window that you are not using, select them and click 'Delete'.
Step 4
Enter 'Learn Mode' by clicking the Learn Mode button.
Step 5
Click on a C key in the Pitch Correction plug-in then press the same C on your MIDI keyboard. The octave you choose should be outside the range you are using to play notes in any software instrument tracks, if your MIDI keyboard is being used in this role in the project.
Step 6
In the Controller Assignments window, an entry should appear in the Control column (see image below) that says 'Learned'. Over in the Value section change the Mode from 'Scaled' to 'Toggle'.

Change 'Scaled' to 'Toggle' in the Value section.
Step 7
Press the B key in the Pitch Correction plug-in followed by the same B key on your MIDI keyboard, 11 semitones —a major seventh — above the C key that you played in Step 5. Again, change 'Scaled' to 'Toggle' in the Value section.
Step 8
Go out of 'Learn Mode' by deselecting the Learn Mode button. You should see the following message (see screen shot below). Click OK, then close the Controller Assignments window.

Clicking OK fills in the gaps if you have defined the first and lats steps in a row of parameters. This will save you clicking each and every note in the plug-in.

You should see this list of assignments when all notes are assigned.
Step 9
Click all the remaining notes in the Pitch Correction plug-in (C# through to A#) so that all notes are 'off'.

Click all notes 'Off' in the plug-in before playing them with your MIDI keyboard.
You should now be able to play the Pitch Correction plug-in notes from your MIDI keyboard. For best results, this works well with non-melodic vocals or vocals sung on only one note. To increase the robotic effect, reduce the response time to 0 ms. Enjoy!!

Discussion
Want to join the discussion?
Create an account or login to get started!