Padshop is Steinberg's new instrument in VST and AU formats that uses granular synthesis to build pad sounds. The regular version that comes with Cubase 6.5 has just been joined by Padshop Pro, also available as a separate product. It's a really creative tool, so let's have a look at how to build a quick patch.
Step 1 - Choose a waveform
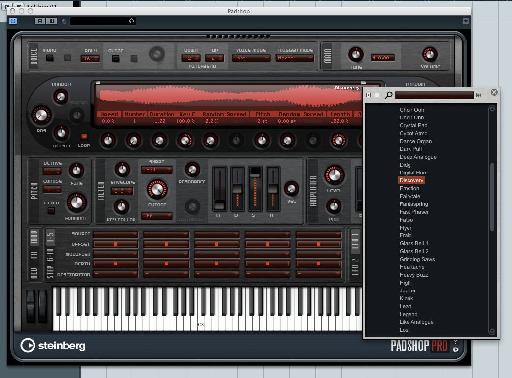
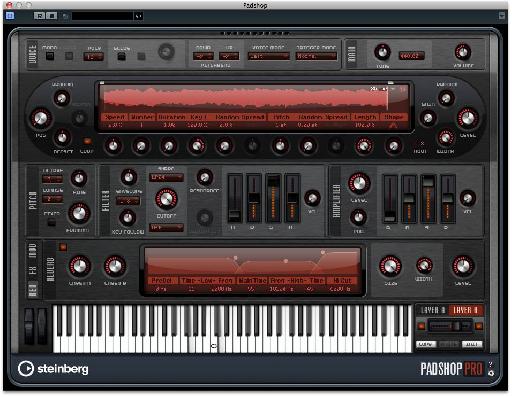
Call up an instance of Padshop Pro and it will have a simple, playable sine wave loaded by default, which sounds a little like a Fender Rhodes. You could load a preset, but we're going to get creative instead. Go to the waveform selection menu which can be found by clicking on the top right corner of the waveform display. There, choose a waveform to use from the included content. I have gone with Discovery, from the synths folder. It sounds a bit spiky.
Step 2 - Alter the granular controls
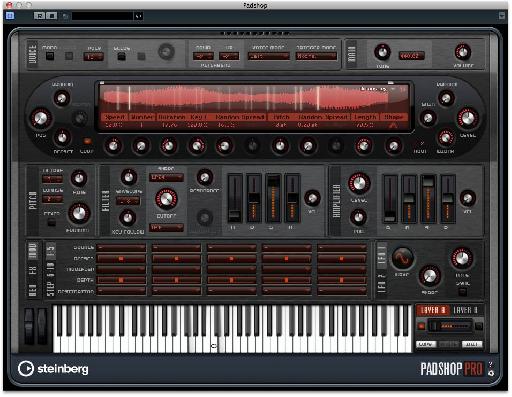
Next, raise the Duration and Speed controls under the waveform display. This will alter the way that Padshop plays back the granules of sound it is using from the waveform. Raise the Random control a little and you should hear some pseudo stereo panning going on. Lowering the Length dial on the right should reduce the length of each grain that gets played back, resulting in a trance gated sort of sound.
Step 3 - Add ADSR and effects
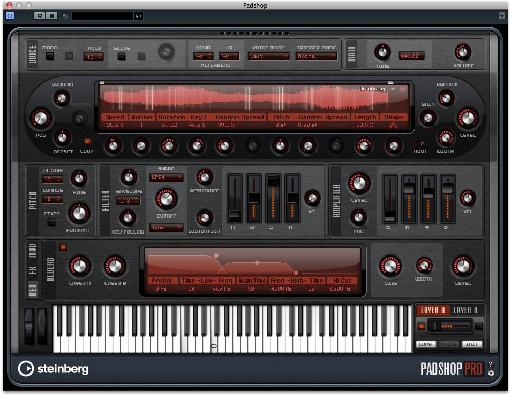
Now, try altering the filter section so that you either cut some top end off the sound, or add more in. Here, I have chosen to cut a little off to make it more ambient. In the ADSR section to the right you can choose to give the sound more or less attack to make it harder or softer, and add some sustain. In the section at the base of the window, click on the Reverb section and activate reverb. You'll notice that the sound is now very different to the simple wave we started off with.
Step 4 - Further effects and layering
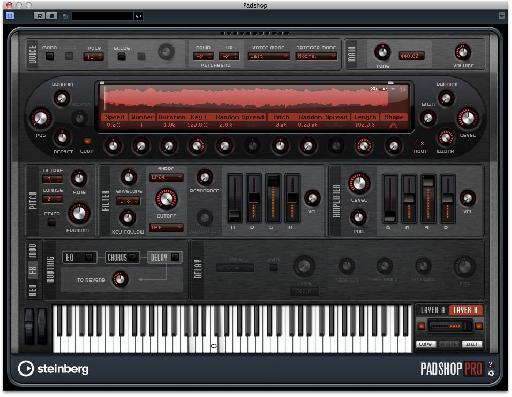
You can experiment with the reverb size and character by dragging the curves in the reverb window. If you now go to the FX section you will be able to add delay and chorus, each with its own set of controls, as well as some EQ. Padshop actually features two layers of sound, so if you go to the layer section at the bottom right corner you can either copy and paste this patch into layer B, or create a whole new layer by repeating the steps you have already taken but using different settings.
Step 5 - Blend your layers
Making sure layer B is activated, create a new sound in the layer, then use the fader control to blend between the two. Here, I have created a different sound by using the Formant control in layer B to change the character of the waveform, and added a little delay. Then I blend it back in a little with the sound from Layer A. You can hear the results below. Even in just a few minutes, I have created a cool sounding patch. With Padshop it's not difficult to do, so why not have a try for yourself?


 © 2024 Ask.Audio
A NonLinear Educating Company
Discussion
Want to join the discussion?
Create an account or login to get started!