
Apple’s MainStage has quickly become the de facto standard for hosting virtual instruments on Mac platforms. You’d be hard pressed to find a Broadway musical these days that doesn’t trigger sounds for the keyboard players using MainStage. You’ll also find MainStage in the backline setup of a multitude of tours, driving both keyboard and guitar setups. Configuring your MainStage concert files takes some time, and setting things up so that your show runs efficiently and in a stable manner is key for having a successful MainStage experience.
Concerts, Sets, and Patches
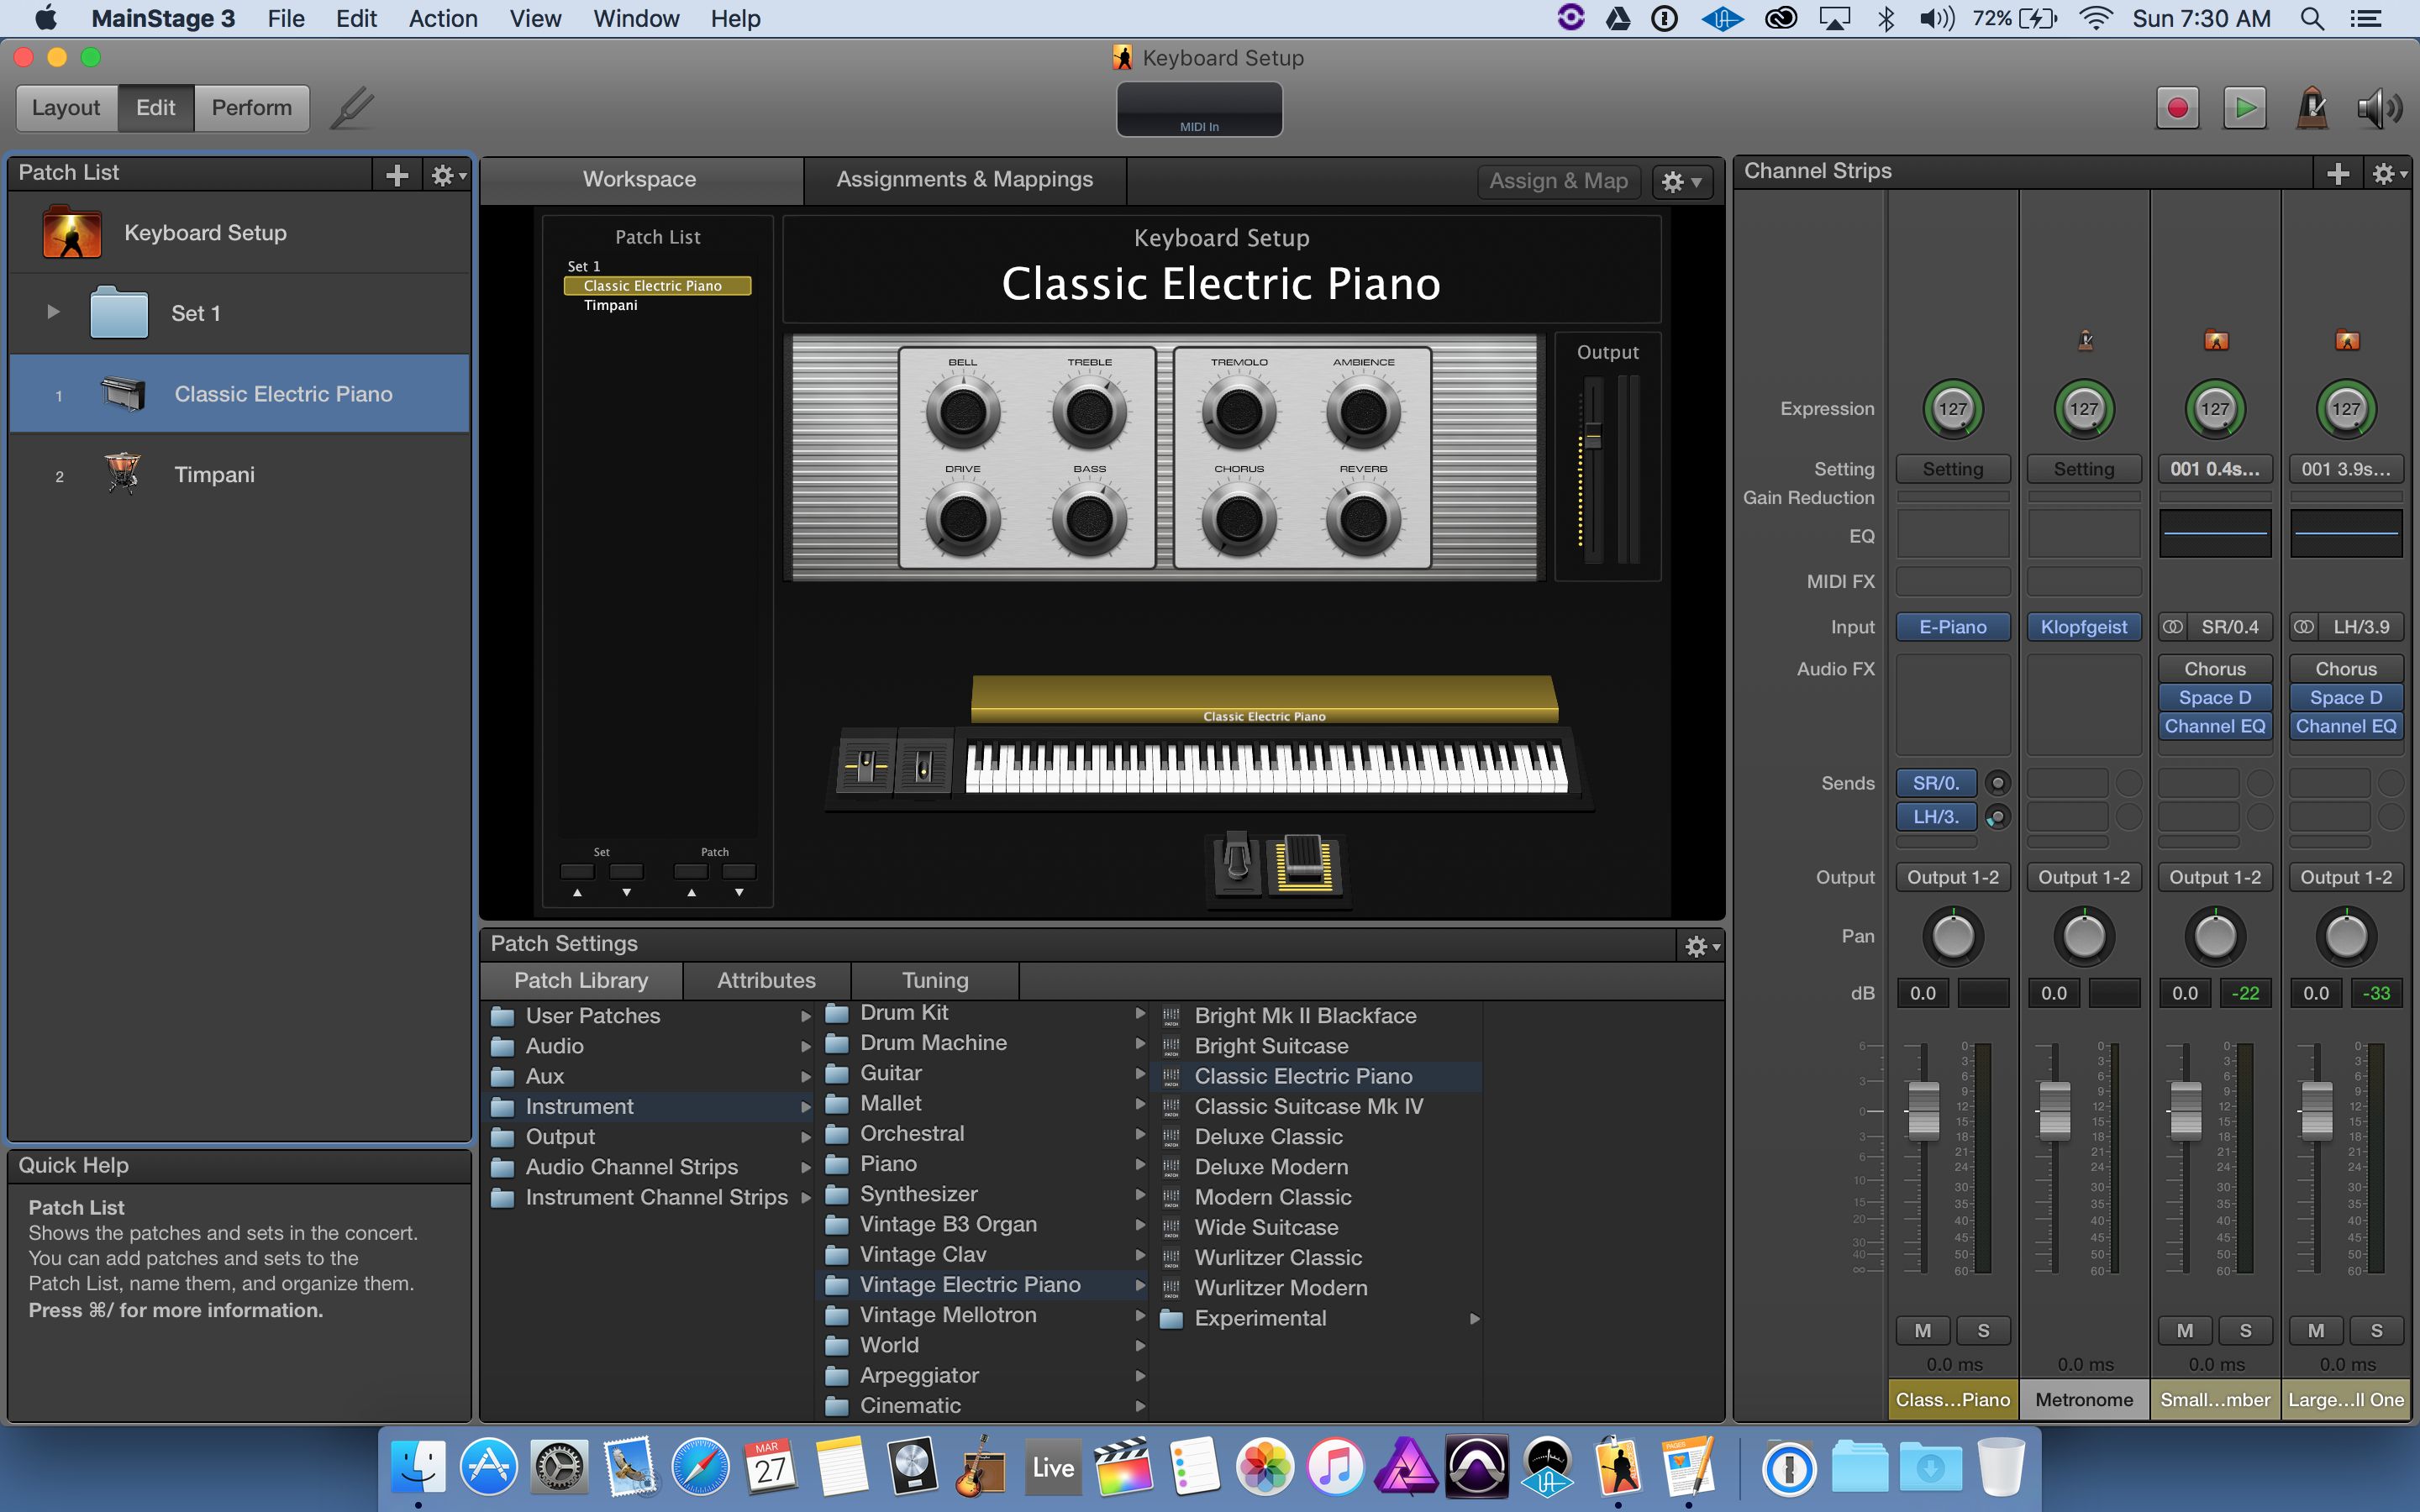
Understanding the concert, set, and patch paradigm is key to harnessing the power of MainStage. There is a hierarchy that exists to allow you to have consistency across your sounds, and allow for diversity within patches at the same time. Essentially, anything you create and set at a higher level overrides whatever you set at a lower level. Select the entire concert in the browser, then create a reverb channel, that reverb is now available for every single patch in the entire concert. If you select a patch, however, and add a channel, then whatever you created is only available for that patch.
This is incredibly helpful if you want to create global adjustments. I’ll often put some EQ controls at the top level. If I determine at sound check that the venue isn’t being kind to a certain frequency, I don’t have to go into each individual patch to make adjustments. I can simply tweak the sound at the concert level and the adjustments apply across all of my patches.
Optimize FX
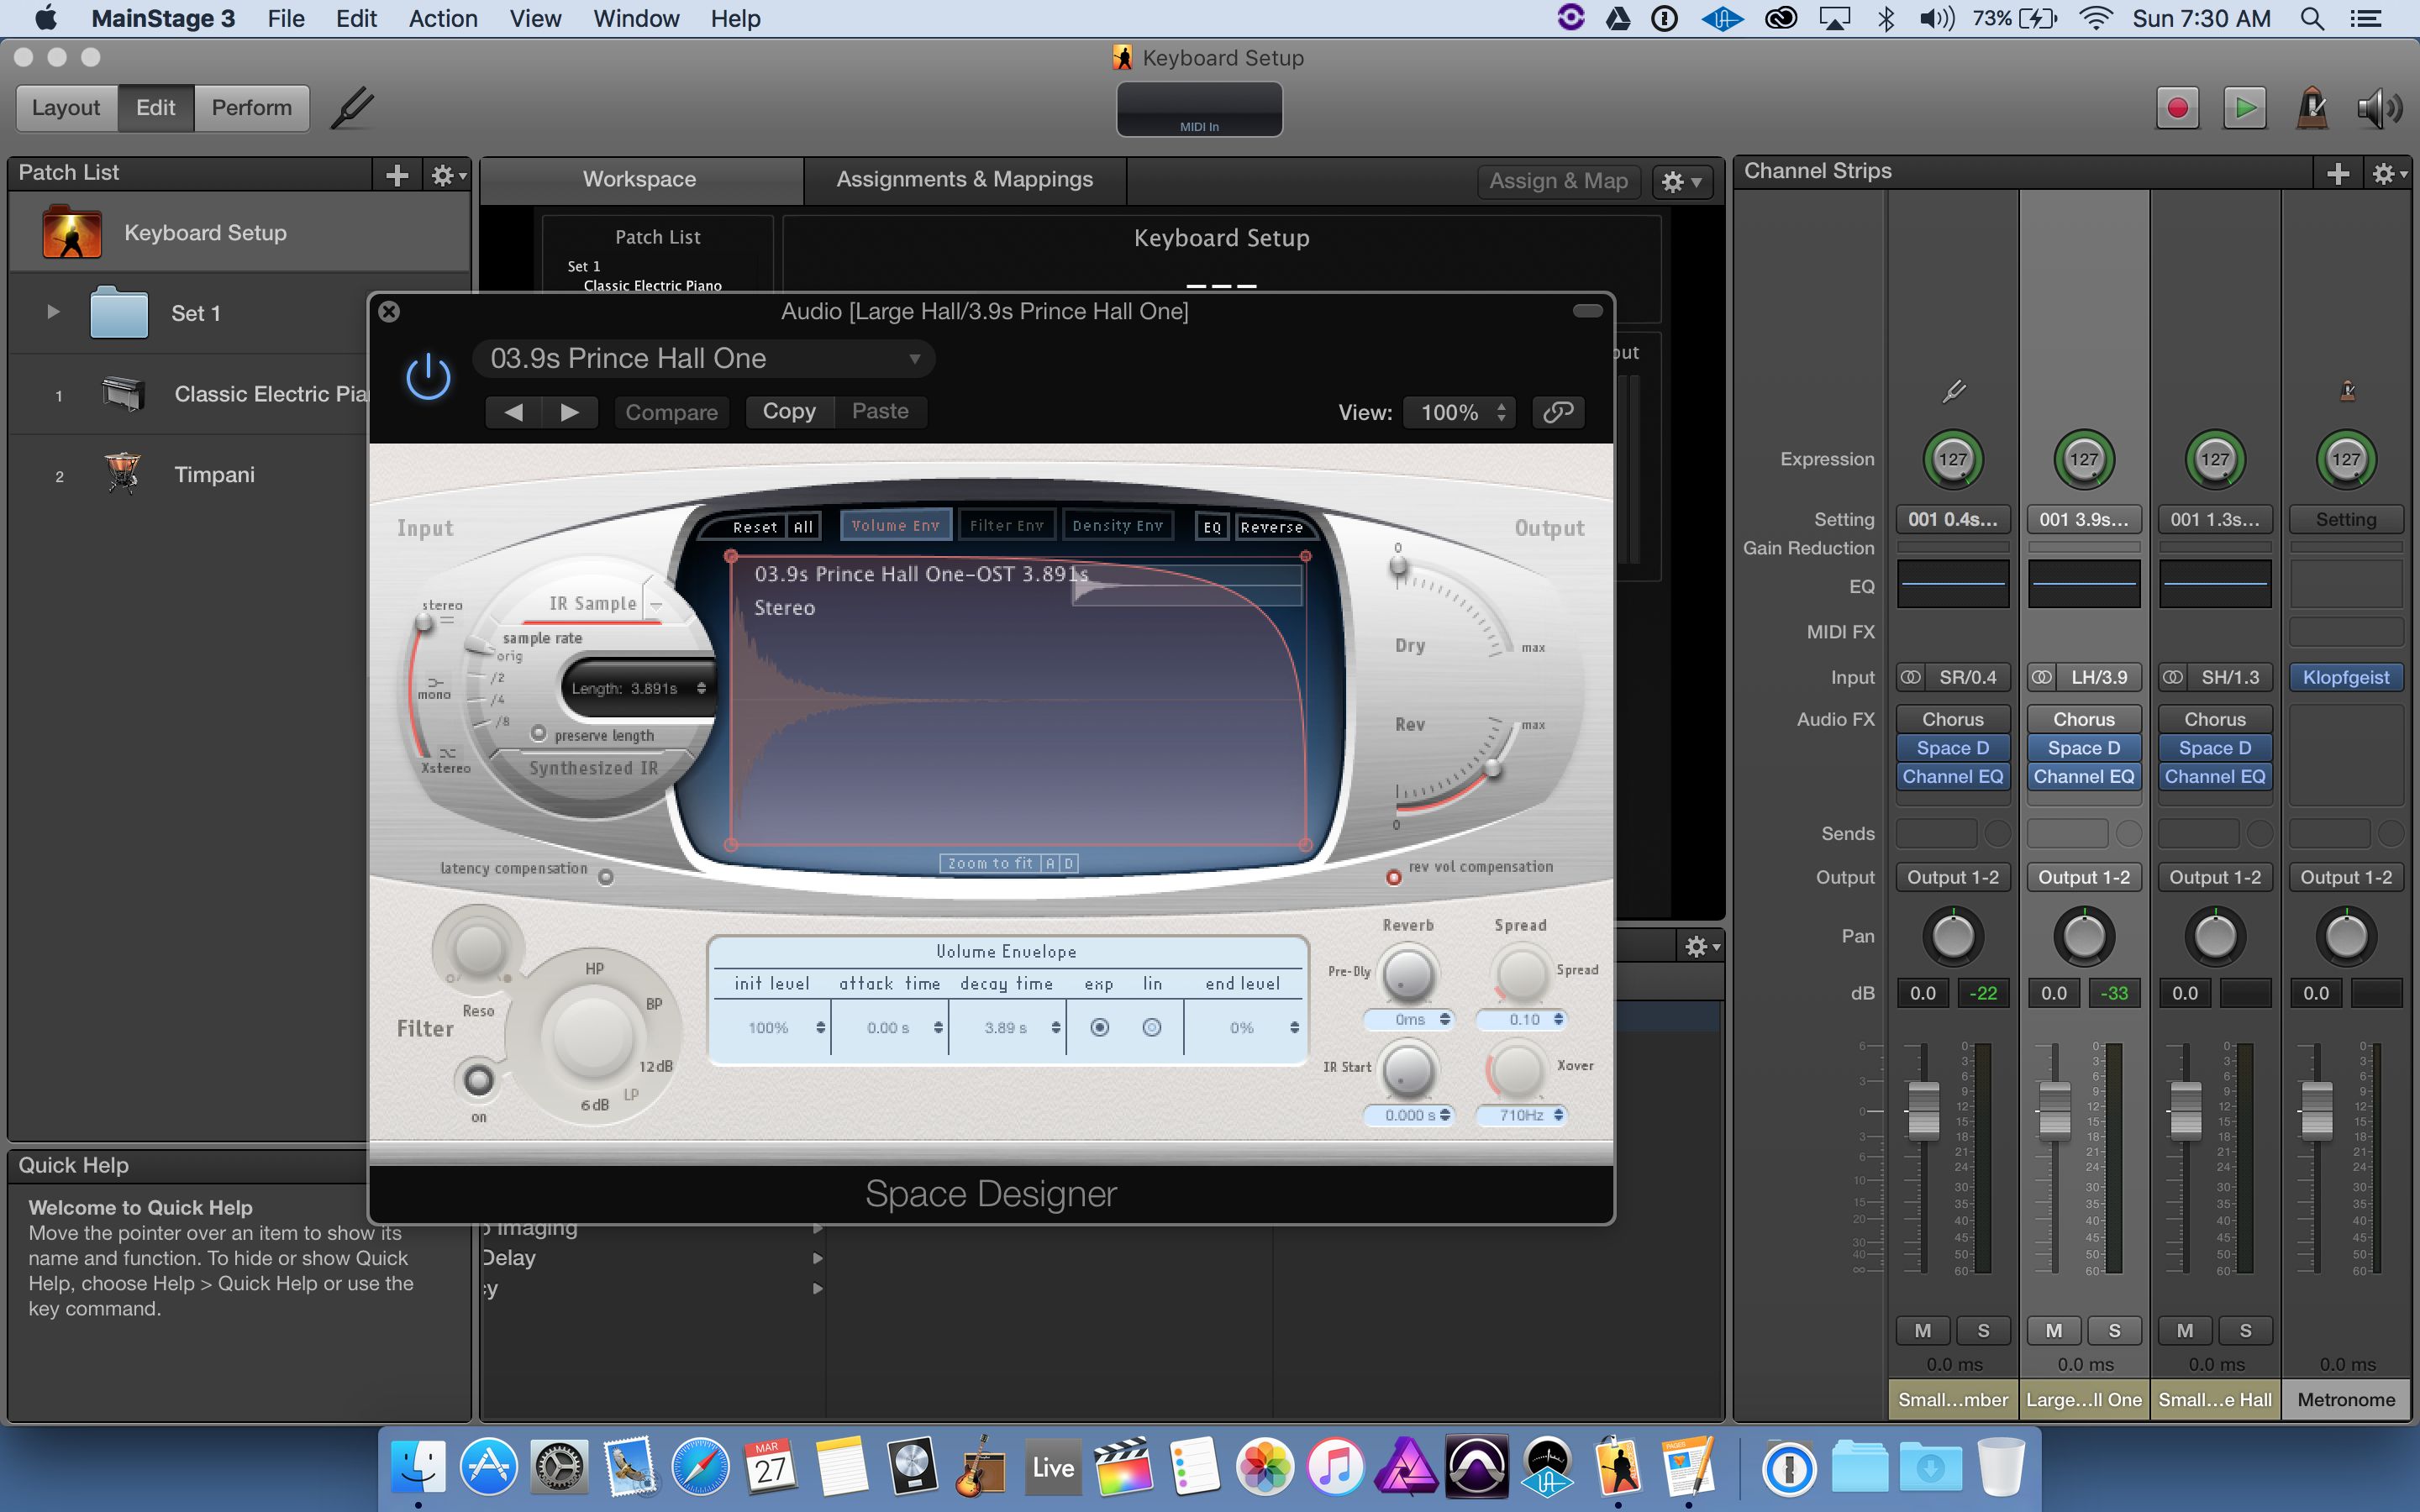
If you’re going to be playing a show with a lot of patch changes and sound settings, you’re going to want to optimize your effect usage. It’s important to take a look and make sure you don’t have effects activated at the concert level that you aren’t using—it would be a big waste of CPU power!
Now would also be a great time to see if you can optimize and make the best use of your bus effects. Making an effort to create shared bus effects rather than each individual patch having its own reverb, for example, can lead to a more efficient and stable concert on the whole. You’ll also generally have a more cohesive sound as you switch patches if they are sharing a reverb bus. (There are always exceptions to this, but it’s a good general rule of thumb)
Make an Alias
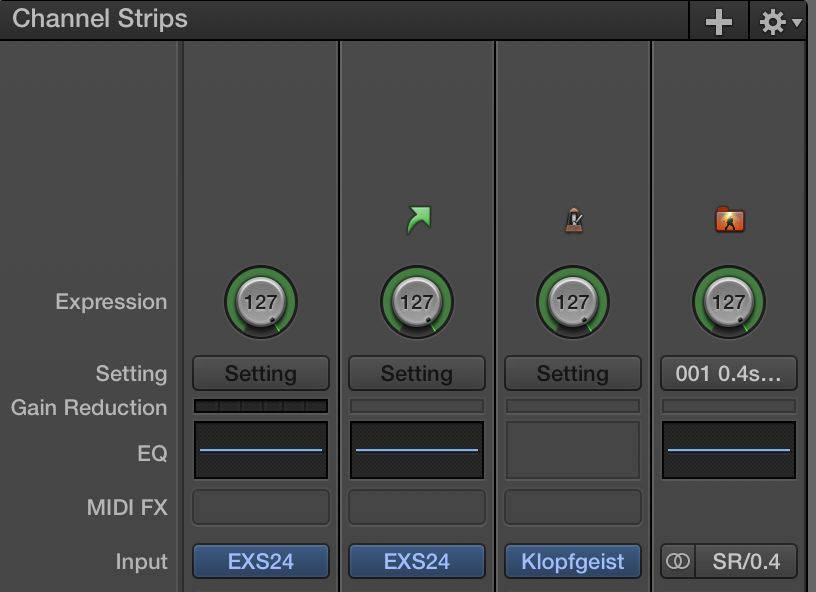
Using aliases is one of the most powerful features of MainStage, and it also helps to make your computer better mimic the behavior of a patch/combi setup of a keyboard workstation. Basically, you can use aliases to create ‘pointers’ that direct MainStage to utilize a previously created patch or channel strip.
At the channel strip level, this can be helpful to utilize a common sound throughout various combinations and layers. Let’s say you’ve created a concert that has a piano sound, then you also make a bunch of patches that have layers on top of it—piano and strings, piano and organ, piano and choir, etc. Now imagine you’re at the gig, and you decide the piano you chose is far too bright for the venue you’re in. You’ll have to go back into every patch and change the piano sound for all of them.
You don’t have to worry about this if you’re using aliases. By creating your first piano sound, then copying it and pasting it into every other utilized sound as an alias, your new patches are all simply pointing to the piano sound instead of creating their own new piano sound. Adjust the original piano sound, and all of the aliases follow suit. It’s really cool!
To create an alias, simply copy something, then go to the ‘edit’ menu and select ‘paste as alias’. You can do this with an entire patch, or you can do this with individual elements within a patch like a channel strip.
Audit Your Routing
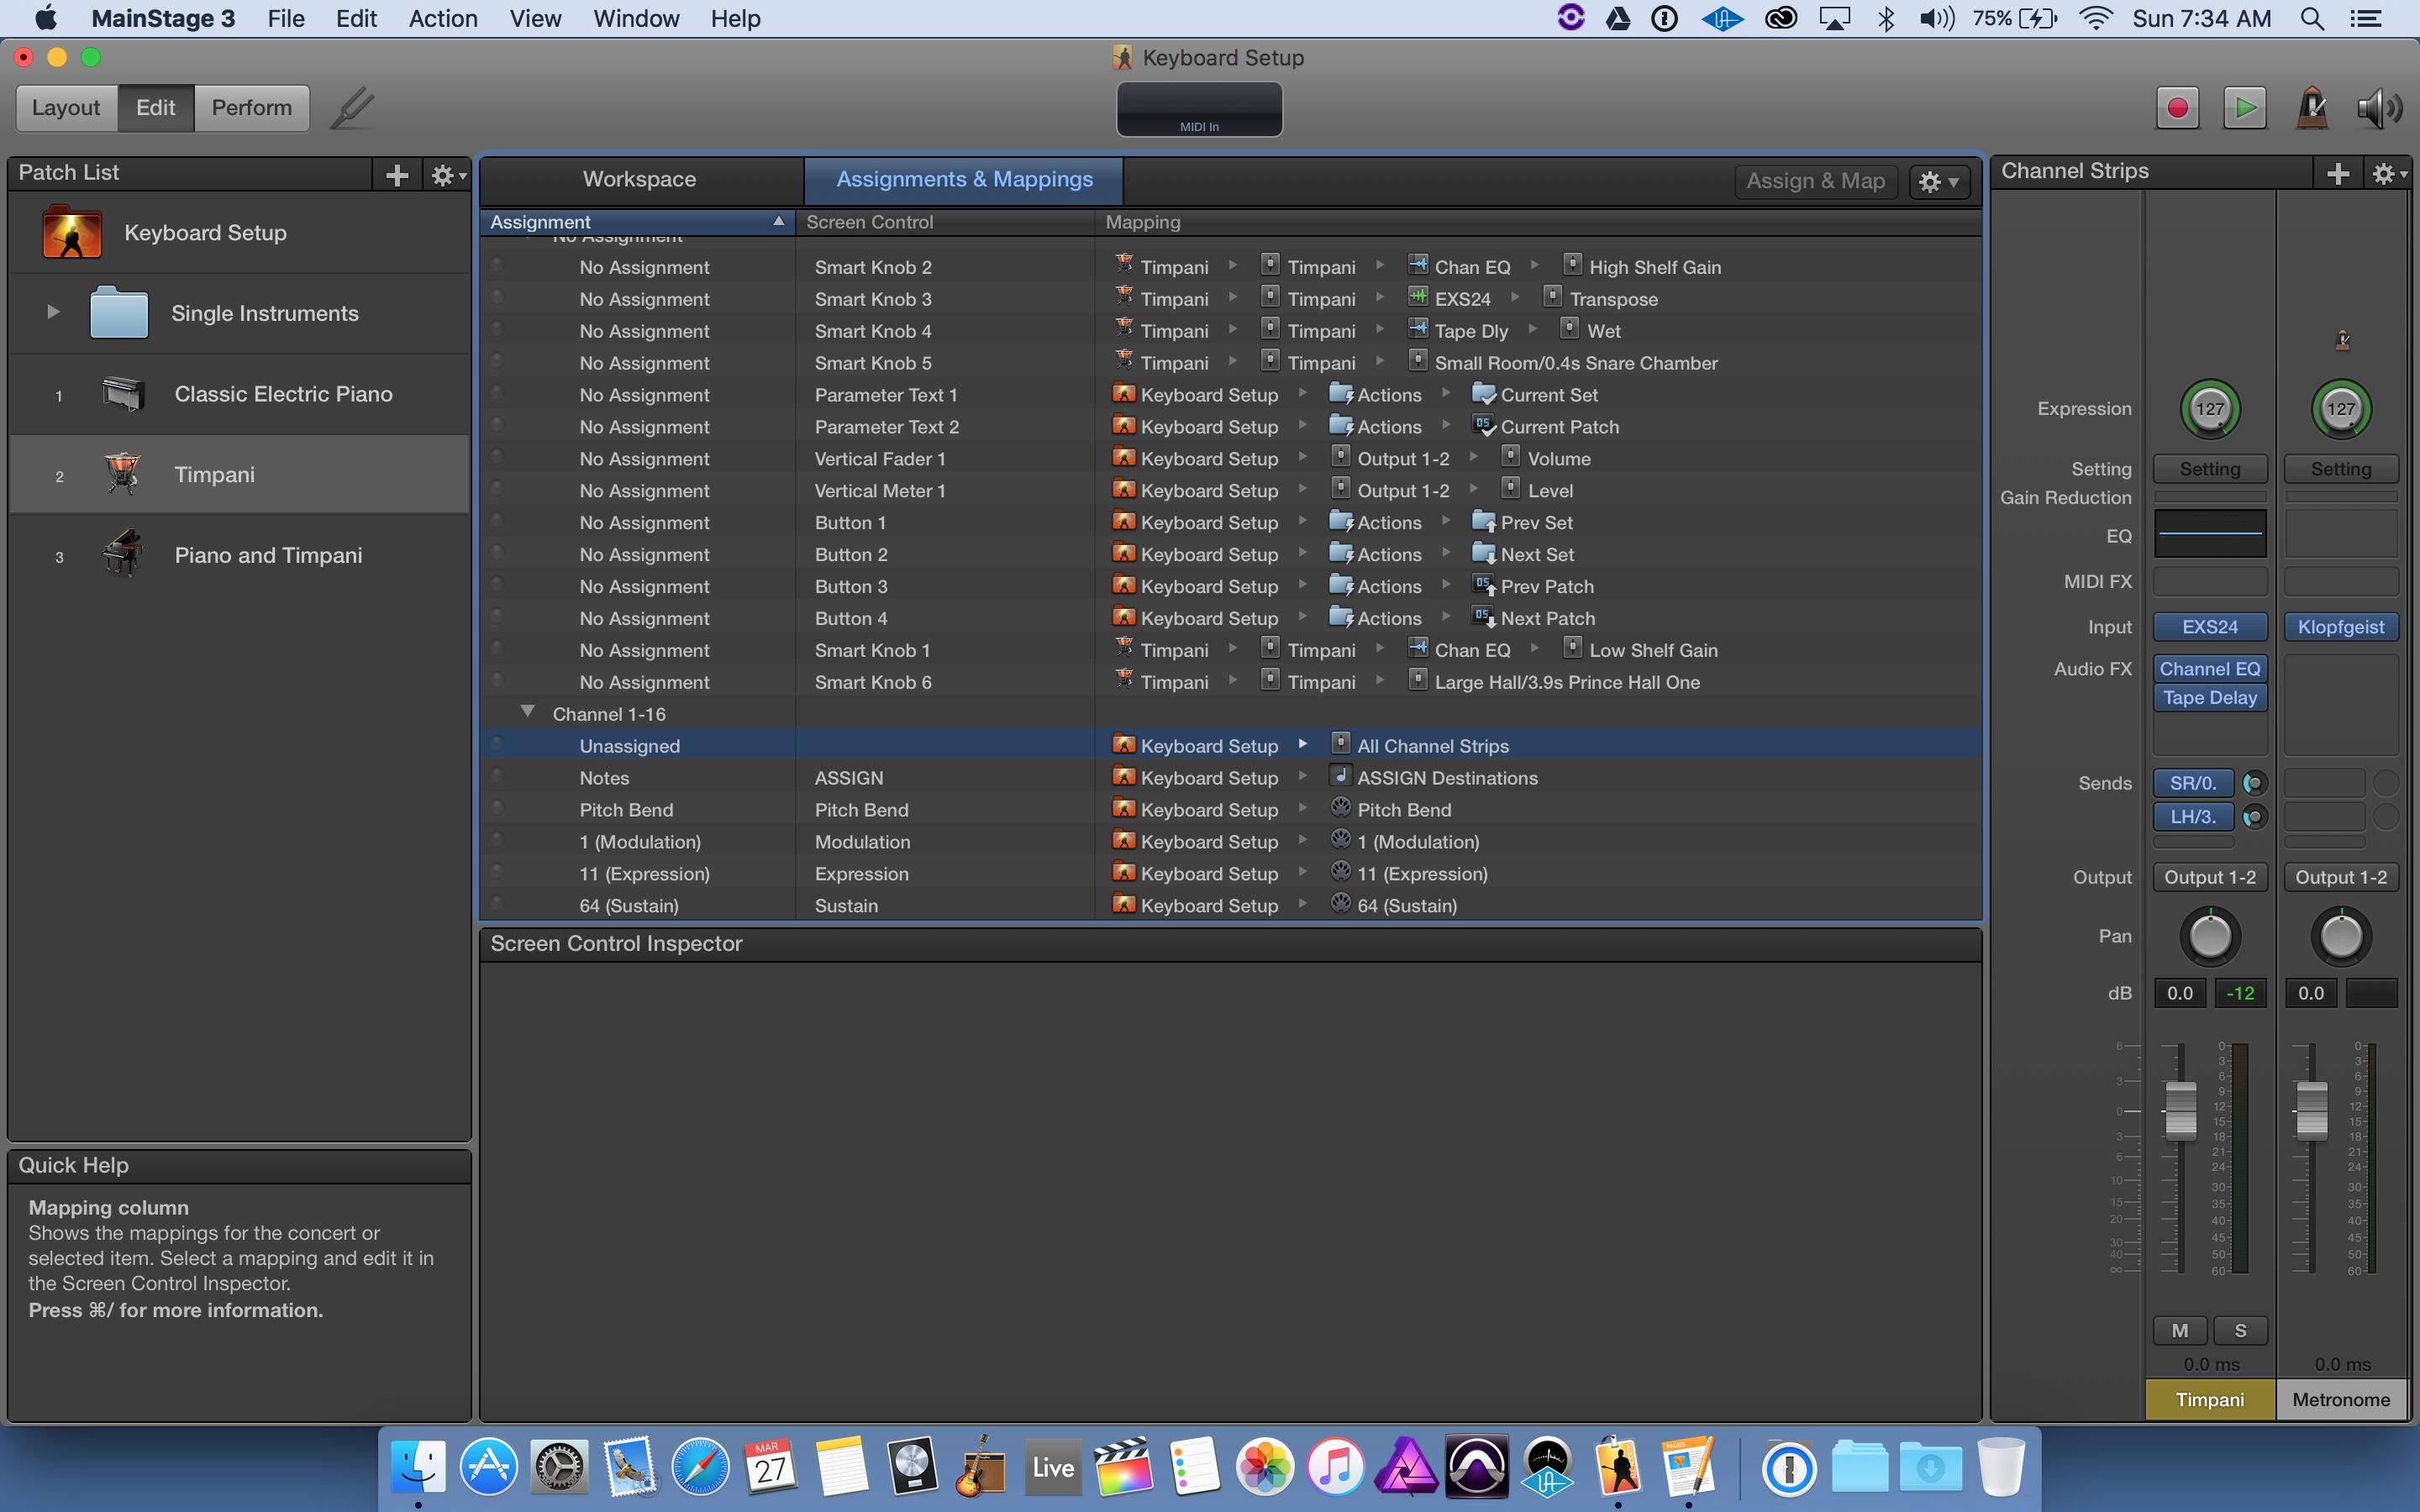
One of the coolest things about MainStage is the ability to have just about anything on your physical keyboard control any element of your sounds and plugins. Routing is a pretty simple process, as you can use MainStage to ‘learn’ what to do with each physical control on your keyboard. MainStage does, however, often have a bunch of default routing options enabled—and don’t forget that many plugins simply respond to MIDI channels on their own, no help from MainStage required!
With all of this in mind, one of the things I often do after creating a MainStage concert is to take a ‘top down’ look at my routing. Open up the ‘assignments and mappings’ window and take a good look at what is controlling what. You may want to delete the ‘unassigned’ item which is routed to ‘all channel strips’. This basically tells MainStage, ‘do NOT route things by default without asking me’, and can save you from headaches when you accidentally touch a control on your keyboard and sound suddenly disappears.
Adjust Your Layout Carefully
Smart controls are super fun, and if you’re in a synth-based band and need to see the resonance and cutoff knobs on the screen they can be extremely helpful. If you’re in a broadway pit, however, you don’t really need to see that stuff. After all, tweaking sounds in the middle of a performance isn’t really something that you’re likely doing. It might make more sense to make better use of your screen real estate with some notes!
I’ll often make notes about where a keyboard split is, where the next cue is coming from, the sky’s the limit! Notes can also help if you have a sub playing your part, you can make some helpful notes to keep everyone ‘on track’. I’ve even thrown lyrics in there in a pinch!

That’s Not All!
Keyboard programming is a true art, and MainStage design is no exception. One of the best things about the program is its flexibility, and there’s no hard and fast rule about sound design. Everyone has their little shortcuts and tricks, and the only ‘wrong’ way to design sounds is to design them so that they crash your concert. Road test your rig, push it to the max before you perform, and have fun!
Discussion
Want to join the discussion?
Create an account or login to get started!