
Now that IK Multimedia’s Syntronik is out in the world, musicians everywhere are starting to explore the huge library of diverse sounds in this historical collection. I’ve had an opportunity to have my fingers on this synth early on in the process, and here are my top 4 tips for getting the most out of Syntronik’s library.
1 - Multi-Category Browse
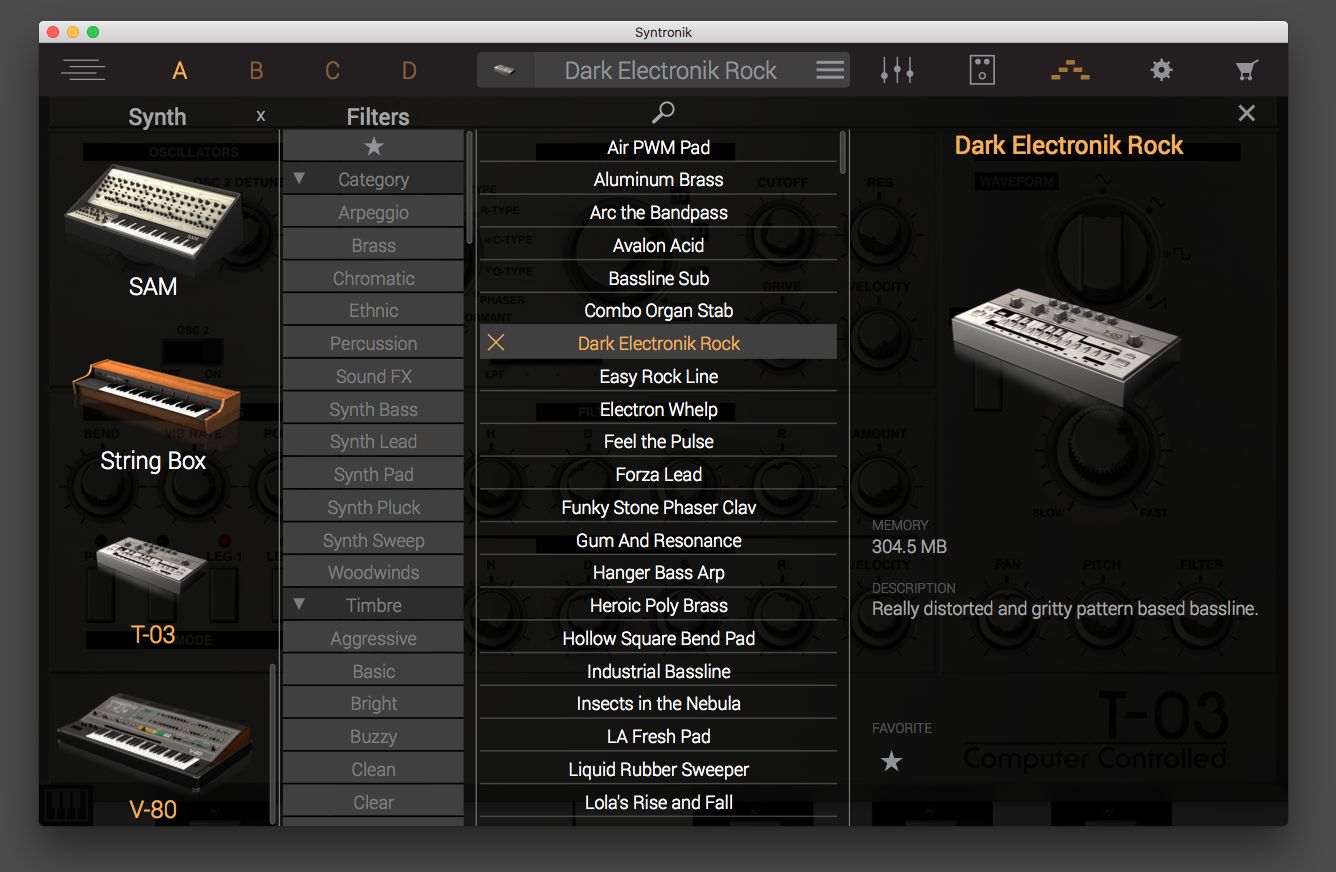
Syntronik’s browser introduces a pretty handy feature: you can browse multiple synth libraries at the same time. Rather than using the traditional ‘keyword’ paradigm, you can click on the graphical representation of the library on the left hand side. The cool thing is, if you click on a second instrument, it doesn’t replace the first one - it adds to it. If you’re browsing the V-80 library (as indicated in the photo above), you can also search through the T-03 sounds simply by clicking on it. Now the patch list on the right shows all of the available presets for both V-80 and T-03 combined. To clear this, simply click on the little ‘x’ right next to the ‘Synth’ tab at the top of the browser.
2 - Use Layer/Split Mode To Add Sounds
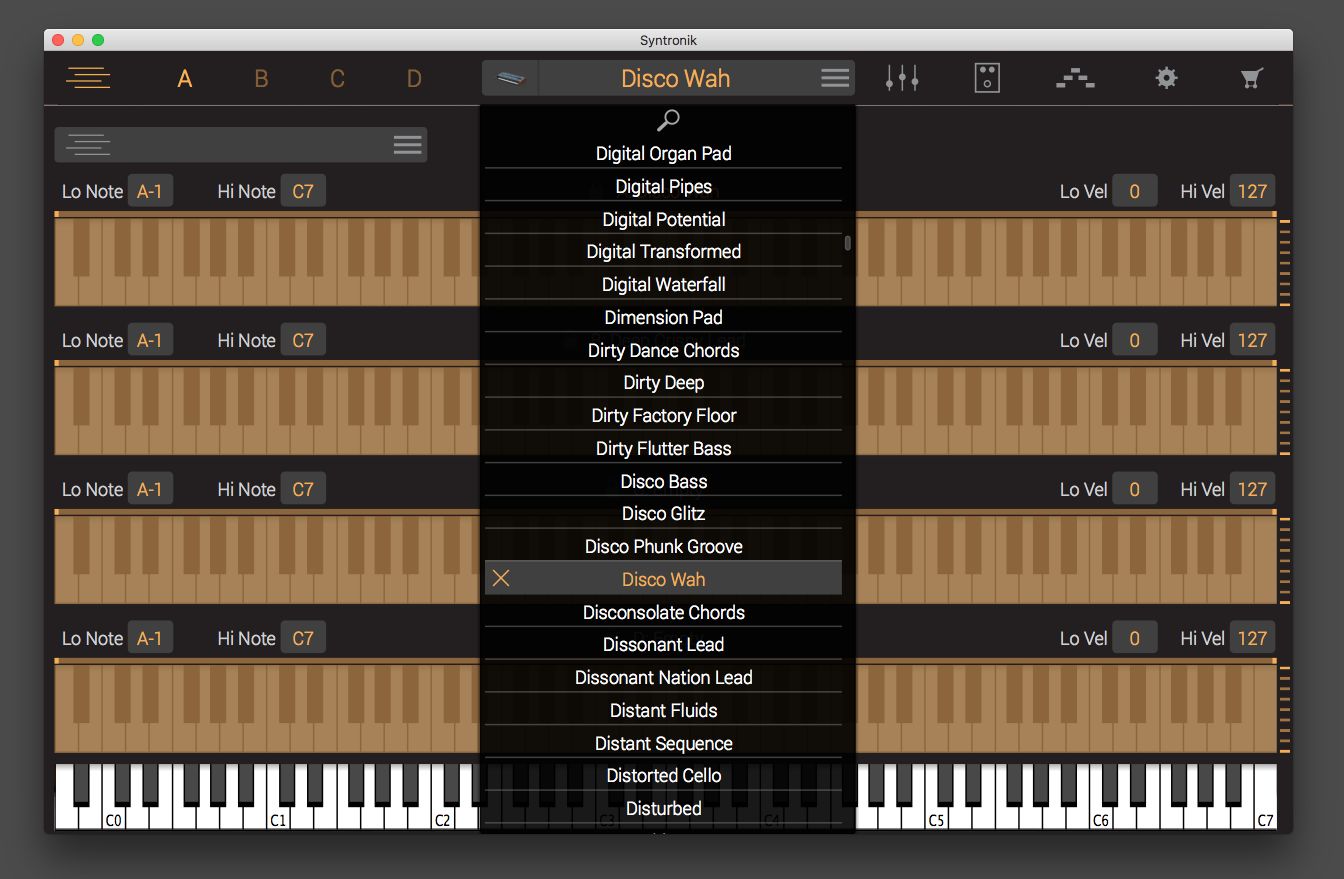
You can add to the layers of your creation by utilizing the ‘A-B-C-D’ buttons in the top left corner, but one of my favorite ways to build a sound is to use the layer/split screen - even if I’m just browsing through available sounds and not splitting the keyboard specifically. The main reason is that you can get a handy drop-down menu of the patches available from the current synth simply by clicking on the top of the menu bar as you an see in the graphic above. If you want to switch instruments, simply click on the thumbnail of the instrument just to the left of that for the full browser.
3 - Or Don’t Use Layer/Split Mode, IDK….
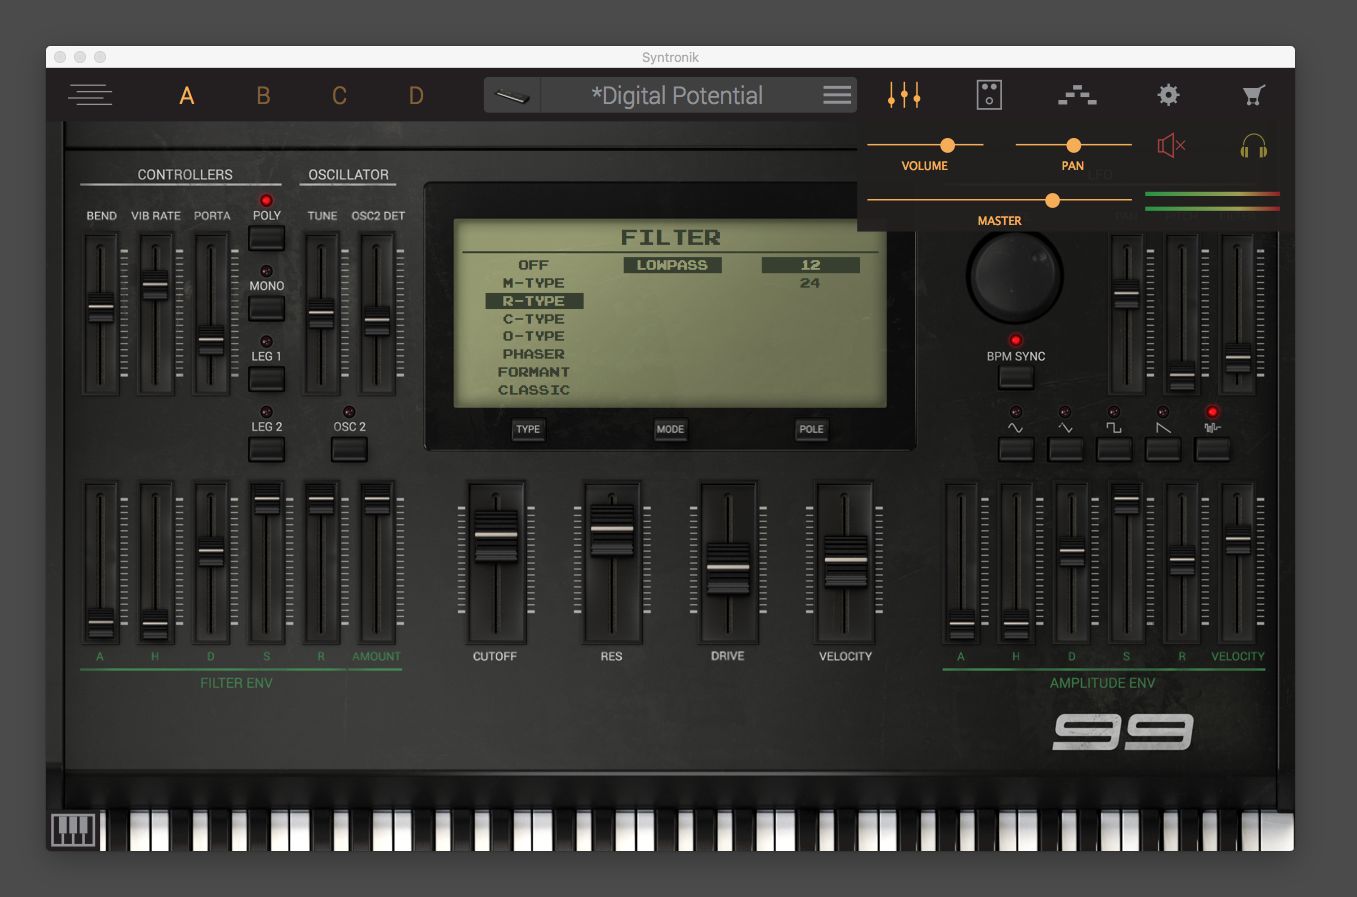
You can work just as quickly to create your massive sound by utilizing the drop down mini-mixer. Simply click in the top menu bar on the little mixer icon (as highlighted in the graphic above) and you’ll get a drop down mini-mixer that stays open as you choose different synth slots! You can adjust the volume of the synth in layer A, click on layer B and then adjust the volume and pan of that synth without losing that drop down mixer. It’s a speedy workflow either way, and the flexibility is one of Syntronik’s best traits.
4 - Mapping It Out
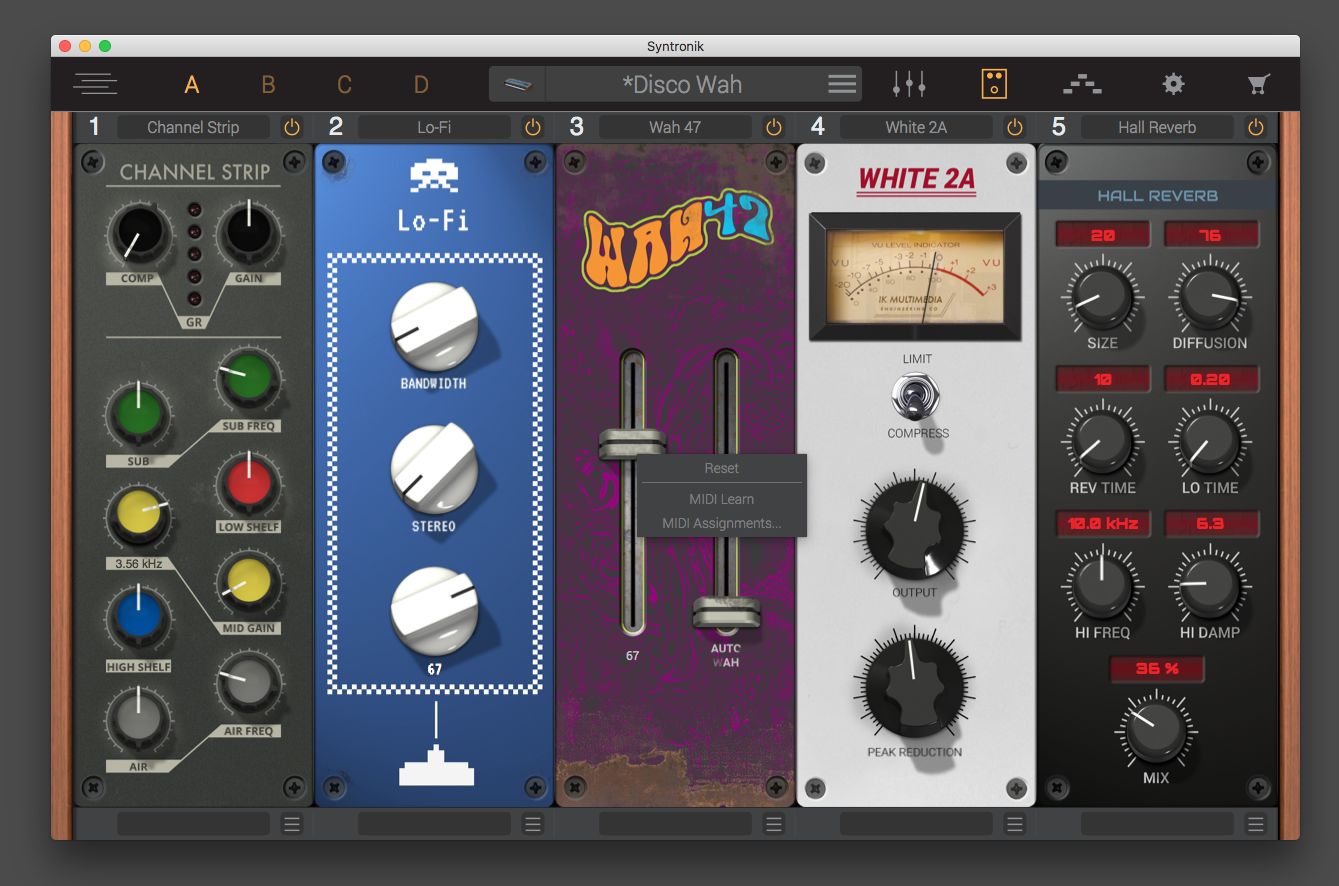
Nearly any control on the screen can be mapped to a physical knob, button, or slider on your MIDI controller. Simply right click the element you’d like to control and Syntronik will ask you to ‘move’ the MIDI controller you’d like to be the source. You can map multiple controls to a single MIDI source - one of my favorite things to do! I’ll often map a wah position, filter sweep, and even envelope attack to a single controller pedal and get a really drastic change in my sound by moving a single thing!
Keep On Tweaking
No matter how you choose to work in Syntronik, there’s no denying that the library is a tour de force through the history of some really great synths. The more you use Syntronik, the quicker you’ll be at crafting some pulse pounding patches!

Discussion
Want to join the discussion?
Create an account or login to get started!