
In today's world of electronic music composition, automation is used for much more than simply controlling the volume of your tracks. Nearly every parameter you can think of can be controlled through automation like pitch, LFO rate, filter cutoff, resonance, EQ, panning and more. Creating rhythmic patterns with automation can add life and texture to your songs. Wouldn't it be nice if there was a library of pre-made automation shapes you could drop in on your tracks?
When I'm producing, I'll often pull from a small library of shapes I've made and saved into a Logic Project. I can easily copy these pre-made patterns into my existing songs because they've been saved inside a standard region. This also makes it easy to stretch or compress the automation ...but we'll cover that in just a bit!

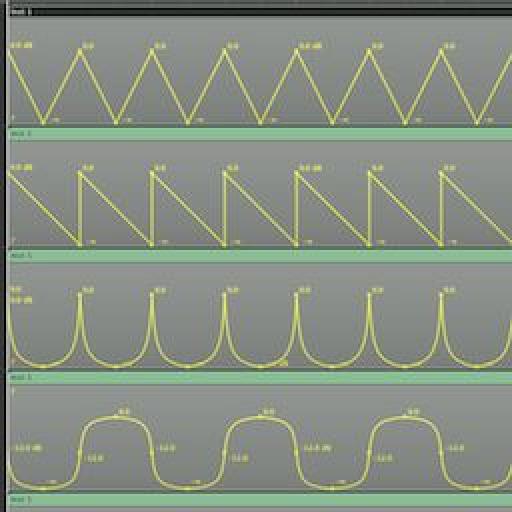
I've included a Logic Project called Automation Pattern Library. Download the project first. In this article I'll show you how easy it is to get these into your songs, and what you can do with them...
Step 1 - Copy the automation
Open the Automation Shape Logic Template and copy the region of your choice with Command-C, then click back into the song you'll be adding the automation to.
Step 2 - Create a clone of the track
Click the track of the instrument/audio track you want to add the automation to, then from the Track menu, select “New with Same Channel Strip/Instrument.” This is a cool function that not many people use. It clones the selected track, but doesn't actually make a new one. It's still the exact same track you started with, but now you have a new lane to add things like automation in our case.

Step 3 - Paste the automation
After you create the new track, place the timeline where you'd like the automation to start, and Command-V to paste it.

Step 4 - Repeat the automation
The automation only lasts one bar, but I want the automation to last 4 bars. I'll copy it by Option-Click-Dragging the region 3 times.

Step 5 - Convert automation to track based
So I can re-assign the automation to any parameter of my choice, I need to get the automation out of region based automation, and into track based automation. Select the 4 regions (or however many you have), and select Track > Track Automation > Move Visible Region Data to Track Automation.

Step 6 - Toggle to view the automation
Now press A on your Mac's keyboard to toggle Track Automation. The automation contained in the region is volume, but we'll be changing that in just a moment. You'll notice that both the original track and the new one you created have the same automation of them... this clearly reveals the nature of the “New with same Channel Strip/Instrument” track. It really is, just a clone of the track above it.

Step 7 - Convert automation to another parameter
Now let's re-assign the automation to a different parameter. Click one of the track's automation selection menus while holding the Option key. Continue to hold the key until you find the parameter you'd like to copy the automation to, then select it. A window will appear asking if you'd like to only convert, or copy and convert. Select “Convert.” The automation shape is now converted to your parameter of choice!

Step 8 - Time stretch the automation
Now let's say you've decided that the pattern is too fast and you'd like it to play back slower. First make sure the automation selection menu is displaying the correct automation, then go back to the empty regions and select them. Merge the regions together with key command Control-= first, then select Track > Track Automation > Move Visible Track Automation to Region. This will place the automation back inside them.

Now drag the region out while holding the Option key and the automation data will be time stretched to the length you choose.

Hope you enjoyed the article!

Discussion
If you just copy the region with automation into a track and option drag it, it stretches the region but not the automation inside. What am I missing?
thanks
Words cannot express how grateful I am for not only the fantastic tutorial, but the invaluable project file! My production partner and I are automation junkies, so this "library" will save us loads of time with regards to drawing basic automation. We've often dreamed of a built-in shape library similar to Massive's Performer and hope that the fine folks at Apple will include it in Logic X when it's finally released sometime in the next 100 years. :-)
Cheers!
Please consult http://cl.ly/image/2R0v2o2q1Q2y
Are you holding down the Option (Alt) key when stretching the automation? Make sure your release the mouse button before releasing the Option key.
Hope this helps :)
Do this to get it to work: After you've moved the data back into the region, go to the Arrange window's local "view" menu, then to HyperDraw, then to OFF. You'll now be able stretch the region (and it's automation data) by Option clicking the BOTTOM right corner instead.
Want to join the discussion?
Create an account or login to get started!