
Chopping/slicing and stuttering audio regions can be a daunting task in Logic. I want to show you how to chop-up, rearrange, and process audio in a way that will not hinder your creativity, but will actually spark it even further. In addition to using only built-in Logic tools, I’ll be showing a reasonably priced third party Audio Unit called Effectrix by developer Sugar Bytes.
The technique of stuttering audio started in the 80s when samplers became popular... you could record a vocal line or a beat for example, and play it in a rhythmic way by repeating the start of the sample. Today it’s not limited to just repeating: now you can can easily re-arrange the repeats, stretch, and compress individual segments for creative purposes. Many pop tracks today use this effect as part of the main hook on a vocal. In this article, I’ll be using a vocal track, but this also works great with beats, leads, percussive chords, or effects.
Step 1 - Chopping audio in Logic
When you cut with the scissor tool, and hold the Option key simultaneously, you can chop the region up by equal divisions. “Divide Multiple” is the official Logic terminology. The division, is set by how far into the region you cut. In the image below I’ve cut a 16th-note into the region, so the subsequent regions (after the cut) are all 16th-note segments. Changing your Division (directly under the time signature in the Transport), to smaller values like 24, 32, and 64, will allow you to line up your cuts more easily to specific note lengths.

If you’re chopping a beat, try turning on Shuffle L or Shuffle R from the drag menu (top right of the Arrange area). This will allow you to easily rearrange slices to create variations in your drum parts.
Step 2 - Stuttering in Logic
Try creating areas of silence by shortening the sliced regions (pull the bottom right corner of the region(s) in and to the left). If you shorten all of them at once by selecting them all first, it will create a gated effect. To return a slice or a group of slices to their original length, select the region(s), then Control-click them. From the Trim menu select Trim End to Next Region.
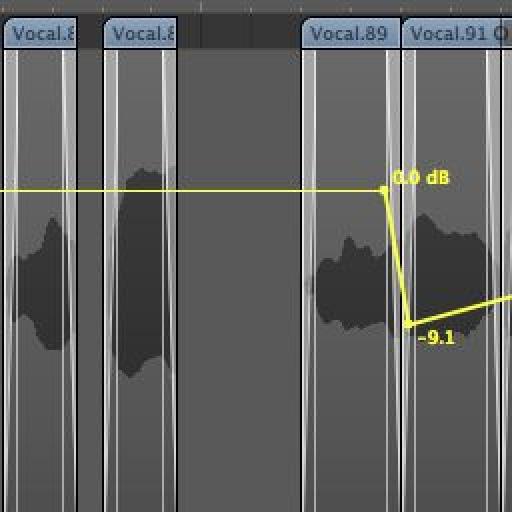
Try muting or deleting different individual slices for a more stop-choppy feel. Sometimes you’ll hear click/pops after shortening or rearranging regions. You can resolve this by placing a very short fade-in/fade-out at the beginning and end of each region. If the Drag setting is set to No Overlap you can easily erase a region by dragging another one on top of it.

Note: To apply fades to multiple regions select the desired regions and add a fade-in/fade-out in the Region Info Window.
Step 3 - Looping slices
You can also loop individual (selected) slices by simply hitting the L key. Try deleting a few slices out of the middle, then looping the last region/segment before the gap. You can create a volume crescendo easily with automation. Remember that if you want the loop to remain tempo synchronized, the end (in addition to the start) of the slice/region must stop on a musical value like 1/4, 1/8, 16th, 24th, 32nd, etc. Try chopping the existing slices into even smaller ones with the scissor tool and loop those.
Loops can easily be turned into real copies. Control-click a range of loops and select Convert Loops to Real Copies, or select the original copy and press Control-L.

Step 4 - Reversing slices
Next, let’s reverse some of the regions/slices: Click the slice once to select it, then form the local menu in the Arrange area choose Audio > Convert Regions To New Audio Files then save. The region will now be an independent file. Press W to open the slice in the Sample Editor. From the local menu choose Functions > Reverse.

Step 5 - Stretching slices
Next we want the ability to stretch or compress individual regions without changing their pitch, and we can do this easily in the arrange window. By holding Option while dragging the length of the region, you literally stretch the region itself. Do this by pointing to the bottom right corner of a region, then Option-drag.
From the Arrange window’s local menu choose Audio > Time Stretching Algorithm. You can now choose from different stretching variants. The highest quality algorithms are Universal, Complex and Percussive. You can also add to this list with even higher quality third party algorithms from iZotope and SoundToys.

Important: Flex Mode must NOT be in Slicing Mode on the specific track for this to work.
Step 6 - Flex Mode
So why not just use Flex Mode to do all of this? Try moving, rearranging, or copying slices in Flex Mode! I’m definitely not ignoring Flex Mode in this article though as a finishing touch you can then enable it and use the “Speed” and “Tempophone” modes to change the pitch and create granular effects on selected areas.
Enable Flex Mode with Command-F, then from the Flex Mode pull down menu that appears on the track header select either Tempophone or Speed. Click anywhere on your region to place a Flex Marker, then move the Flex Marker back or forward in time.

Step 7 - Effectrix
Now what about adding effects to different slices? You could then move each slice to a new track with different effects, but this is quite a tedious task in Logic. This is where Effectrix saves the day—and your sanity, too. It’s an effect sequencer plug-in. When Effectrix is placed directly on the strip, it allows you to trigger up to 14 different effects, on a loop from 1 to 8 bars in length. If that’s not enough for you, you can use Effectrix as an “AU MIDI-Controlled Effect” instrument. This will allow you to trigger up to 12 different 1- to 8-bar effect patterns for a total of up to 96 bars of constant change.

Once I have something I like, I’ll either “Bounce Track in Place” if the part is set in stone, or I’ll output the channel with Effectrix to an available bus. I’ll then create a new audio track below it and set its input to the same bus. This way I can record the output of Effectix onto a new audio track while I tweak the settings! Once recorded, I mute the original track and then create a more consistent overall feel by repeating, cutting out, and re-arranging areas of the new recording.
Happy chopping!

Discussion
Want to join the discussion?
Create an account or login to get started!