
内部の設定ボタンスタイラスRMXのブラウザウィンドウには、RMX内側提供する上で最も便利とあまり目立たない機能の一つです。
これが正確な理由は、この簡単なヒントでは病気を紹介!
01 - それが何をするか
あなたがスタイラスの一部のスロットに新しい要素をロードするたびにその部分のすべての設定はこれだけの生のサンプルを聞くyoureのデフォルト値にリセットされます。リセットされるパラメータは、チューニング、エンベロープ、フィルタ、カオス、タイミング、などに加えて、その部分でにロードされている可能性のあるエフェクトスロットを装備しています。
いずれかの設定を保持したい場合は、設定のボタンの出番これが行われている可能性が
02 - [設定]ボタンの使用

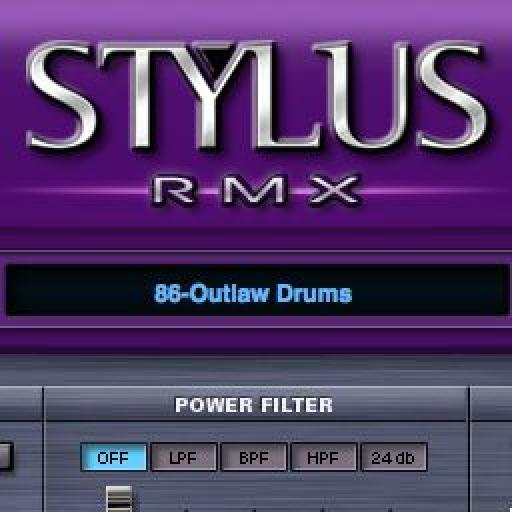
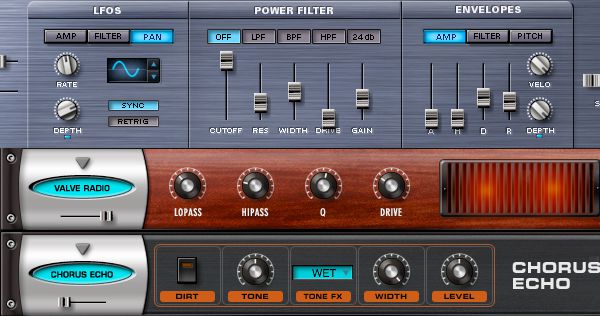
Here you can see I have an element loaded in called ’86-Outlaw Drums’. I’ve also made some adjustments to the envelope and applied some panning via an LFO. I’ve also inserted some effects in the FX page.
Here’s what it sounds like:
If I want to carry these settings over to a new element that I’m auditioning to see what it sounds like all I need to do is disable the ‘Settings’ button thats located above the elements list.

Now when I load a new element all of my part settings remain untouched, in this case my effects and envelope settings I made to the original one.
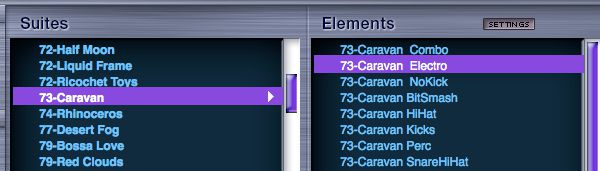
Here’s my new element with the old settings:
03 - スイートバリエーション
The thing about Stylus is that all elements (both factory and 3rd party) are grouped in Suites. These suites are usually variations of a master loop or the master loops constitute parts. This is especially the case in 3rd party ‘Construction Kits’ where you get the component parts of an actual track. Say, bass, horns, guitars, keys etc.
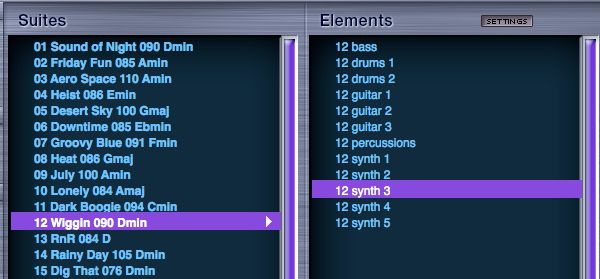
When auditioning these suite elements inside a track you may find you need to transpose these elements to the key of your track to see if they work. What you don’t want to have to do is reset the tuning every time you choose a new element.
This is a great example of when the ‘Settings’ button comes in handy to retain any transposition changes you’ve made.
For more handy tips check out macProVideo.com's Spectrasonic Video Tutorials.

Discussion
Want to join the discussion?
Create an account or login to get started!