An ostinato is simply a continually repeated musical phrase or rhythm, and they are a big part of contemporary music. Whether it is in pop songs, like Coldplay’s “Clocks”, or film scores, like the great John Powell scores for the Bourne films, or trailers and game music, they seem to be everywhere. Some orchestral libraries, particularly more recent strings libraries, have built-in ostinato generators and, of course, hardware and software synthesizers with arpeggiators can generate them easily. But why settle for just those when you can easily and quickly create more interesting ones that will be totally unique to your own musical composition in a DAW like Logic Pro X?
For the purposes of this article, I am only going to use content that is included with Logic Pro X to create this.
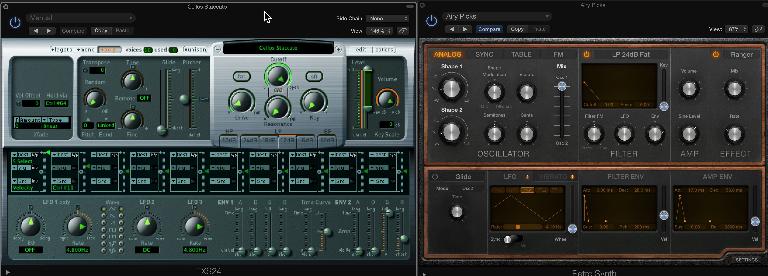
In Pic 1, you can see that I have created two software channel strips and loaded instruments that are included in Logic Pro X, the EXS24 sampler and the Retro Synth. From the included GarageBand library for the EXS24, I have loaded a Cellos Staccato patch in the EXS24 and in the Retro Synth a really great sounding patch named Airy Picks.
By simply adjusting the panning and levels of the two, I already have what I think is a pretty interesting sound that I can play in a part for, as you can hear in Audio Example 1.
Audio Example 1:
This limits me, however, to what I can play on the spot and is certainly a less unique ostinato pattern than what I may want to create.
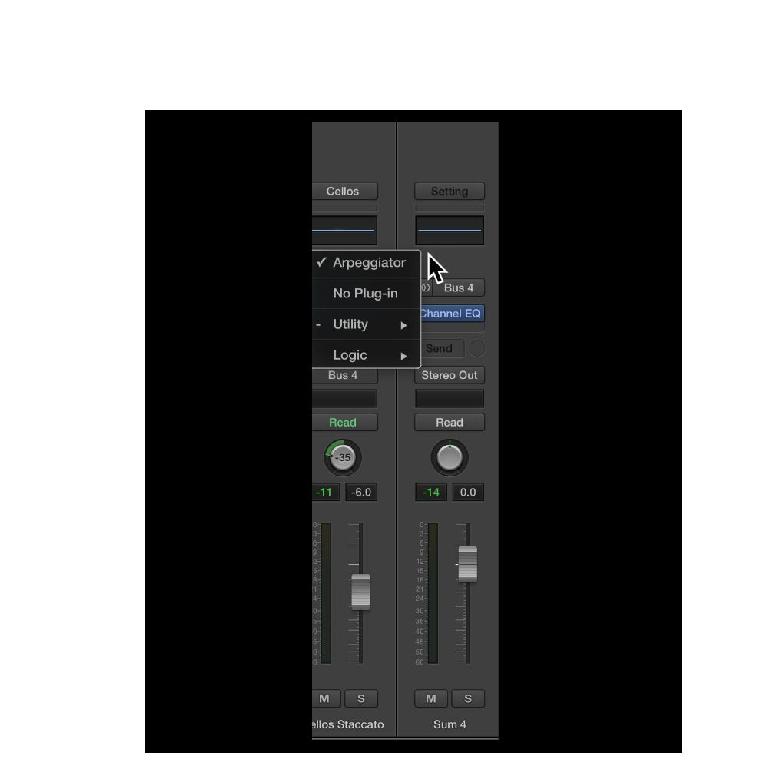
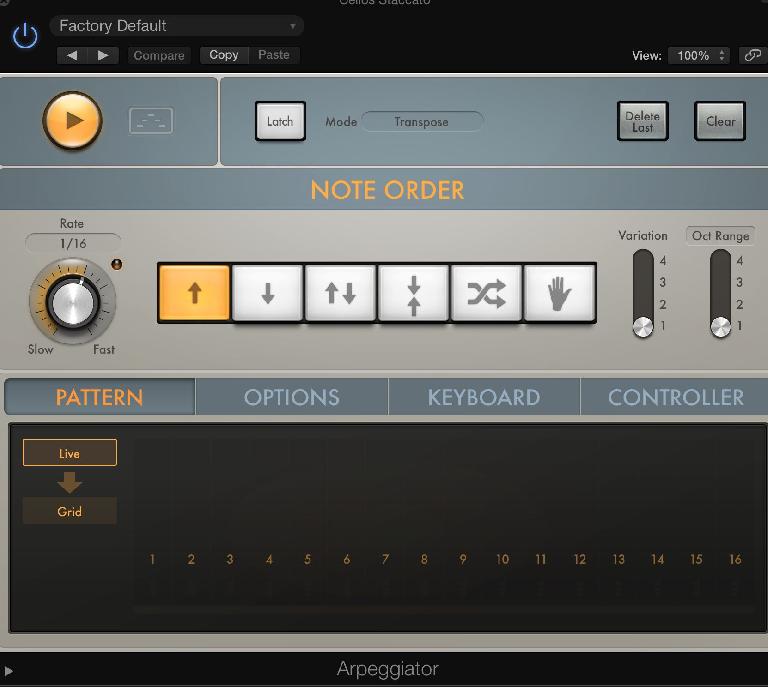
So now, on the EXS24 channel strip in Pic 2, you can see that I am adding the MIDI FX plug-in called the Arpeggiator and in Pic 3 you see its default patch.
Since my project is set to a bright tempo, 160 BPM, I think I will change the rate to 1/8 note. Here, with the default Up pattern, I quantize the track to a whole note, record, and I have now what you hear in Audio Example 2.
Audio Example 2:
Fine, but surely we can do better.
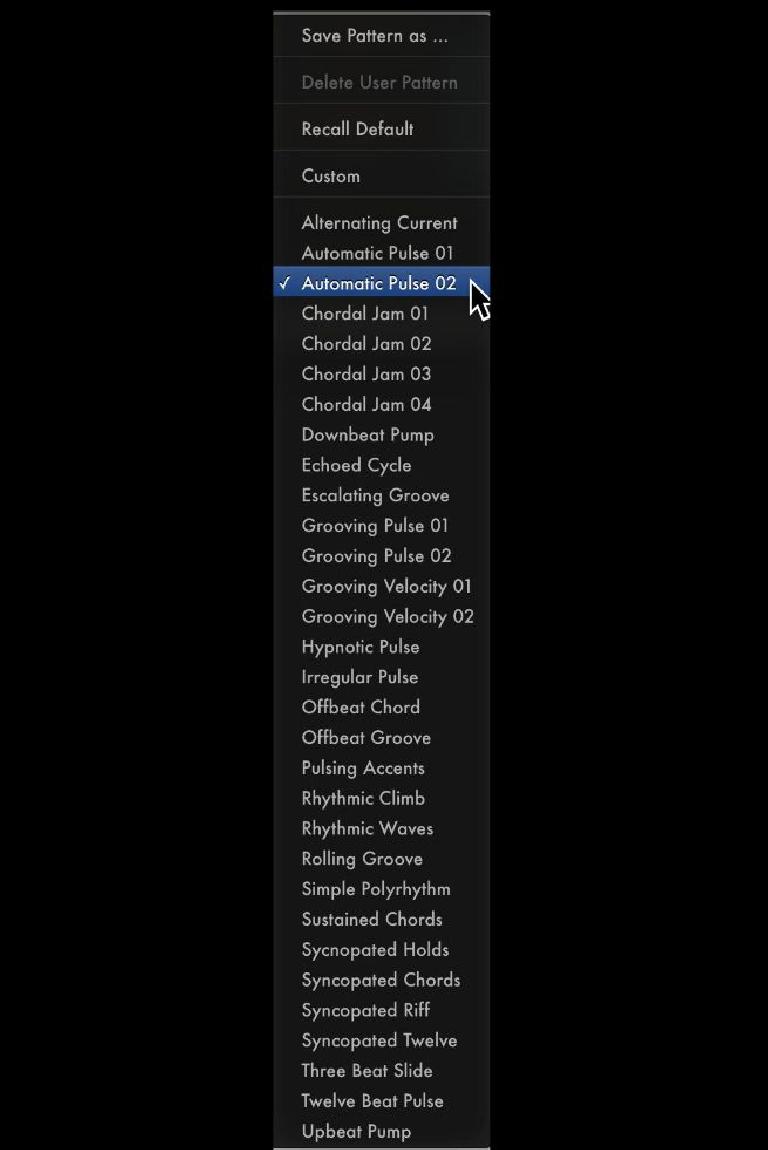
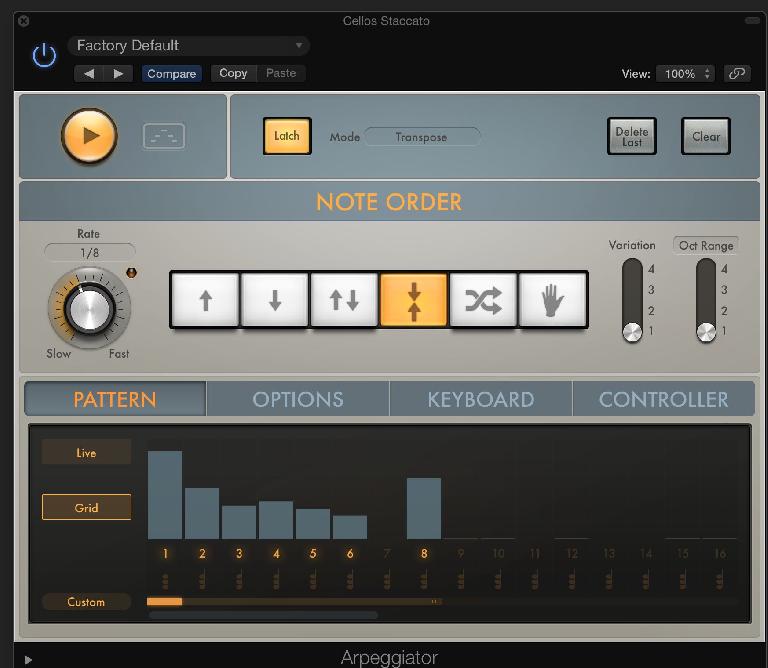
If you switch from Live to Grid, you can see a number of very interesting patterns that you can tweak (or you can draw in a custom pattern). See Pic 4.
If you start to change the height of some of the bars to adjust the volumes, you will notice that the pattern name immediately switches to “Custom”. You can save these by the way.
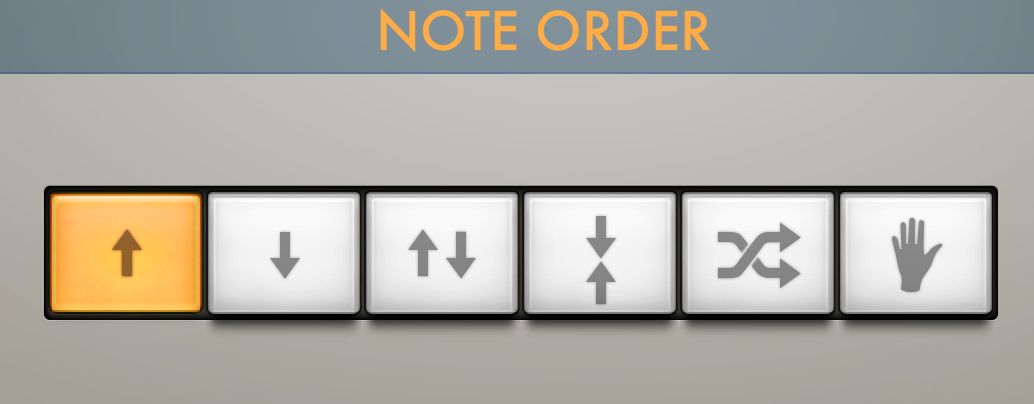
In Pic 5, you see all the different note order parameters that are available for you to choose from in the Arpeggiator.
Up: The arpeggio is played from the lowest note to the highest note.
Down: The arpeggio is played from the highest note to the lowest note.
Up/Down: The arpeggio plays up and down, from the lowest note; the highest and lowest notes repeat.
Outside-in: The arpeggio plays the highest then the lowest notes, then the second highest and second lowest, the third highest and third lowest, and so on.
Random: Arpeggiated notes play in a random order.
As played: All notes play in the order they were triggered.
Let’s go with using Outside-In with the custom grid and turn on Latch so that we can simply hit a chord and release it until we are ready to play another chord.
In Pic 6, you can see what it now looks like, and in Audio Example 3, you can hear it.
Audio Example 3:
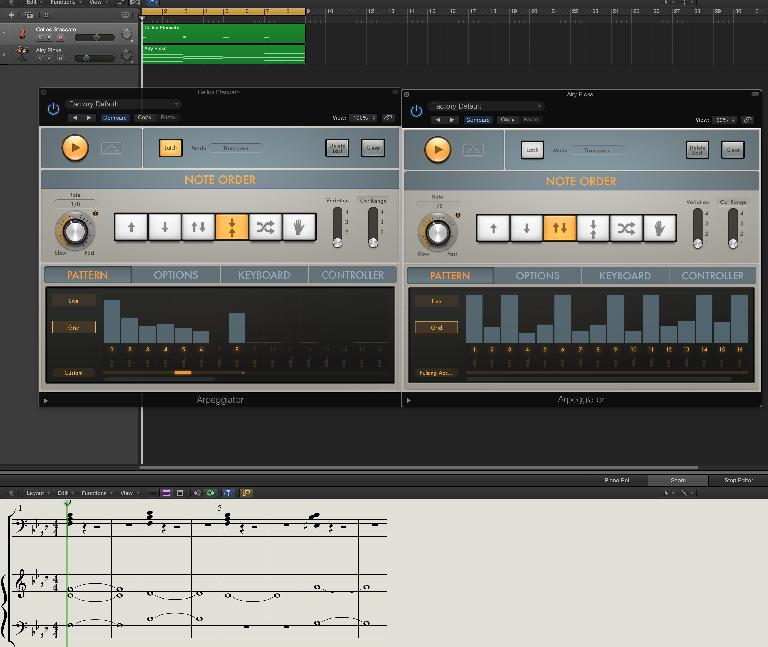
Nice! I can now simply copy the Arp MIDI FX plug-in to the Airy Picks instrument and copy the region, and in Audio Example 4, it sounds very cool.
Audio Example 4:
But why stop there? Let’s change the grid setting in the second Arpeggiator to Pulsing Accents and play in a complimentary part rather than simply duplicating the first performance. Let’s try using the Up/Down note order without latch this time.
Audio Example 5:
Awesome, I think. Man, I wonder how far I can take this! How about adding an Alchemy sound? Check out Rhythmic > All > All > Simple > Falling Bells. It already has a built-in rhythm, so no need for the Arpeggiator MIDI FX plug-in on this one. Give it a listen in Audio Example 6.
Audio Example 6:
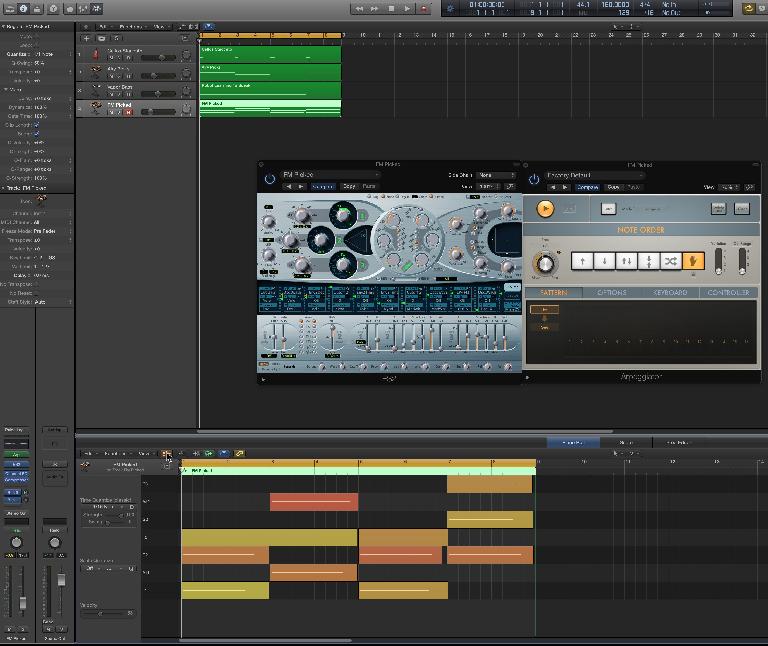
Fantastic! But now I need to add some low end. I think an ES2 FM Picked Bass part with a simple “played as it is” triads set to an 1/8 note arpeggiation in the Arepggiator MIDI FX plug-in that I am adding, as you see in Pic 8, might do the trick. Listen to Audio Example 7 now.
Audio Example 7:
I hope that by now you are digging this as much as I am, and that you are getting excited at the possibilities of what you can do.
This thing is almost ready to go, but it needs some cojones ☺ Let’s add a Compressor set to Compressor Tools > Type U High Gain to the stereo output. Listen to Audio Example 8.
Audio Example 8:
I could do all this is probably under an hour and I would just be beginning to scratch the surface of what is included in Logic Pro X’s content. Imagine if I started adding third-party instruments and plug-ins.
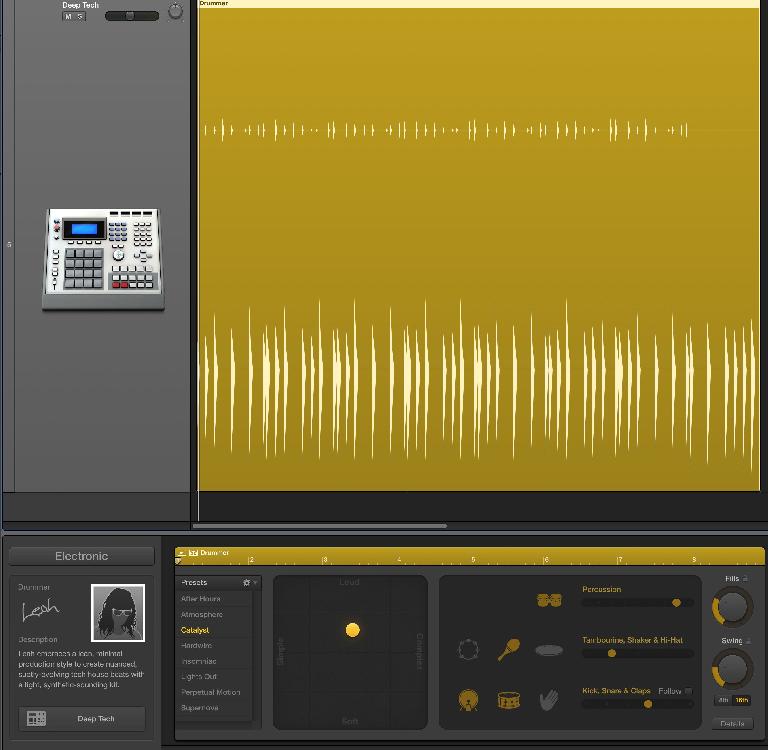
For now then just to see how my ostinato might work in the context of a song, I add Logic Pro X’s Drummer set to the Electronic genre and let it create a region for me. I change drummers to Leah playing her Deep Tech kit with the Catalyst preset. See Pic 9.
Listen to my completed pattern.
Audio Example 9:
Have fun creating your own unique ostinatos!



 © 2024 Ask.Audio
A NonLinear Educating Company
Discussion
Want to join the discussion?
Create an account or login to get started!