One of the tools I’ve come to rely on greatly for producing touching and emotional vocal performances has been Melodyne 4. I especially enjoy it for those moments where I’m trying to fill that catchy, hard-hitting chorus up with additional voices so that it sounds big, instead of like one guy, or girl clapping and singing on a dance floor, alone, saying, “C’mon guys!” In this tutorial, I’d like to show you how to build some bigger choruses with Melodyne!
Step 1. It’s All About the Recording
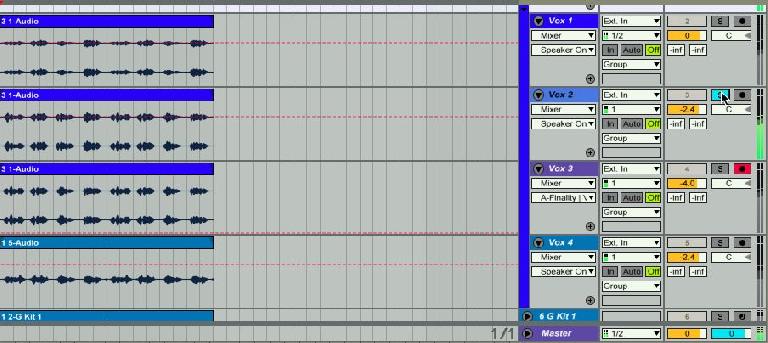
Of course, not every chorus needs Melodyne. Sometimes you get a vocalist that just sings the same part perfect every time, and they have those harmonies down like the girls from ABBA. But when I have many terrible takes that just sound like a mess when I play them all at once, I will usually begin soloing through all the different takes of the main vocal line of the chorus within my host DAW, Ableton Live. I do all this in the Arrangement View, as Melodyne does not really care for Ableton’s Session view, as the looping throws it off. My main criteria: a strong, emotional performance that sounds as close to perfect, as possible.
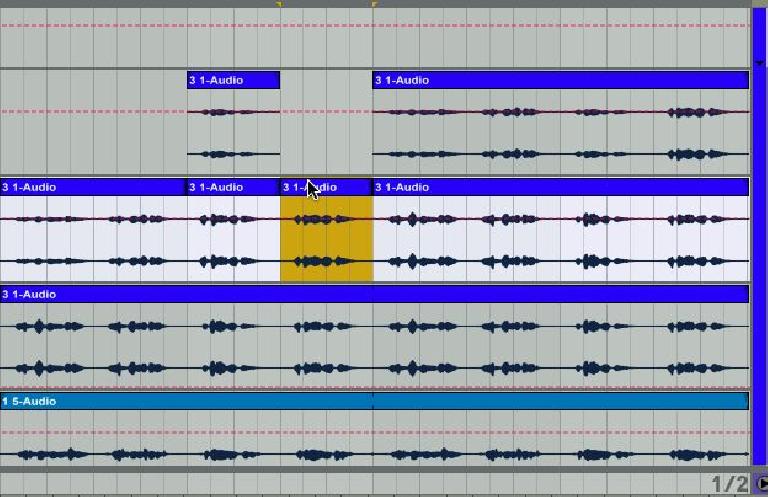
If this take does not exist (which it often does not), I’ll begin finding pieces that I like of the chorus, and putting them together until I get a take that’s as close to perfect, as possible. If one word needs to be sustained longer, or the timing is a little off, I’ll usually just leave it alone until I’m ready to transport the finished take into Melodyne 4. Ableton can usually handle some timing, and decay errors, but I’ve actually found Melodyne 4 is a little more graceful in this domain. So, I do the big edits in Ableton, and handle the minutiae in Melodyne 4. Think of it like a magnifying glass.
Step 2. Transfer
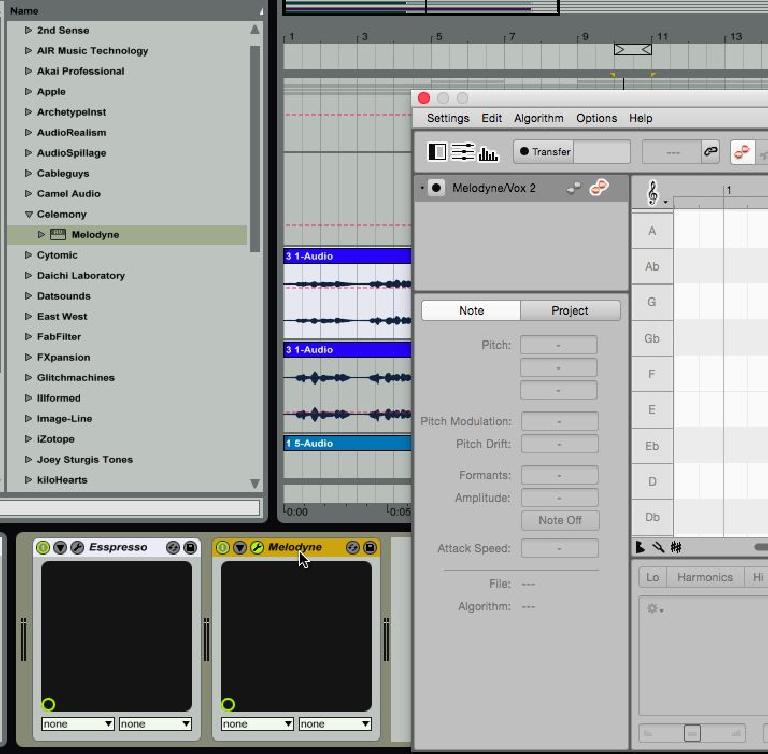
Once I have a take that I like, I’ll bring in Melodyne 4 as a plug-in on the same track that my almost perfect recording exists.
And I’ll set Ableton to start playback very close to the beginning of where the vocal performance starts, because Melodyne 4 is going to need to re-record this take within its own domain.
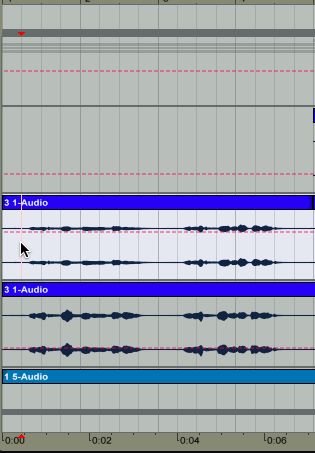
Once Ableton knows where to start, I’ll press the Transfer button within Melodyne, so that it knows to start recording, as soon as I push the space bar.
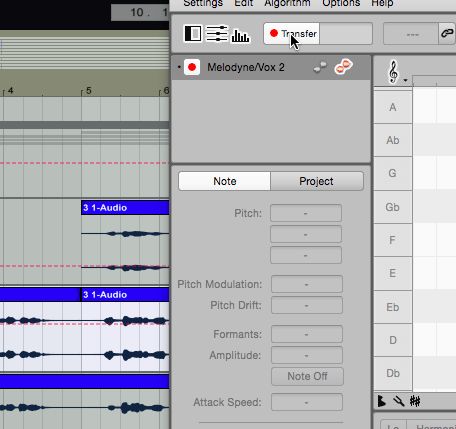
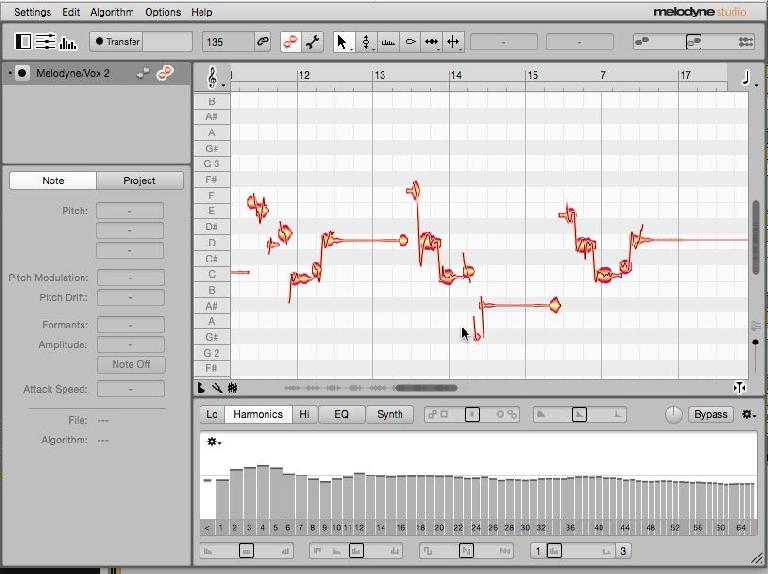
Now, recording begins and I can see my voice coming in as nicely cropped visual representations. Once I have the whole take within Melodyne, I’ll press the space bar, again, to stop recording. That’s when Melodyne starts to do its thing. It starts breaking each part of the audio recording down into its relative pitch.
Step 3. Pitch
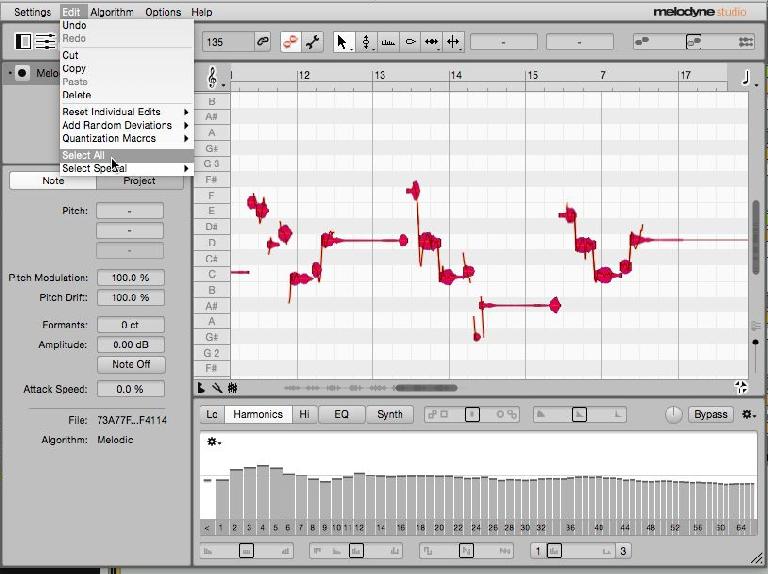
Now, it’s time to get to work. I usually do a ‘Select All’ from the Edit menu, as it saves me from the labors of a drag-select... Laziness.
And this is one of my favorite parts. I’ll go up and select the Pitch Tool, and then double-click on the selected audio below so that Melodyne Automatically puts the entire vocal take into perfect pitch!
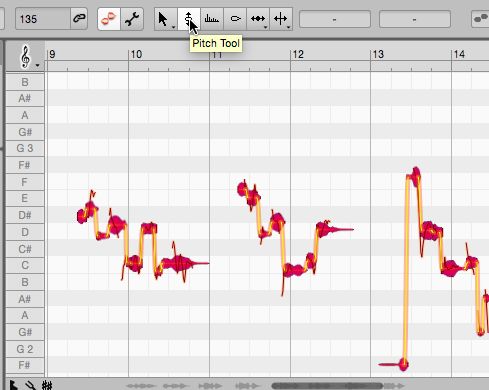
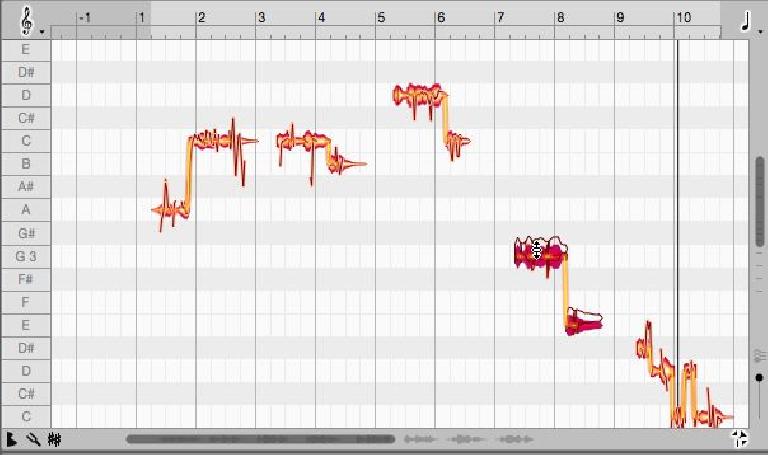
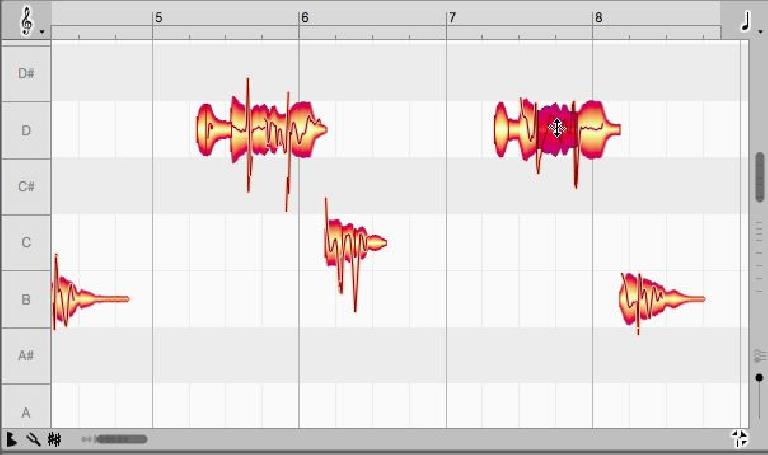
Here’s an example of the pitch correction, before and after:
Before:
After:
Step 4. Double
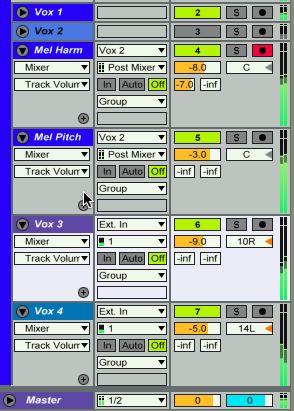
Now that I have one decent, pitch corrected, edited vocal take, it’s time to make a double that we can harmonize! First though, I’ll want to copy what I’ve already done to another track, just to relieve Melodyne of having to keep track of everything. And, also so I’ve got this take, permanently, as audio. I’ll create a new track, underneath my current audio track, and set its input to Vox 2, where Melodyne is!
Then, I’ll bounce my Melodyned vocal take to a new audio file by recording it into this track, in real time.
Once I have my pitch corrected track burned to an audio track, it’s time to get creative! Because we already have an identical audio track pitch ready within Melodyne, why don’t we just make a harmony out of what’s already in there, and have it play along with the burned track? I begin moving whole clumps of audio all to individual keys, instead of letting the audio jump all over the place as it usually does. But notice: I’m dragging whole sections to new keys, and really building a harmony. I’m not just moving it all up a step and calling it a harmony!
Of course, when you move audio up sooo far away from its natural pitch, there will be some anomalies. The biggest is the vibrato, and vocal drift at higher octaves. I used the Pitch Modulation tool to go through and smooth things out to the key that I’m working on. This is where you want to spend some time, instead of just leaving things as they are. Major pitch jumps can cause a lot of aliasing, and just sound a lot like 90s techno, if you’re not careful.
From here, I’ll repeat this step as many times needed, until I get enough harmonies to makes my chorus. I really only end up needing one iteration of Melodyne open. And I just use it to keep creating new harmonies! I’ll also bring up any additional takes that I didn’t use. Even though there may be some slight pitch problems, here and there, in the other takes, I can keep them more in the background, while my polished takes, with harmonies, shine at the front.
Conclusion
Melodyne 4 is a powerful tool that regularly saves not only my behind. But many other producers and engineers around the world. Sure, you can use it to make some really spacey, robotic effects with voice. But, it’s also subtle enough, and spry enough to give you some edits that you may not be able to accomplish anywhere else!
Learn Melodyne in the AskAudio Academy here.




 © 2024 Ask.Audio
A NonLinear Educating Company
Discussion
Want to join the discussion?
Create an account or login to get started!