
Mixing is a vital part of the production process and a crucial one to get right. I'm going to let you in on some of the tricks of the trade, from basics through to things you might not have known…
(N.B the pictures are from Cubase and Reason but the principles apply to most DAWs!)
1 - Use send effects
If you are concerned about running out of CPU power – after all towards the end of a project you may well be running lots of tracks and plug-ins – consider using send effects for common tasks like adding reverb and compression. As well as reducing the number of plug-ins you have to load this has the added benefit of helping to achieve more consistency across a mix, since you will be using varying send levels but the same effect preset in many cases.

2 - Group your channels
Most DAWs support grouping and it's a good way to submix. For example, assign all your live drum channels to a group and then mix them perfectly. Then you can bring the whole kit up or down in the mix using just the Group fader, and not risk messing up your perfectly balanced drum sound.
3 - Use automation
Automation is a powerful way to make mixes more interesting and dynamic. Where appropriate, use fader, EQ or effect automation to vary levels in realtime. This can help to take tracks to a whole new level.

4 - Think about the whole mix
A guitar or a synth part might sound great when you solo it up, but what matters is how it sounds in the mix along with everything else. Often you have to cut or boost frequencies on a channel to place a sound in the mix and this means that when solo'ed up it sounds odd. Don't worry – just concentrate on the symphony of the mix in total.
5 - Be smart with your CPU
At the mix stage you can raise the audio buffer size in your DAW since latency is no longer an issue. Push it as high as it will go and you'll squeeze maximum audio processing power without having to freeze tracks. If you do freeze tracks, you might have the option to render down effects but not EQ, for instance, giving you more flexibility. This will depend on the capability of your DAW.
6 - Think about panning
Some carefully considered panning can really liven up a mix, whether it's stereo delays or mixer panning. This usually works best when applied gently as opposed to hard panning, and on instruments that are in the mid and top end of the frequency spectrum. Bass sounds should be kept in the centre.

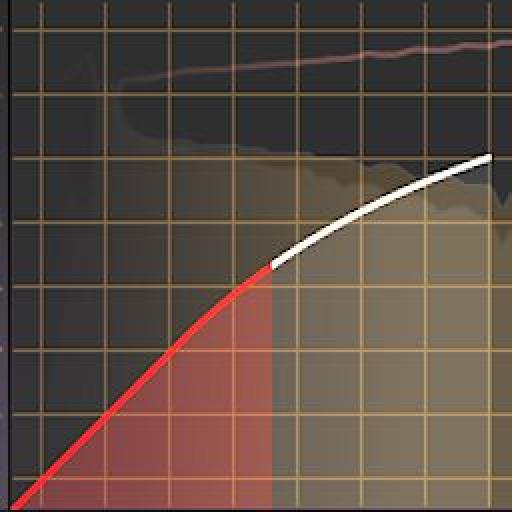
7 - Use spectral analysis
There are some great free and commercial spectral analysis tools around, and when strapped across your master outputs or loaded in a wave editor, they can help you to identify where peaks might be occuring, or where you can squeeze out a little more dynamic range.

8 - Explore sidechaining
Sidechaining, especially of compressors, can be really useful when you need the compression of one instrument to react to the sound of another instrument in the mix, instead of just being a single setting. So for example you could make a bass track compress more when the kick drum sounds, to prevent bass overload. The need for this kind of thing usually only becomes really obvious at the mix stage.

Stay tuned for Part 2… coming soon!

Discussion
Want to join the discussion?
Create an account or login to get started!