
First, let's start off with what Bitcrushing is. Remember the old days of synthesis, Speak & Spell and early samplers? If you were to hear one today, you'd probably say to yourself, “Damn, it sounds like someone beat up R2-D2.” They really have an ugly edgy quality in the recordings. It's a very distinct sound.
But it wasn't just electronic devices geared towards electronic music that had a sound like this. There were also loop pedals for guitars that had a very lo-fi sound, early digital guitar pedals, distortion pedals, certain amps, etc. Really, when you think about it, every decade that used digital recording (80s, 90s) had a particular sound.
So, again, what is Bit Crushing? It's a process by which you lower the sample resolution and bit rate of a recording. For example: changing the recording from an audio CD—which has a sample rate of 44.1 kHz at 16-bit—to make it sound like it's being played on a Commodore 64. Or, taking a piano recorded at a sample rate of 96 kHz and 32-bit, using the best mic in the world (the *enter favorite mic here*) , and adjusting the bit rate in real-time to 8-bit so that it resembles an Atari 2600 game.
Why Bitcrush Anything?
But again, why would you do this?! I can answer this:
- Pristine sound = Classical track.
- Pristine sound + bit crusher = Dirty, growly recording with a lot of character.
Keep in mind, it's not for every song, every instrument, etc. It's for tracks that need a raw, evil character.
Step 1
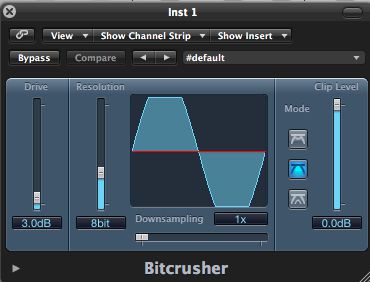
Let's take a look at the Logic Bitcrusher now and also listen to a little before and after:
The dry audio sample:
To look at this plug-in, one might think that it would be more suitable for space-age romps through the stratosphere. There'd be dragons here.
Step 2
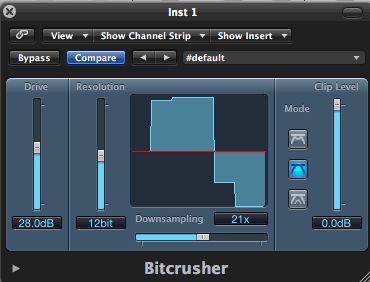
The Drive slider is what you use to introduce an overdrive effect into your bitcrushed track. If you increase it, you'll notice that the graphic in the middle changes. Basically, you're getting that distorted speaker sound, without getting making the signal peak. Yes, it does increase the overall signal, but not a ton. I would still recommend slapping a limiter on this bad boy. Perfect for nasty drum loops, guitars, growly synths, etc.
Let's hear this bass synth with the Drive cranked:
Step 3
Next up would be the Downsampling, which controls the simulated sample frequency, and the Resolution slider, which lets you adjust the bit rate.
Let's adjust the Resolution and Downsampling slider and see what we've got.
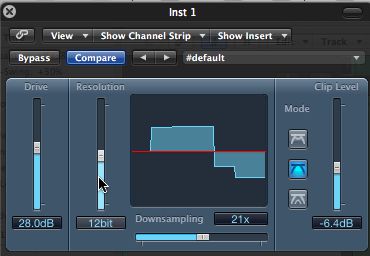
Lower Resolution sample:
Step 4
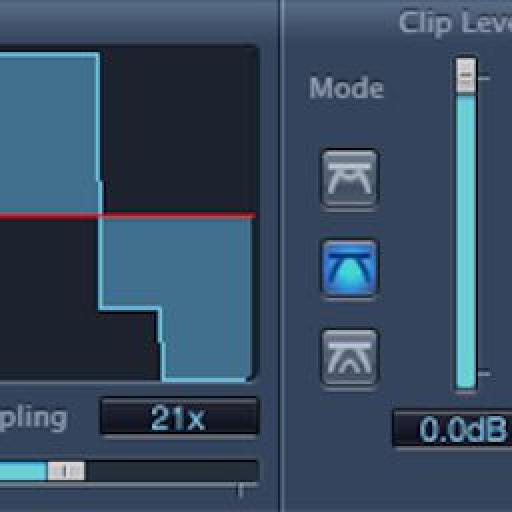
Finally, you've got the Mode buttons which determine the type of digital distortion you are getting. These modes are much more fun when you actually experiment with them, other than reading about them. But the Clip level is critical to cover, as it sets the threshold of the channel strip of basically where the distortion starts. And, if you click the arrow at the bottom, you actually can adjust the mix of how much bitcrushing is applied.

Alright, there's my sermon. Hopefully, this has sparked an interest in trying out the old Bitcrusher. If you're looking for a little dirt in your recording, you couldn't get a filthier partner in Logic Pro!

Discussion
Want to join the discussion?
Create an account or login to get started!