Freezing or Flattening in Ableton Live is typically viewed as a last-ditch option to conserve resources—and they certainly do come in handy when you need to free up valuable processing power after piling on the plug-ins. In that context, these options provide essential functionality, particularly in the arrangement and mixing stage. But what if Freezing and Flattening could serve creative purposes too?
Deep Freeze
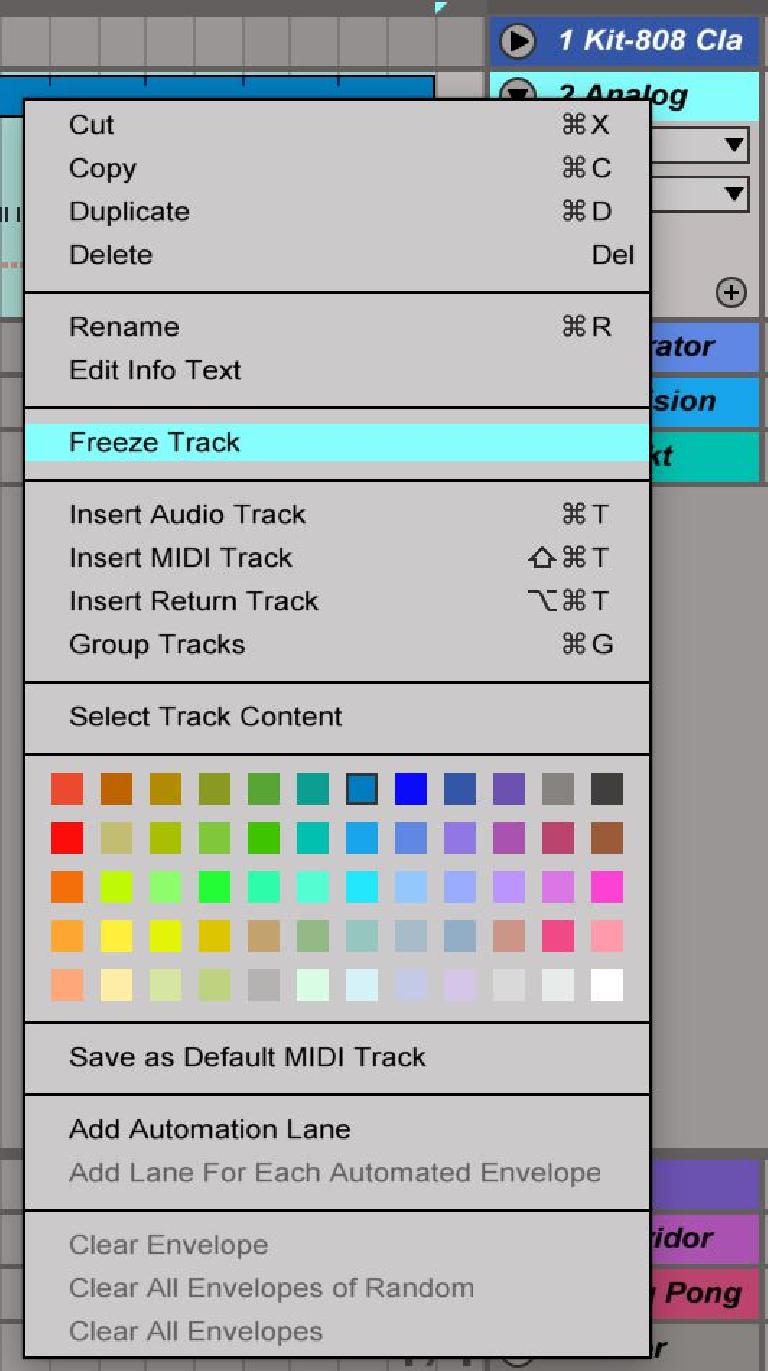
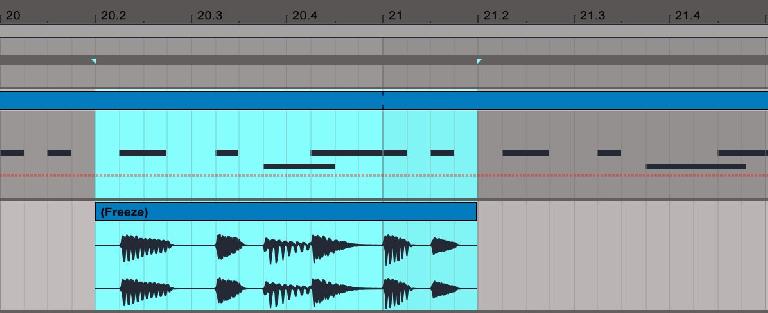
If you’ve never used Live’s Freeze function before, it can be accessed via the Edit menu, or the context menu that appears with a secondary click on the target track. Freezing a track renders a pre-fader bounce of all instruments, racks, and effects on the track to a temporary audio file. The MIDI or audio clips that underlie it can no longer be edited, and the track is layered with an icy blue mask to show it’s been frozen. However, as a pre-fader export, mixer parameters including volume, panning, and send amounts are all still available for automation—and chunks of the frozen material can be selected, dragged around, and even copied and pasted within the frozen track, making it a more pliable option than might be apparent at first glance.
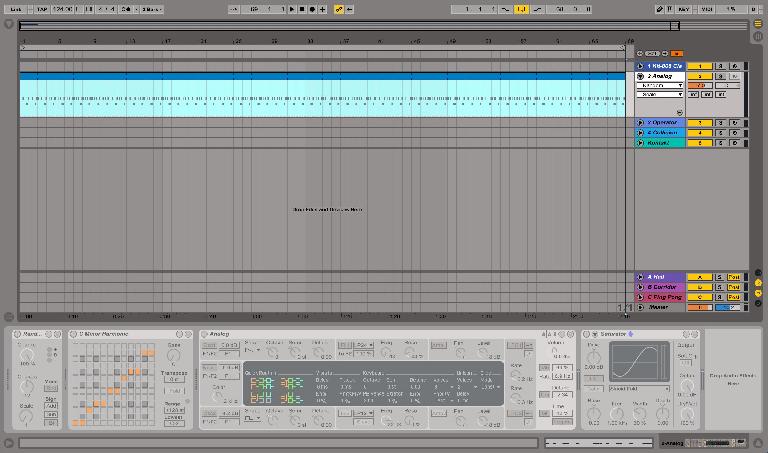
Freezing a track is also an effective way of committing randomized or other effects without going through the trouble of creating a dedicated audio track as a receptacle and recording it in real time. For example, I could take a simple MIDI clip on any instrument, add a Random MIDI effect through a Scale MIDI effect to keep it diatonic, and then Freeze the track to quickly grab some parts I like.
In this case, I’ve done just that with an instance of Analog, and rather than have to wait for more than 2 minutes of audio to record, the track is frozen in less than 20 seconds (note: results may vary depending on devices in use and available processing power). Now I can listen through the resulting frozen bounce for bits I might want to use.
Freezing vs. Flattening
The best part about Freezing a track is that it can always be undone: just select the frozen track and click Unfreeze Track via the same context or Edit menu options that you froze it with, and the track goes back to normal: all device parameters are available for manipulation and automation, along with the ability to edit your MIDI and audio clips once again.
Flattening, on the other hand, fully commits to the Frozen audio, removing the original track entirely and permanently replacing it with an audio track containing the previously temporary frozen audio file. In some cases this will be exactly what’s desired, but if you’re not sure whether you’re ready to print the frozen track to audio irreversibly, it’s probably best to leave it frozen.
Halfway between these two options is an elegant solution: create an empty audio track, select a section of the frozen track you like, then copy (Command-C/Control-C) and paste it (Command-V/Control-V) to the new audio track. Alternatively, you could select and drag the section to the new audio track, though doing so will remove that section from the frozen track, which you may or may not want.
Any sections of audio you want to preserve can now be looped, edited, modulated, run through new effects, stashed in the Session view, and saved for future use on the new audio track. Using this method, Freezing and Flattening can be a great tool for generating new material.
Printing Effects
Freezing and Flattening can also be an excellent technique for printing specific effects, particularly bespoke transitional sound design elements that fit seamlessly within a production’s existing harmonic and tonal framework.
Rather than scroll through a sound library looking for sweeps and whooshes that will likely have to be transposed to sit comfortably within your composition, we can swiftly execute Freezing and Flattening to print and manipulate effects as needed.
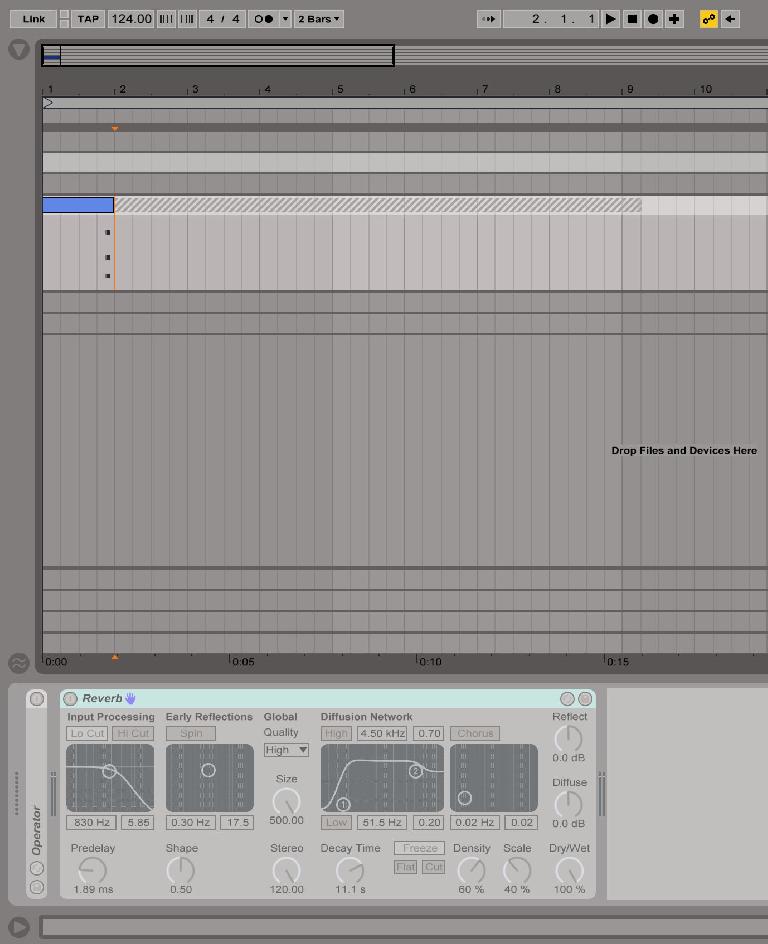
In this case I have a simple minor chord played through an Operator. To create a diatonic sweep based on the same notes as the chord, I’ll add a Reverb as an insert after the Operator with a fairly long decay time—the onset of the sweep can be adjusted later, so it’s generally better to go for a longer decay time rather than get stuck with one that’s too short. I’ll also have the reverb set all the way to wet, though I suppose that might be considered optional.
In the Arrange view, I’ll take just a single instance of the MIDI clip that plays the chord, since we only need to capture a single reverb tail for this and any subsequent chords triggered will interfere with the long, uninterrupted decay I’m looking for. Now I’ll execute the Freeze command.
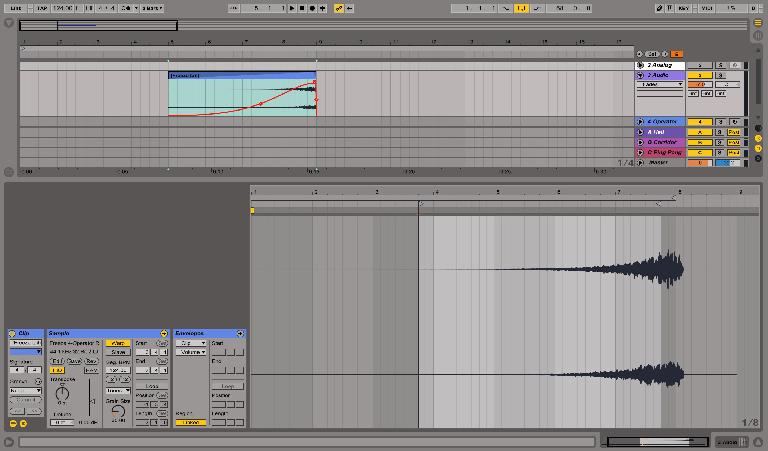
You’ll notice that when effects such as reverb or delay are frozen, there’s a hash area representing the tail of the effect—and in this case, that’s exactly what I want. Now I’ll select that hashed segment and either copy and paste or drag it to an available audio track, where I’ll double-click to access the audio clip properties, and hit the Rev button to reverse it.
In this case, the end of the sweep is a bit too loud, so I’ll lop it off; it also takes too long to build up, so I’ll adjust the start to four bars later and use Live’s Fades to fine-tune to the slope. Since it’s an ambient sound with no need for transient markers, I’ll delete them in the clip sample editor and set the Warp mode to Tones. Now I have a harmonic sweep that fits perfectly with my track that can be used to smooth a transition or introduce new elements wherever I might need in the arrangement.
Cold Tricks
While Freezing and Flattening are essential tools for arranging and mixing in Live, they also deliver some of the functionality of, for example, Logic’s track Bounce features. When applied creatively, they can also be used for custom sound design. So what are you waiting for? Stack some effects and see what results you can get within your compositions—or quickly find some inspiration when starting from scratch.


 © 2024 Ask.Audio
A NonLinear Educating Company
Discussion
Want to join the discussion?
Create an account or login to get started!