1 - Solo Up Parts for Editing
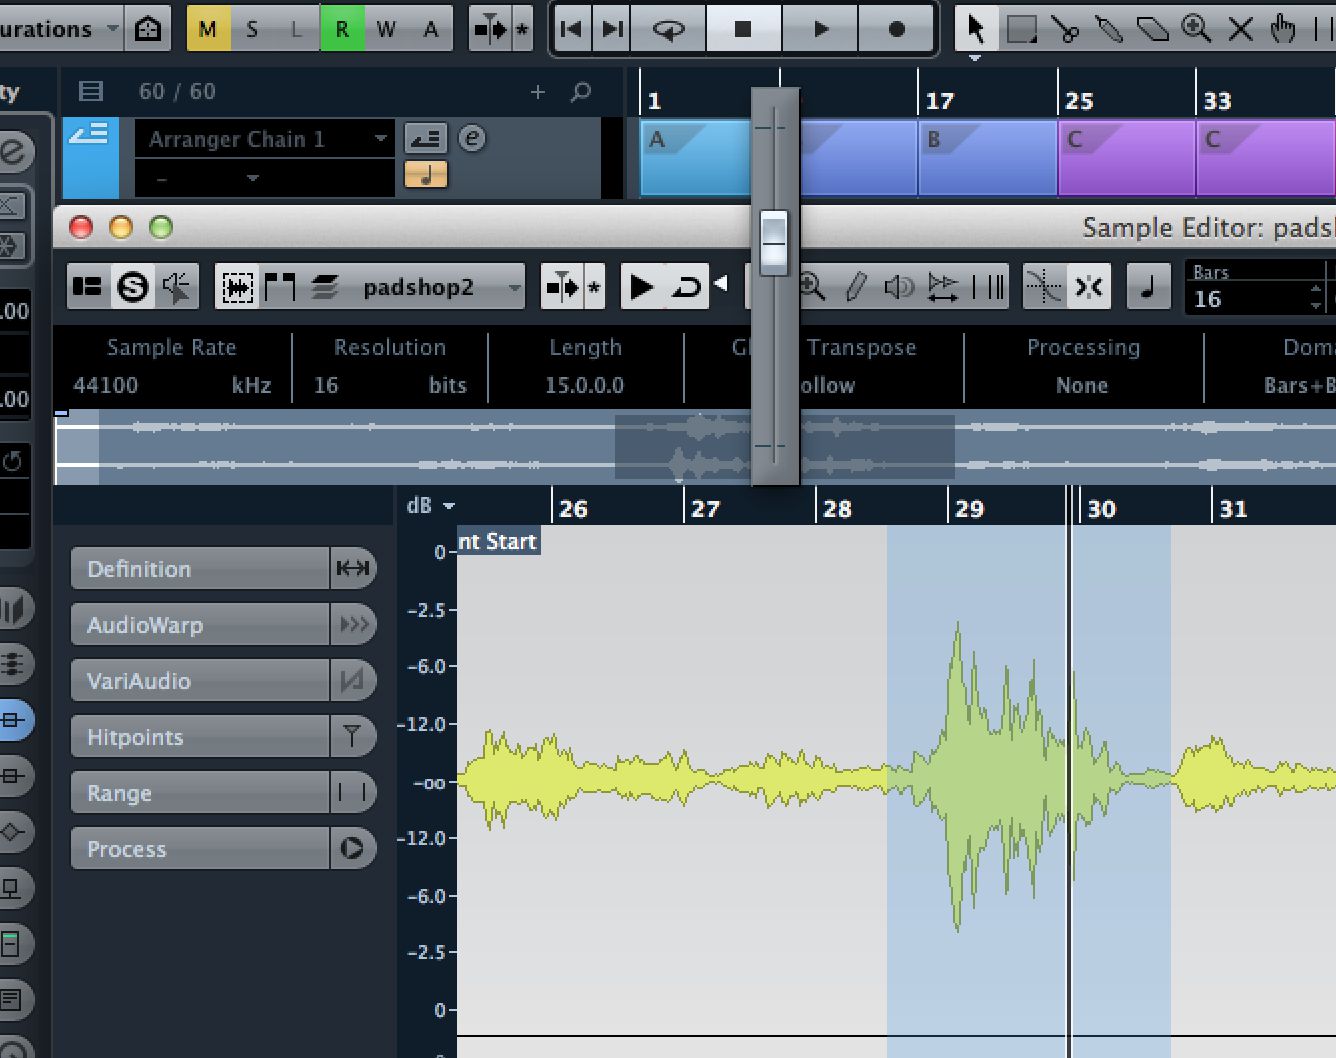
When you double-click an audio clip to open it in the Sample Edit window, using the space bar or the main Transport panel to control playback will still affect the whole project so you won't hear the part in isolation. By using the Play button on the Sample Editor's own toolbar however you can just play back that sound. If you select a section of the waveform by dragging the mouse, you can also use the loop button from the same toolbar to play it over and over again independently of the main project left and right markers. There's even a volume control for this preview so you can set it separately from the track's main fader, which is useful if it needs to be quieter for editing than it does in the context of the whole track.
2 - Apply Plug-Ins to Sections of Audio
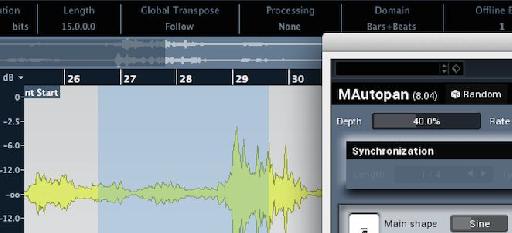
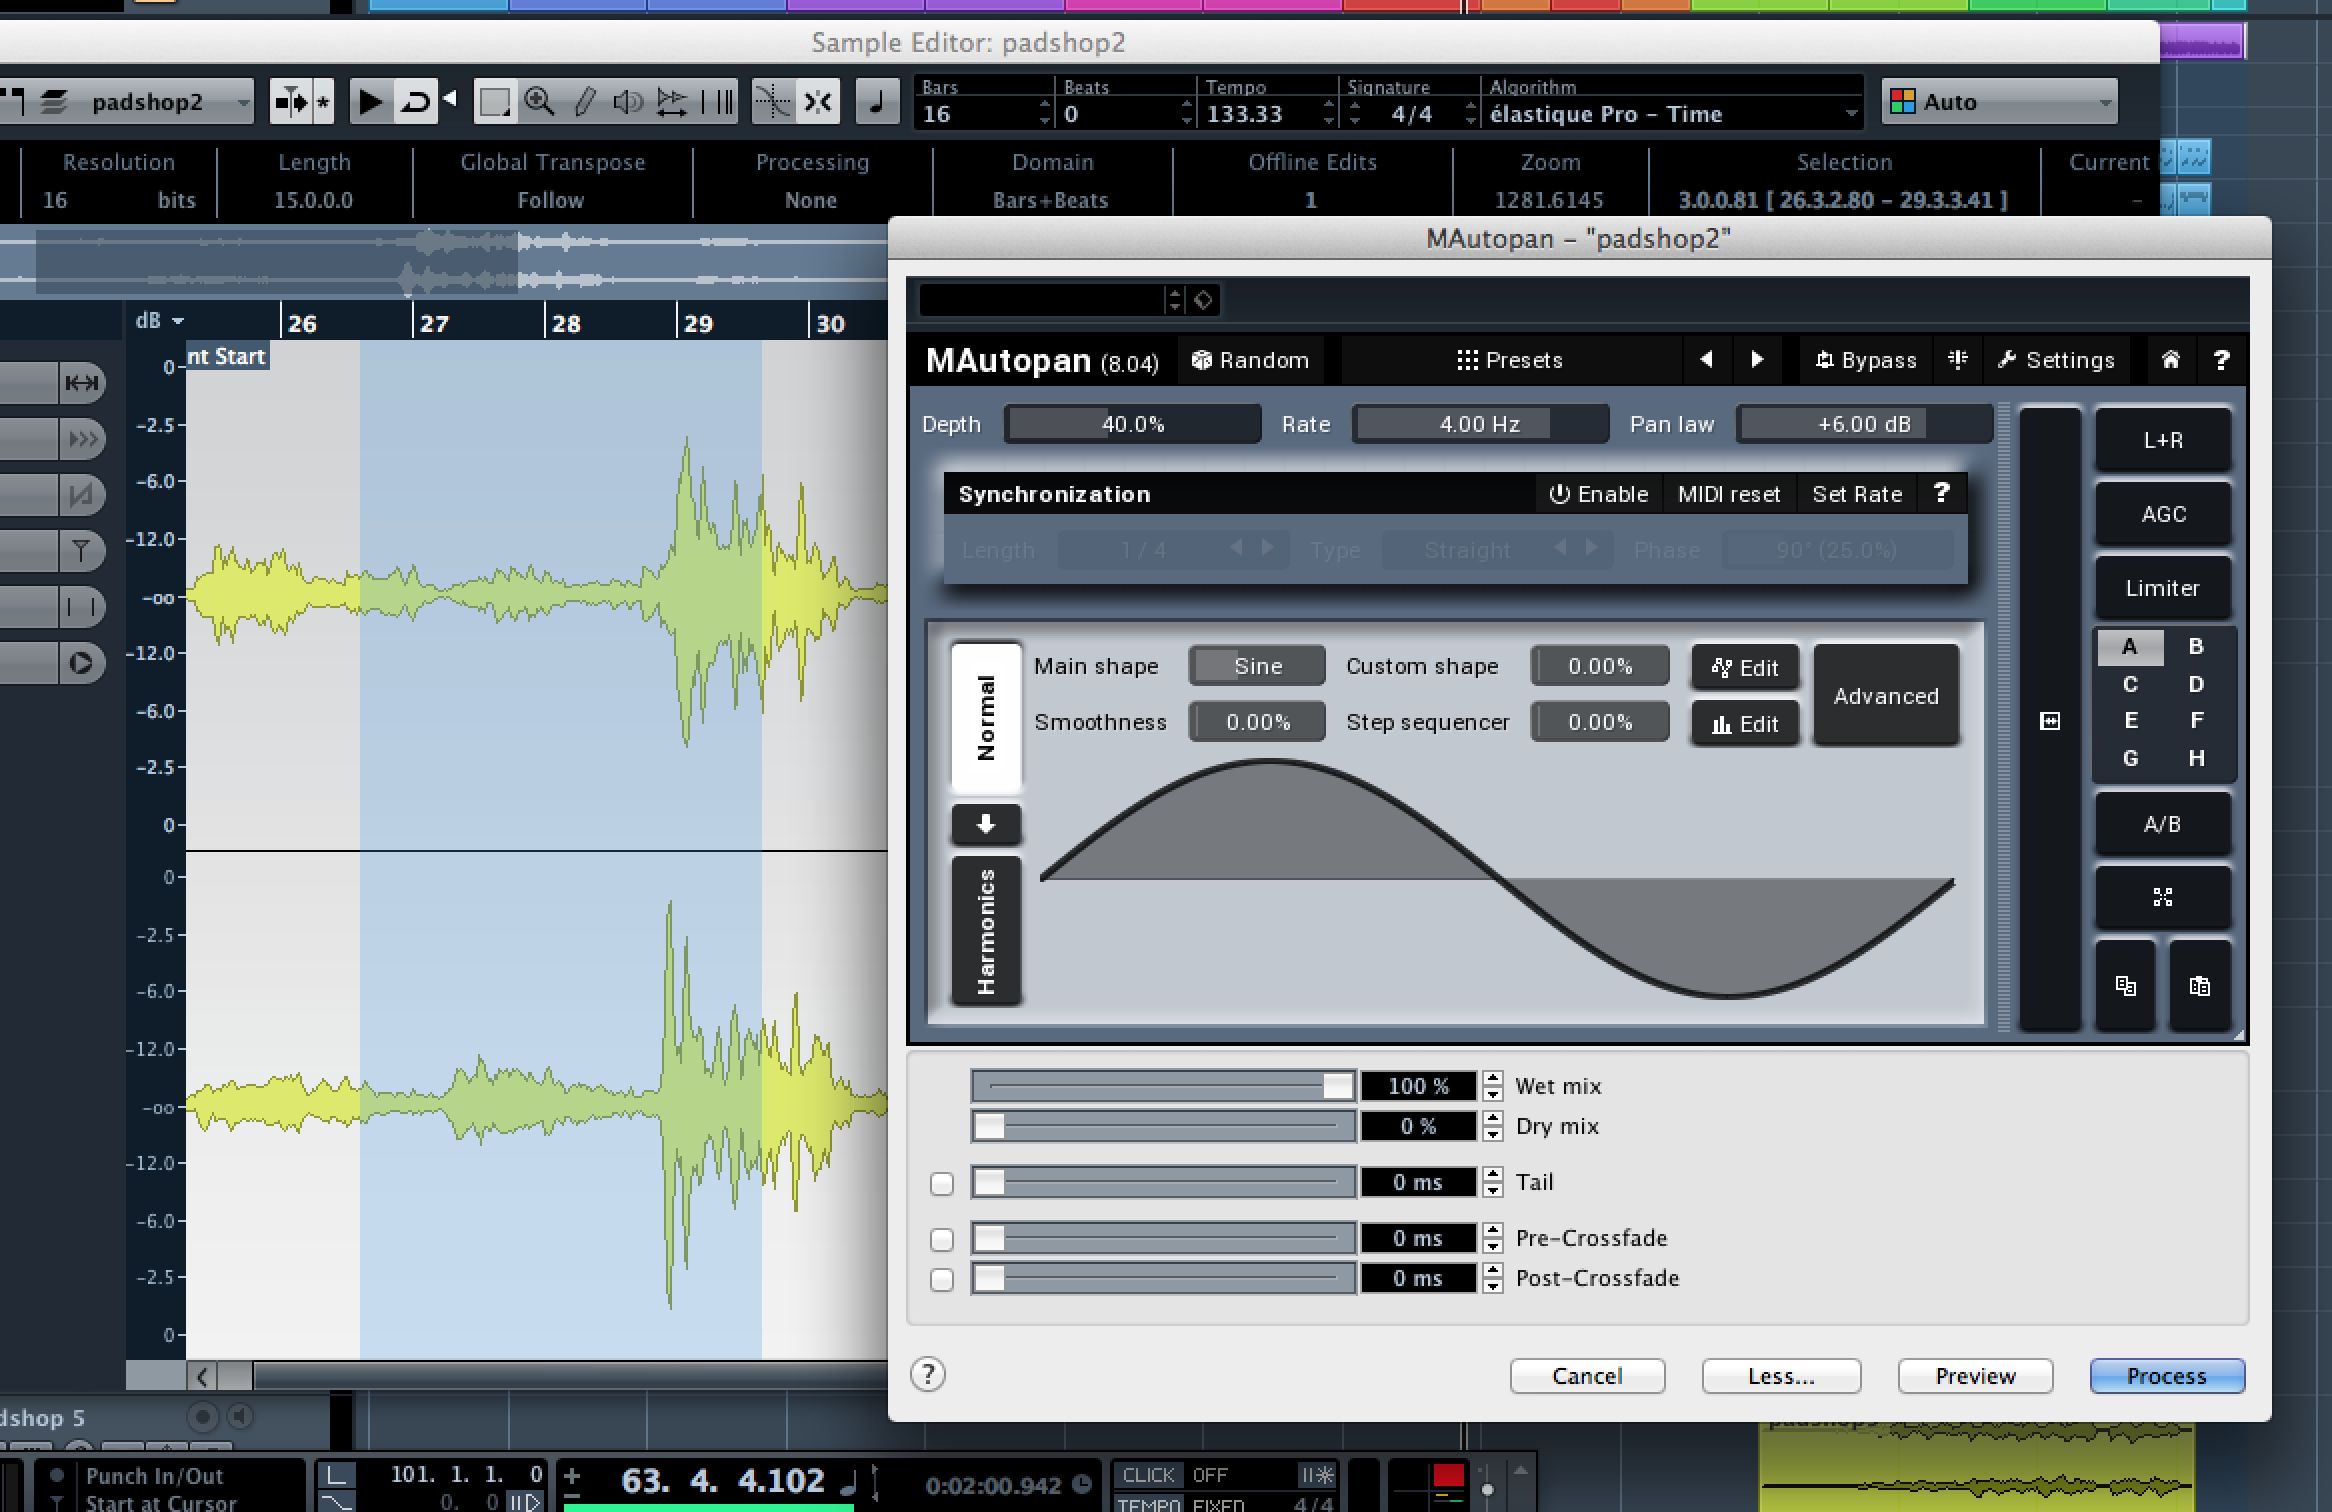
From the Sample Editor window you can select any part of a waveform and apply processing directly to a section of a clip. So for example if you select then right-click you can choose any of the Process tools like silence, reverse or normalization, or apply any plug-in just to that section of audio. You'll get to see the plug-in's interface and make settings, and use the Preview button to hear the effect and alter its parameters. Click the More… button and you can even set a wet/dry mix, tail and crossfade settings. When you click Process, the effect is rendered as part of the audio clip. You can achieve a similar result by using automation to bypass and activate an effect at a specific point, but this technique is rather less fiddly.
3 - Zoom to Sample Level
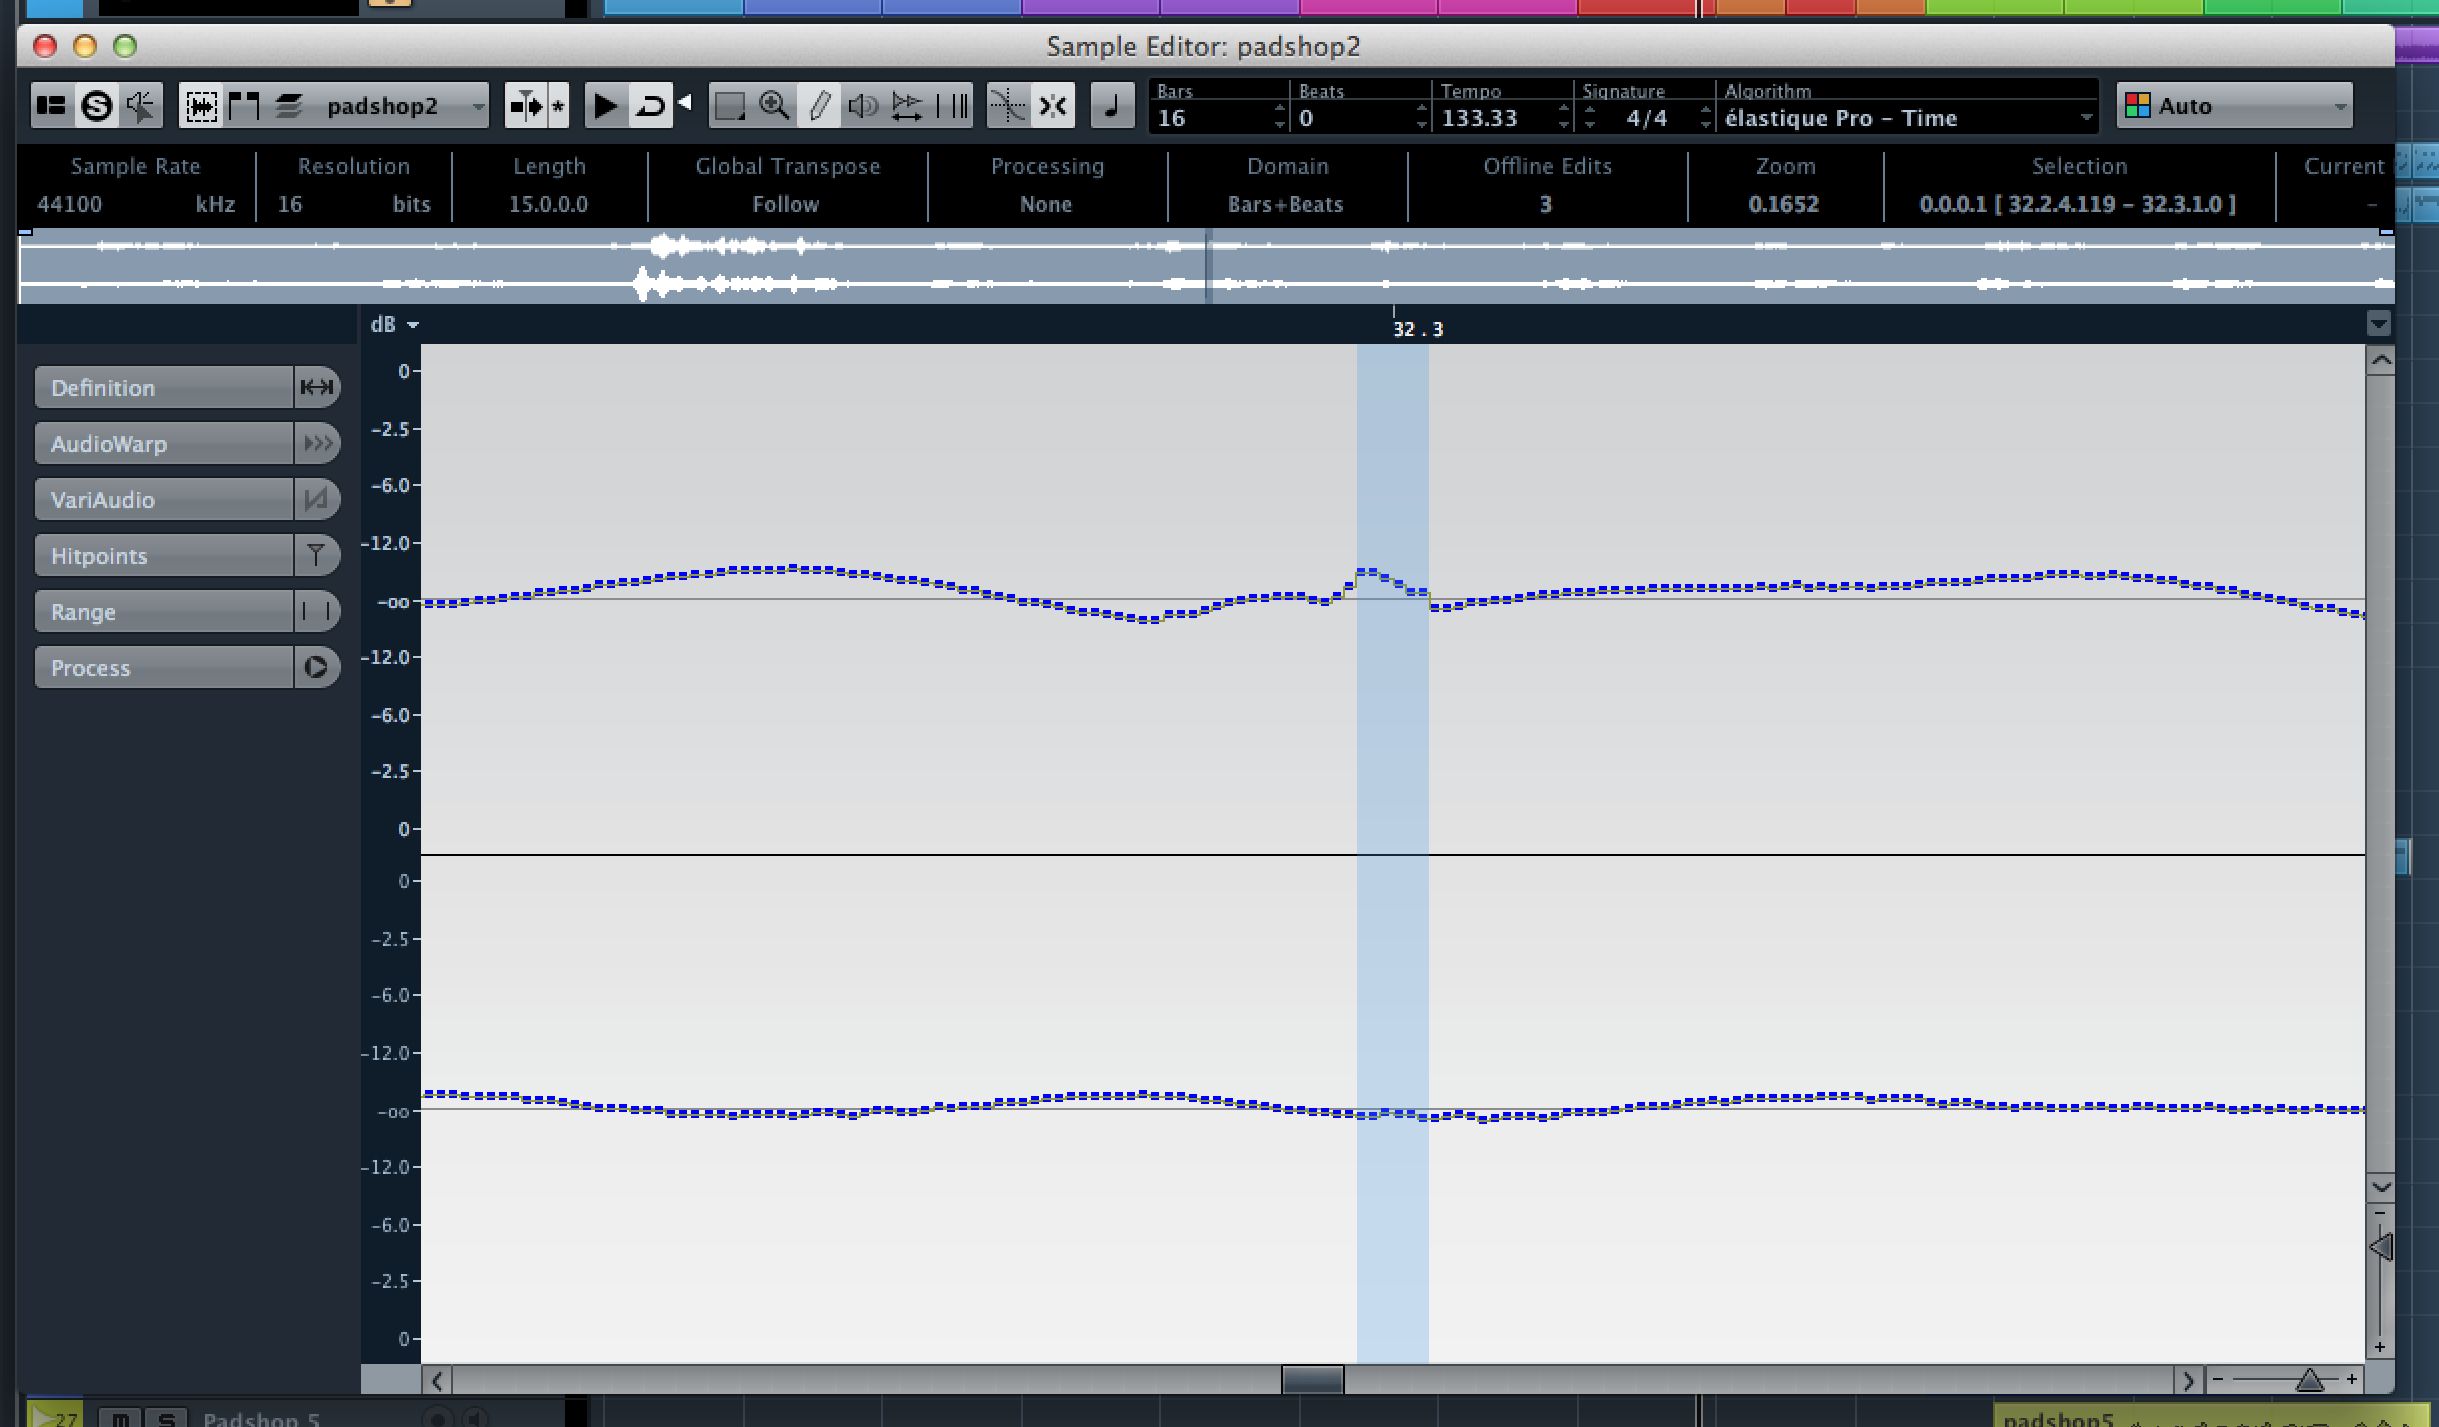
To deal with clips and spikes in audio is always tricky but it is possible by zooming down to a sample level in the Sample Editor window. With a little patience you should be able to find the digital spike, which should be pretty visible at this zoom level, and then use the Pencil tool to literally draw it out and smooth the waveform. This can take a little time but it's well worth it to fix a take that can't be re-recorded.
4 - Get Smooth Edit Crossfades
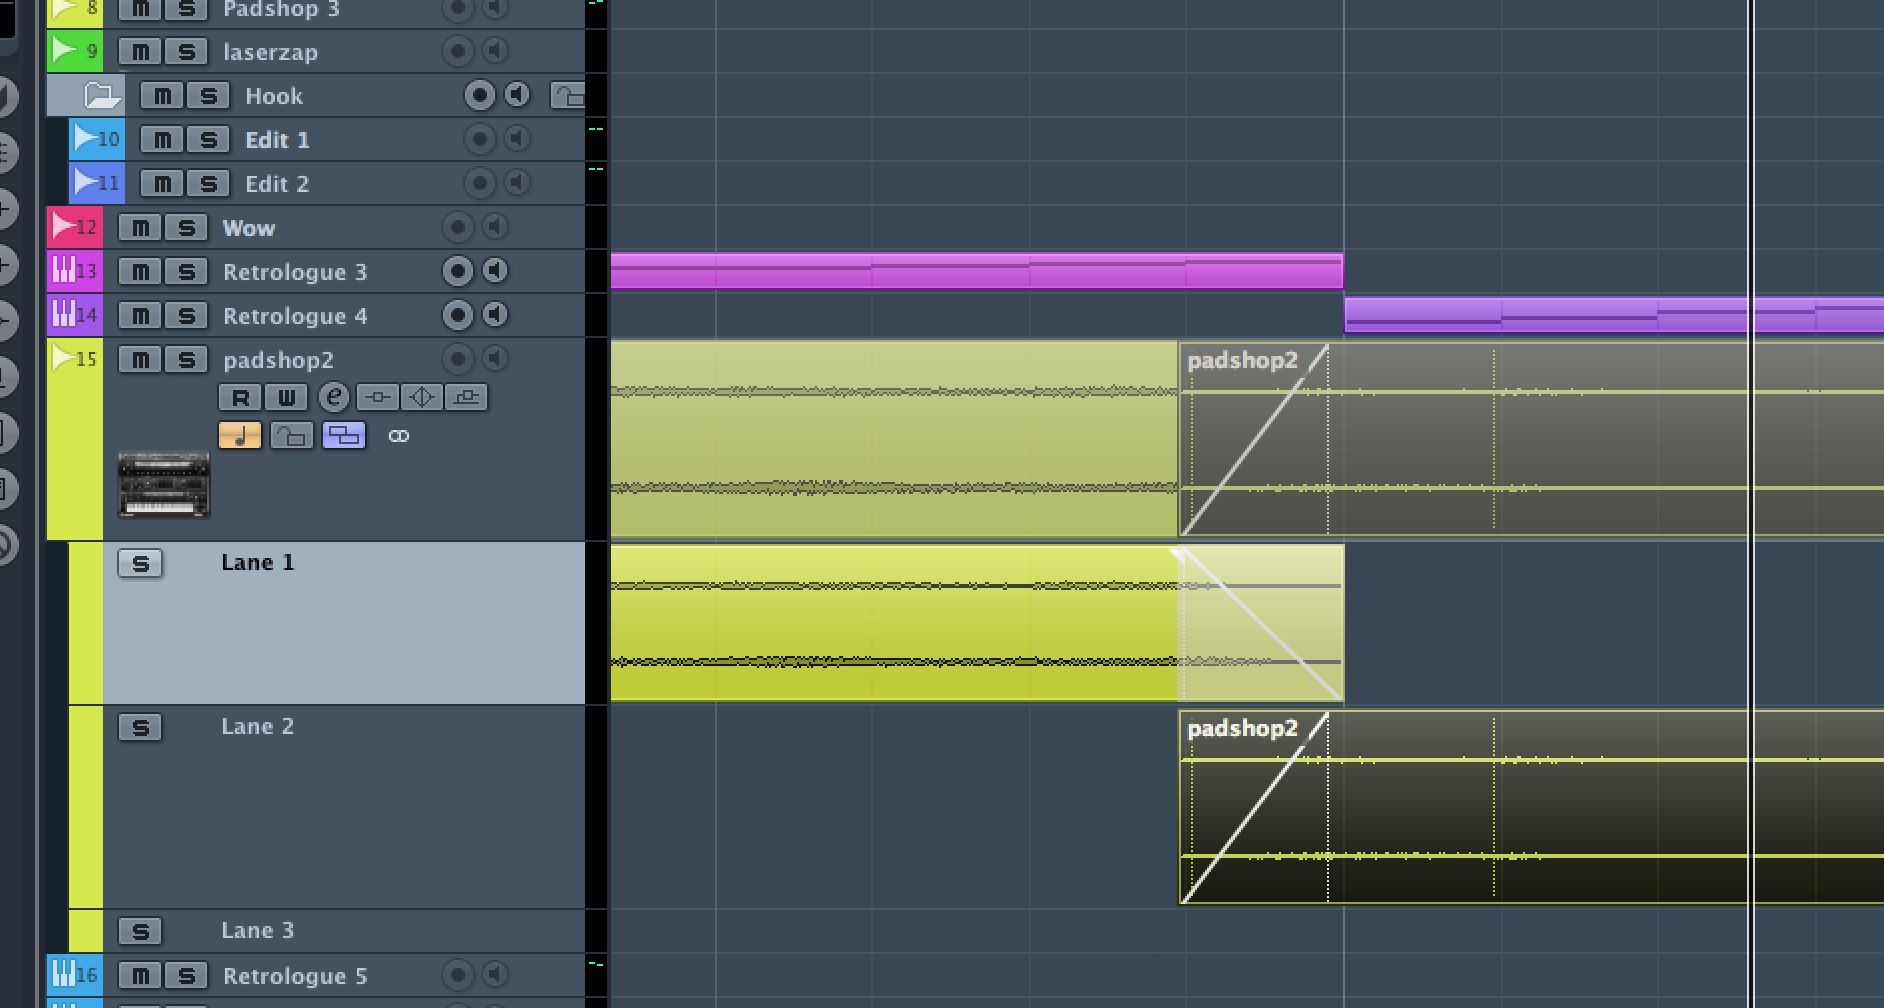
When you have to make edits to a part, sometimes two sections of audio can end up overlapping. Cubase is pretty good at dealing with this if you use the Snap to Zero Crossings option and project Snap is turned on, but you can still get some issues with sounds not transitioning cleanly between clips. One quick way to deal with this is to open the lanes under a track and simply drag the second clip into the new lane, then use the manual fade handles to fade one clip out as the next one fades in. Get this right and you'll get a clean crossfade.
5 - Correct Timing Within a Clip
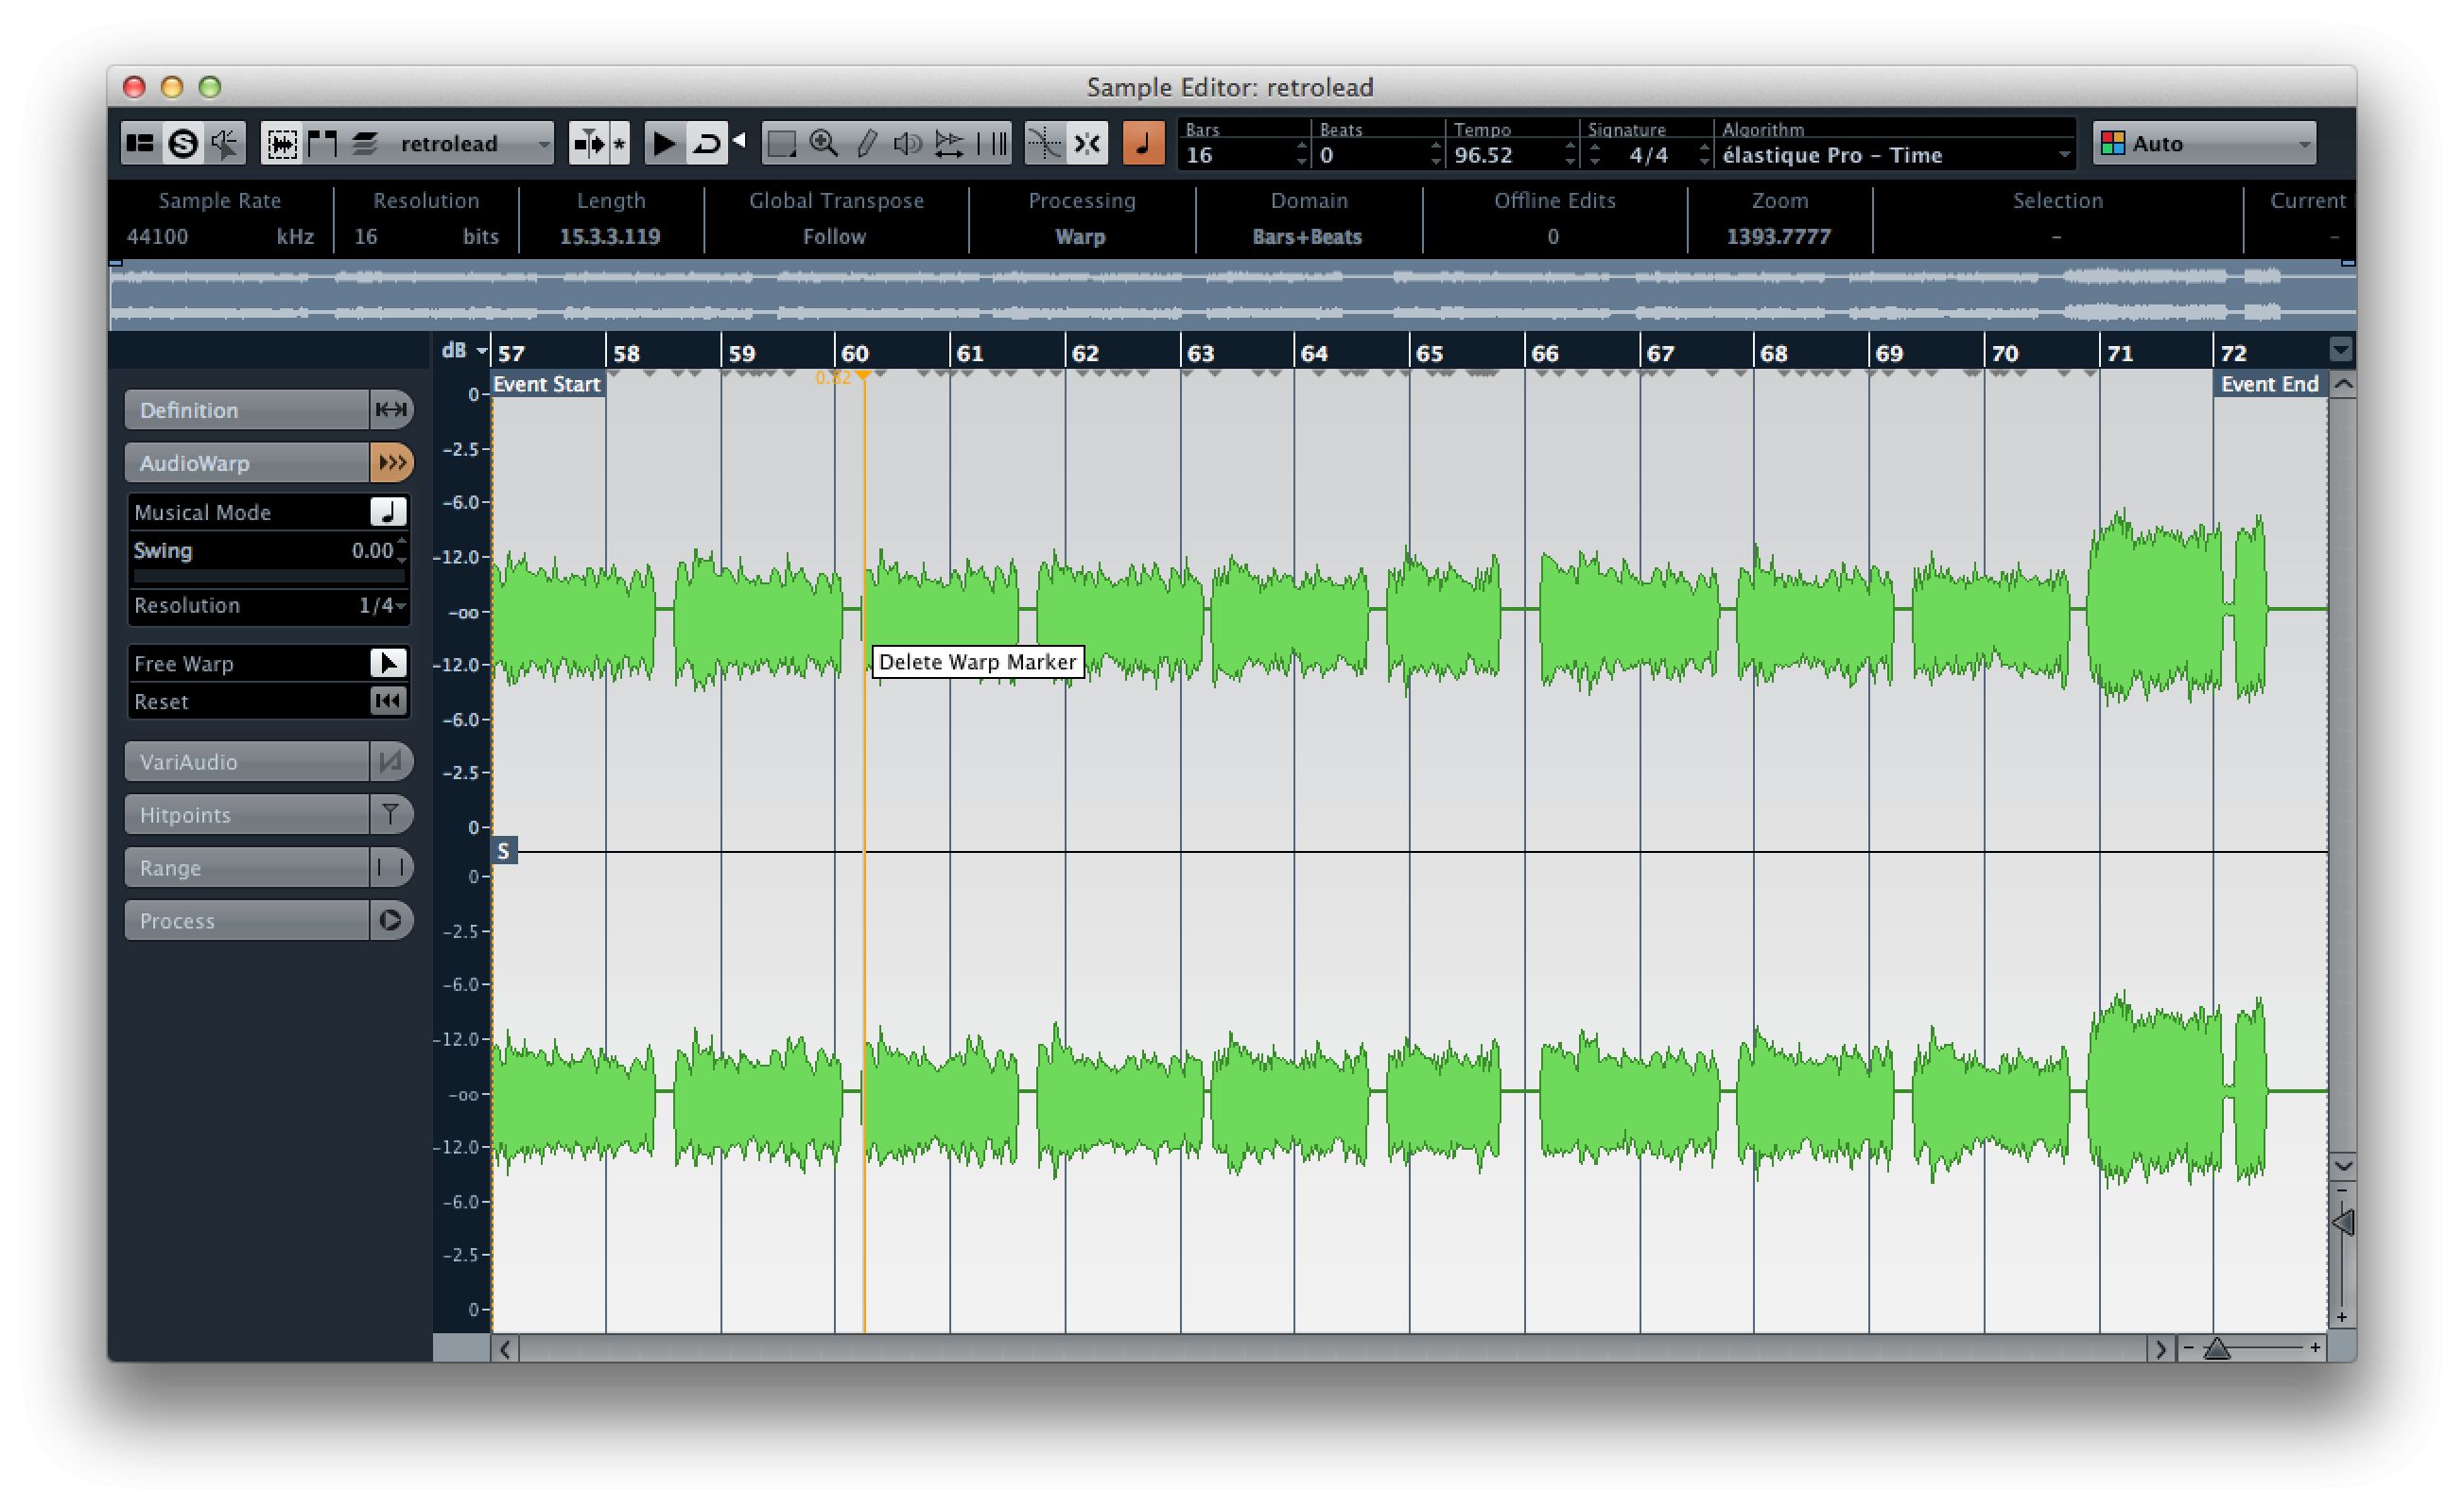
You can edit the waveform within a clip without altering the overall duration of the clip or cutting it up in any way. In the Sample Editor, select AudioWarp from the tool panel on the left and then click Musical Mode and Free Warp. You should then be able to add warp markers and correct timing in any audio part freely.


 © 2024 Ask.Audio
A NonLinear Educating Company
Discussion
Want to join the discussion?
Create an account or login to get started!