
Premiere is pretty good at working with sound but sometimes you need to edit in a bit more detail and with a little more finesse than the video package offers. Luckily, thanks to Adobe's integrated approach, it's easy to fire it over to Audition and seamlessly back into your Premiere project. Let's have a look at how it works.
Step 1
With your audio in the timeline or even from the project bin, right-click on the clip and choose Edit Clip in Adobe Audition. This will launch Audition but keep Premiere open as well.

Step 2
The clip will open in Audition and you'll see you have much more detailed tools for working with the sound. Here, for example, we have a spectrographic view which lets us define areas of the sound to “auto heal”. This can be great for getting rid of pops or clicks without having to zoom right in and get involved with trying to locate things at a sample level.

Step 3
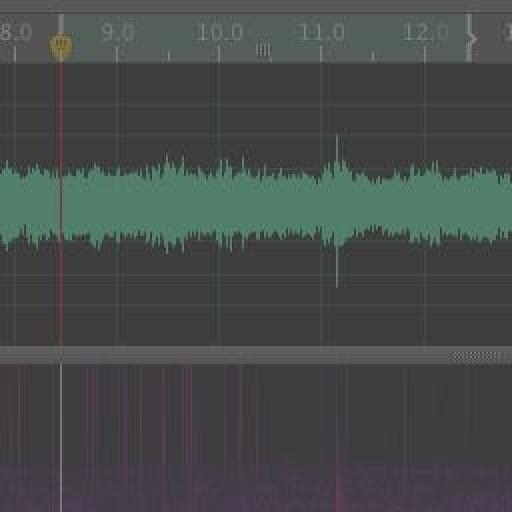
From the View menu you can choose to hide the spectral display and just view the waveform. On the left, choose the Diagnostics tab and then select an area of the waveform to analyze. Select from the DeClicker or DeClipper tools and use the threshold and other settings sliders to control how the audio repair will be performed.

Step 4
With an area of the audio waveform selected you can right-click and choose Capture Noise Print. This is particularly clever because it can be used to reduce noise in other areas.
Imagine that you have some rumble or hiss in a section of audio, but no other sound. Then there is dialogue, but the rumble or hiss is still there. By capturing the noise print from the section with only rumble or hiss and then applying noise reduction based on that print to the other areas of the audio clip, you could do a pretty good job of removing it from the clip without risking affecting the other sounds, as might happen if you used filters or EQ.

Step 5
Back over on the lefthand side you will see an Effects Rack tab. Click on this and you can apply a number of effects from reverb through noise reduction, stereo widening and even guitar effects.

Step 6
Select an effect and its settings window will appear. Use the Apply button at the bottom of the effects rack when you're ready to glue or render the effects down onto the audio file.

Step 7
Save the file in Audition and then quit Audition. Return to Premiere and you should find that the file has automatically been updated in Premiere. You will see new audio files in the project bin: new versions have been created. You might want to rename files when saving from Audition or when returning to Premiere's bin so that you can keep track of which are the original audio tracks and which are the edited ones.


Discussion
Want to join the discussion?
Create an account or login to get started!