With influences from artists like Skrillex, Doctor P, Flux Pavillion and Excision, The Sound Tutor creates his own dubstep track throughout Live 9 406 Dubstep Production course, following on from the very first idea to a fully mixed down track. Guiding you through drums, bass, melodies, editing and arranging, plenty of techniques are covered using just Ableton Live 9 Suite and the included library of sample packs. Although the course focusses on dubstep, this course will also help anyone who wants to create other electronic genres that require a hard edged, dance-floor ready production sound.
1 - Introduction
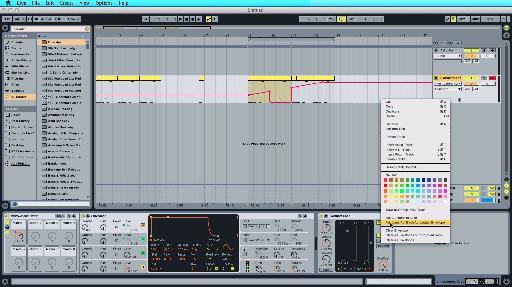
Many essential techniques for a creative workflow are covered before you get started to help you create a finished track by the end.
After hearing the entire track that's about to be created, we go through the core operational skills you'll need to learn to get through the course. Super-fast editing commands for audio, MIDI and automation are all covered as well as many other techniques to maximise your workflow. These techniques are key to getting from the first idea you may have all the way through to a completely finished track. This'll give you the tools you need to avoid getting bogged down with technical issues when you need to be in a more creative headspace.
2 - Drum Sound
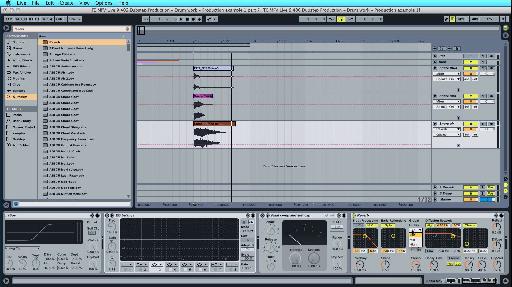
To focus purely on his drum sound and not rhythm work, TST first uses audio on the track instead of MIDI until all drum parts are sounding finished.
The drum section is at the very heart of any solid, big sounding dubstep track. This section guides you through building your own drum sounds with layers to get that perfect balance of drum thud, mid-range smack and character information in the higher frequencies. Alongside samples placed directly on audio tracks, Live's Devices are used for EQ work, compression, distortion, ambience and some creative noise work for more air and stereo width.
After getting the kick and snare to sound correct, I then go on to use cymbals and breakbeats for decorative work around the backbone that is your kick and snare. Finally I show you how to turn all of your audio work into Drum Racks while keeping the produced drum sound. This then makes it easy to get creative with MIDI and stop thinking about the sound so much.
3 - Melodies and bass
Creative sound-design and MIDI programming are covered when TST explores and finalizes his musical components, before performing his first working mix.
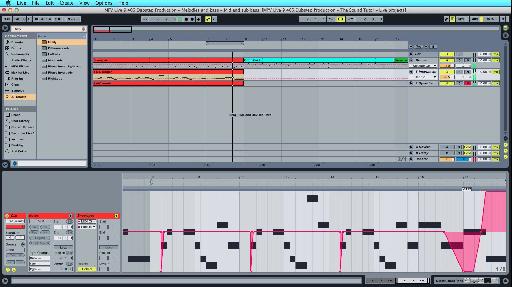
Starting with a single musical idea, we'll build a lead sound from scratch using Live's Operator synth. We'll then switch from FM to subtractive synthesis techniques to underpin it with his own heavy sub-bass creation. After this we explores other possible ideas and elements of sound-design before creating enough musical layers to balance and process into a basic mix-down, utilizing side-chaining and group processing.
4 - Arrangement and edits
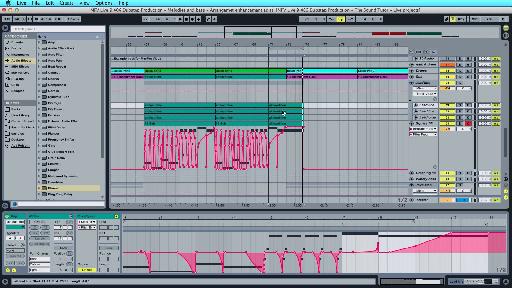
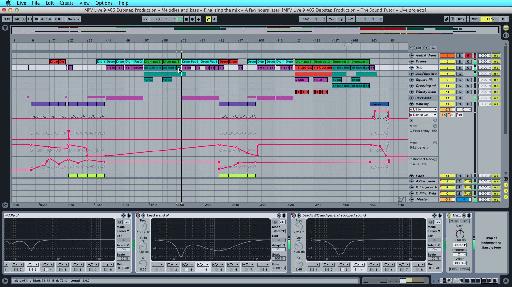
A few additional layers are added as the arrangement start to take form. Automation and editing are used to develop each idea for variation as the song progresses.
When all my musical parts are in place with a rough produced sound, we then move at a rapid pace to get from some song ideas to a fully arranged track. We'll undertake many editing tricks with MIDI and automation while many of Live's unique editing tools are also utilized. This section will show you many ways to alter a basic idea and explore some happy accidents as well.
5 - Finalizing the mix
Various types of mix processing are applied and varied over time to finish the track, whereas others are simply punched in as required.
No matter how long it may take to get to the point of mixing down, it always pays to reasses your creation. This helps to stop you being attached to any parts in your track for purely sentimental reasons, no matter how much effort you may have already put into it. I start my mixing process by reassesing and modifying certain points to get the best balance in context of the track once fully arranged. Channel processing, parallel processing and more send FX come into play here.
Rome was never built in a day, so after a few hours of extra work to finalize the mix, we finish the course by walking through the final tweaks which create the track you hear in the very first video.
When you've reached this point in the course you'll have the skills and confidence to see your tracks through from the start to the very end. You'll also understand how many of the Devices in Live can be used for different applications to get a professional sounding track.
Watch this course here:


 © 2024 Ask.Audio
A NonLinear Educating Company
Discussion
Want to join the discussion?
Create an account or login to get started!